

In this article, we are going to show you how to install PADFLASH software on different Windows versions.
We’ll cover WIN7, WIN10, and WIN11.
Guide:
*Windows7 64 bits system is highly recommended
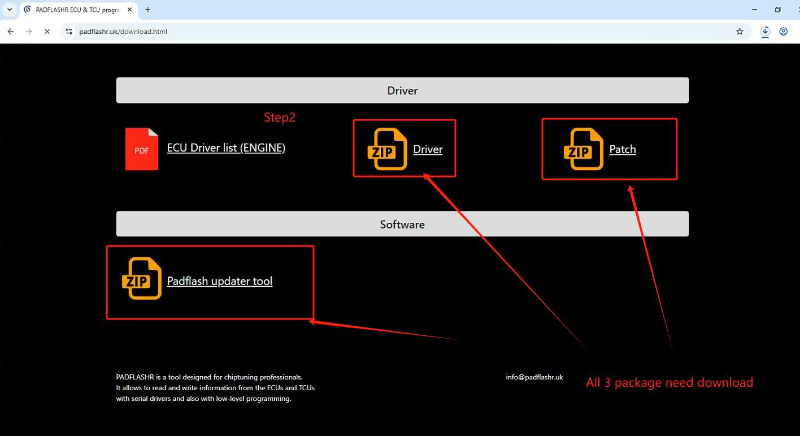
1)Download software and driver
Go to official website. (https//padflashr.uk)
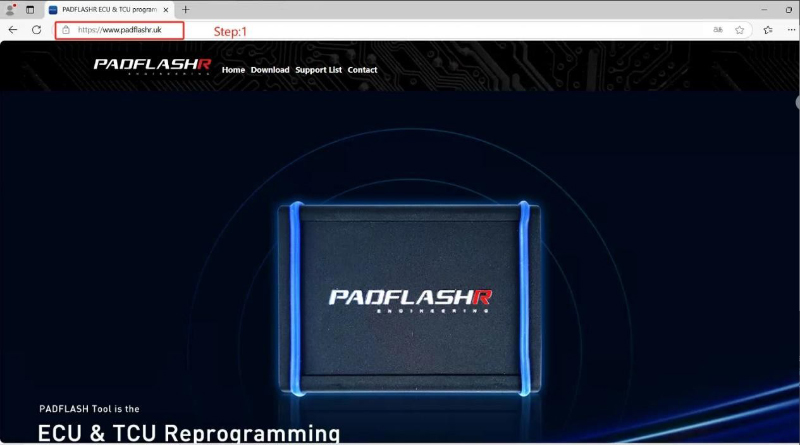
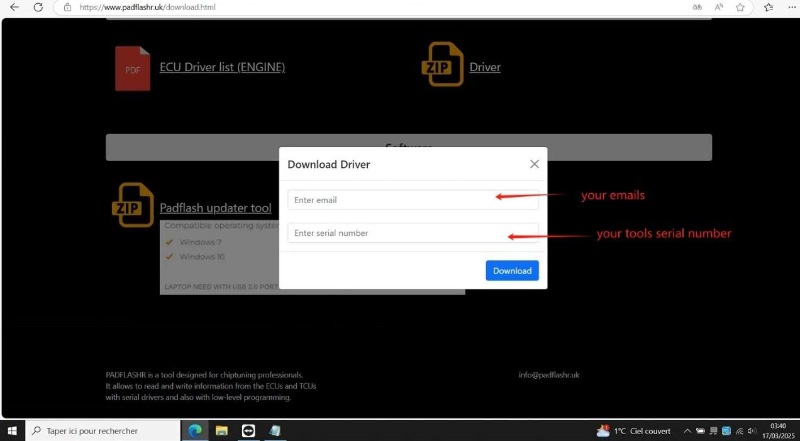
Enter Email and SN number and download software.
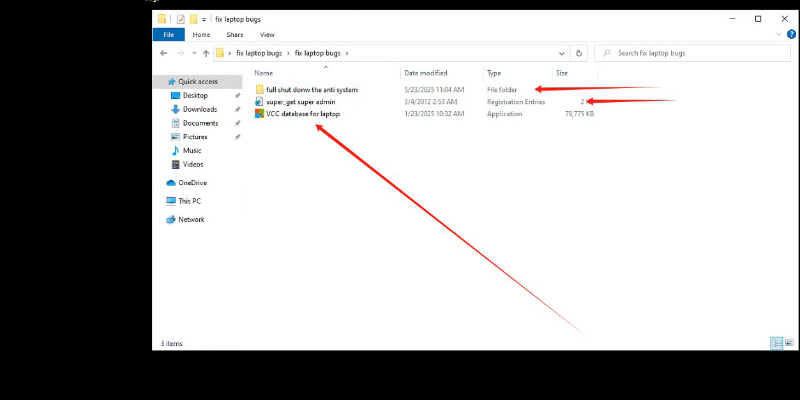
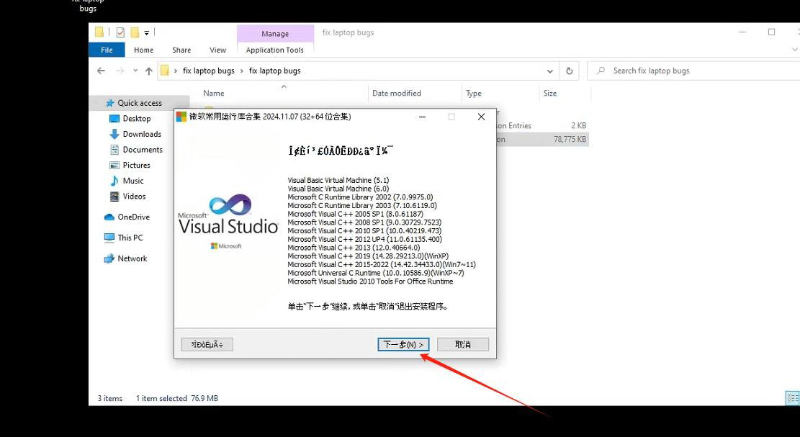
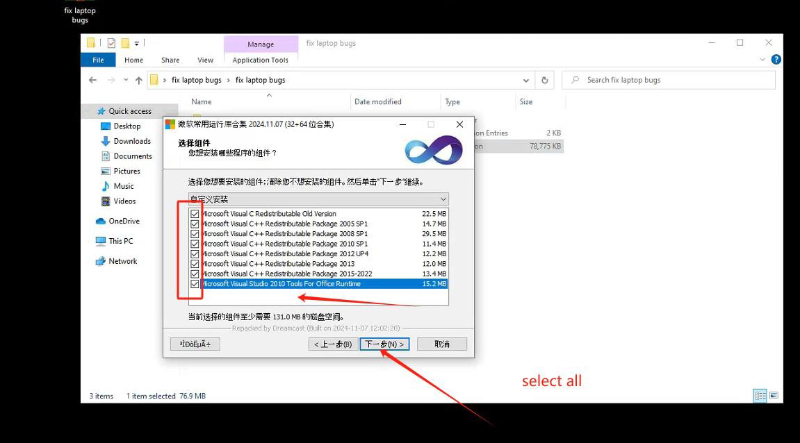
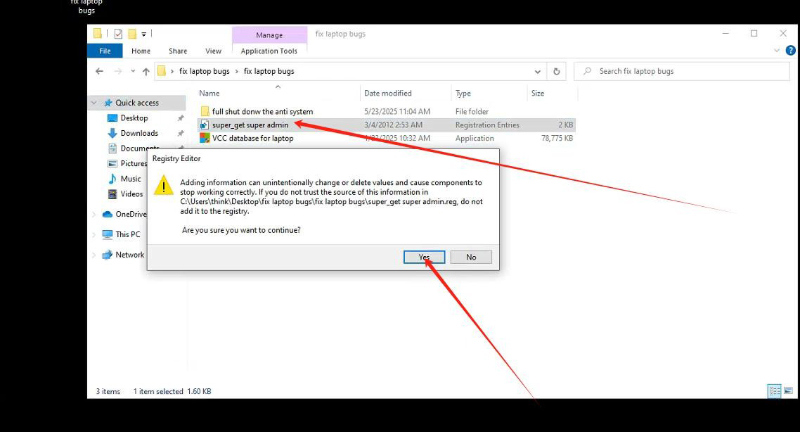
2)Install Patch
After download, please install the super driver with admin mode , and install the fix laptop patch
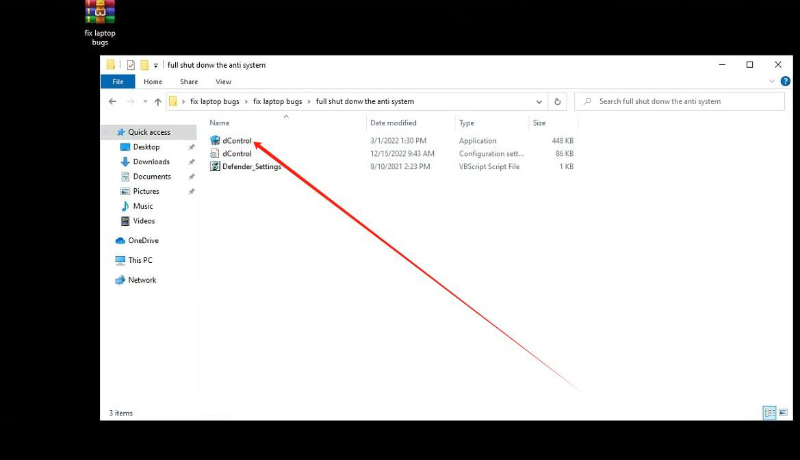
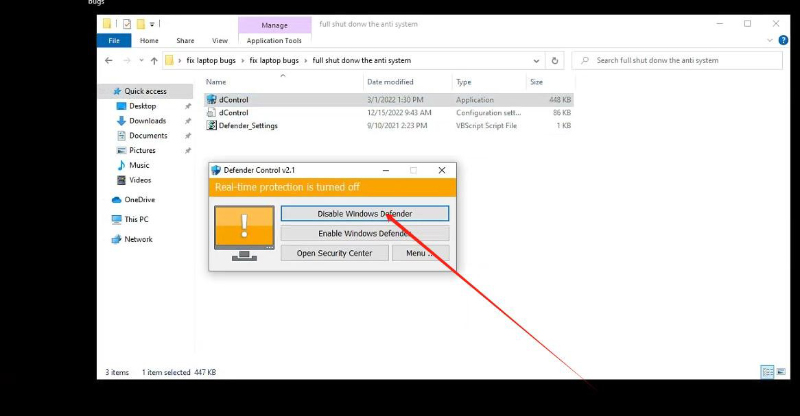
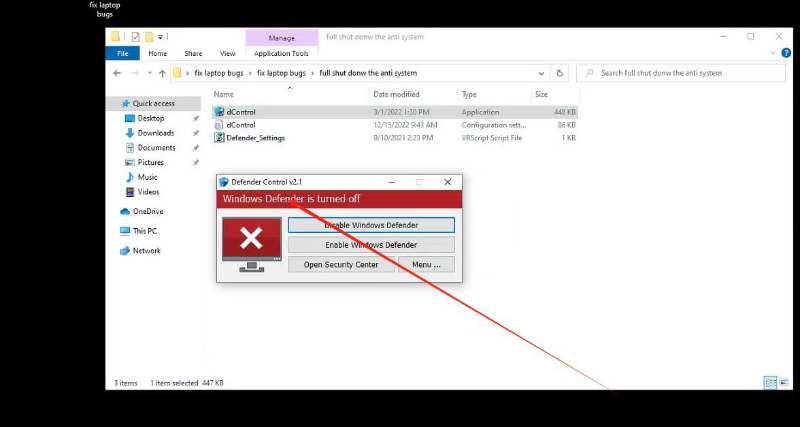
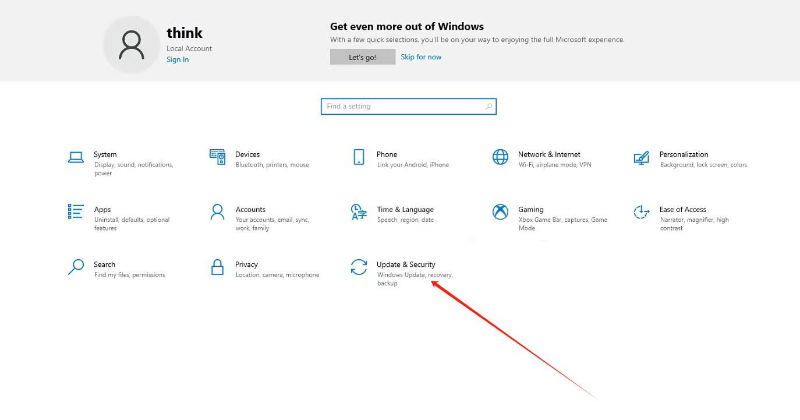
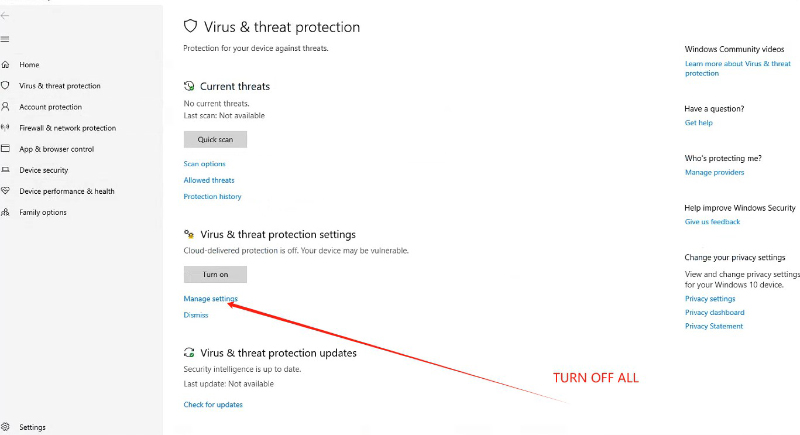
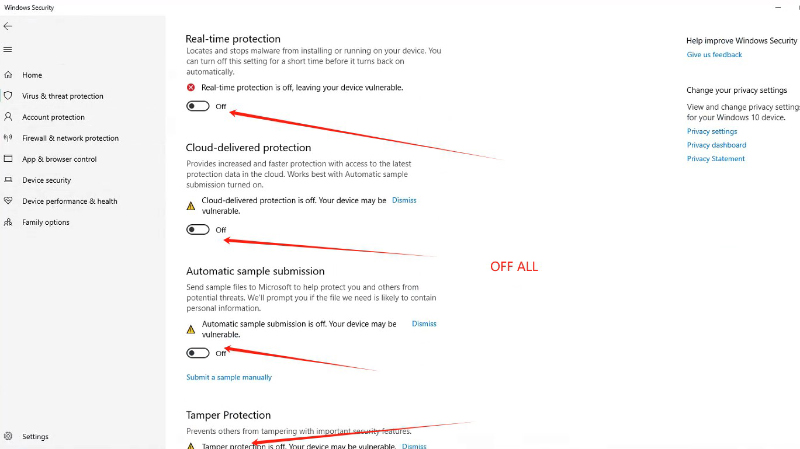
3)Shut down System Defender
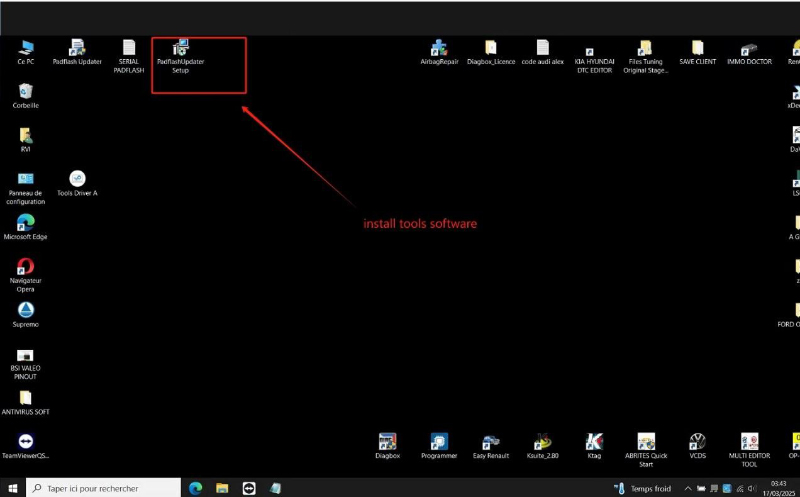
4)Install PADFLASH software
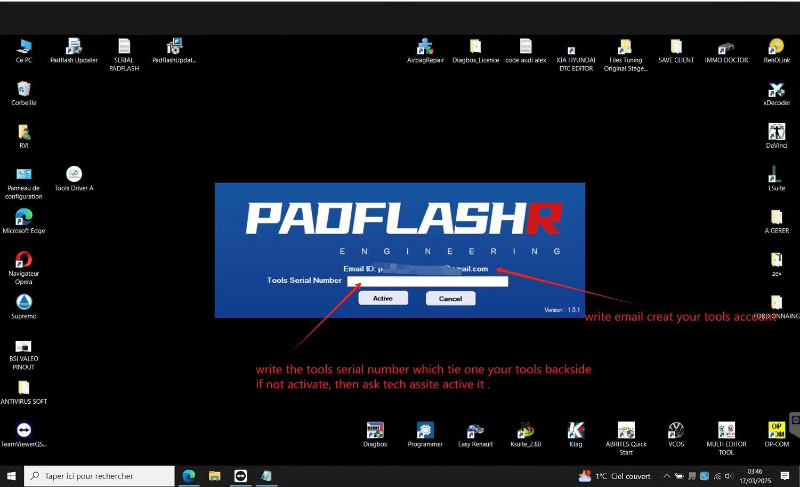
5)Enter Email and SN number for registration
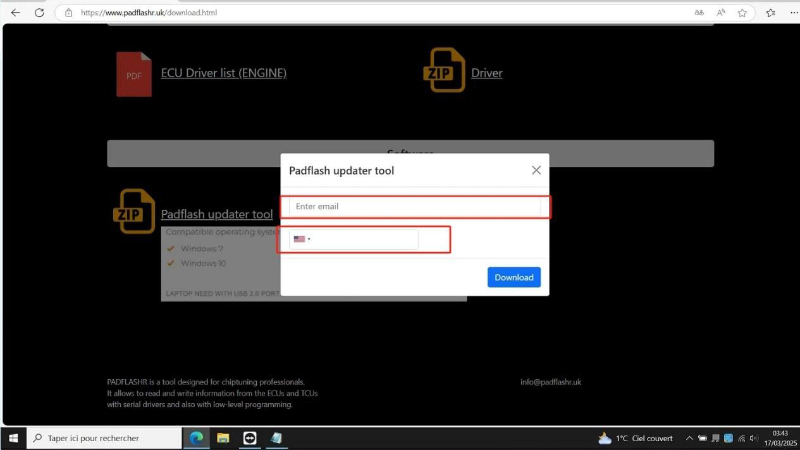
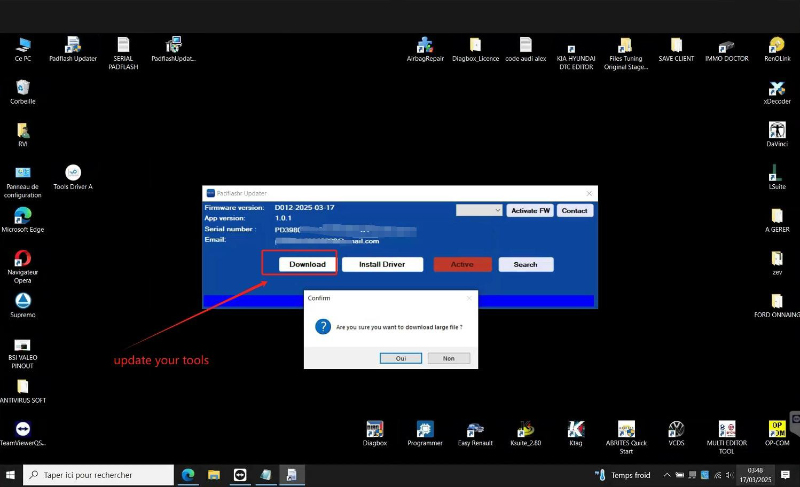
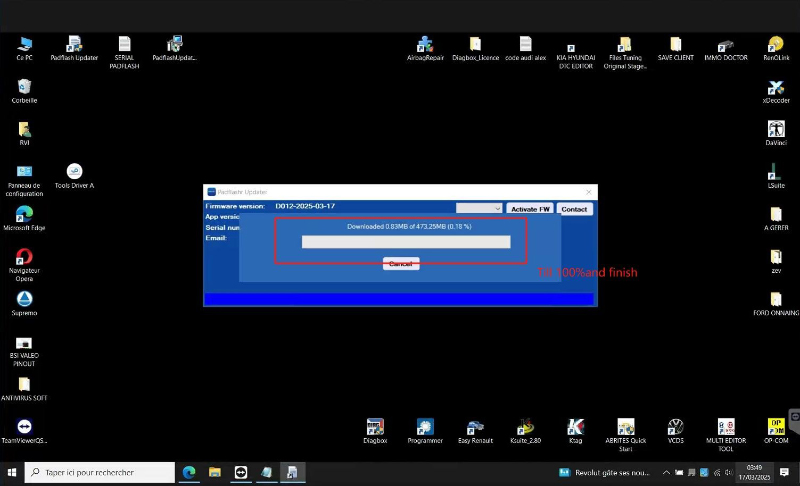
6)Restart PADFLASH updater and download update files
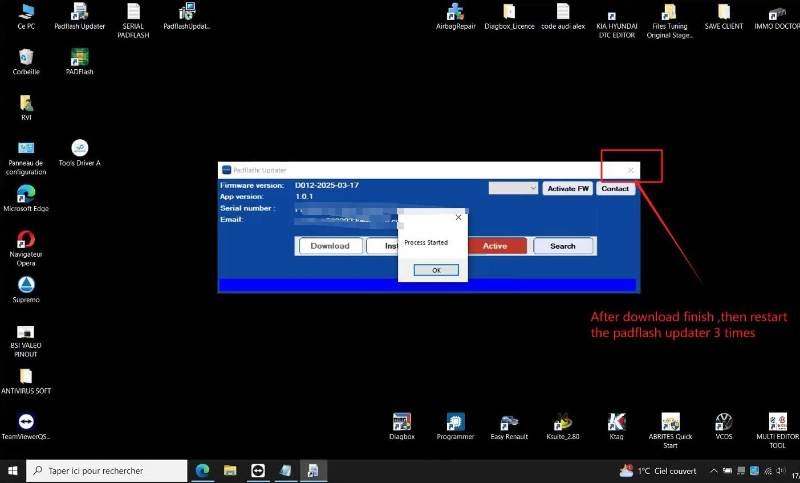
7)Restart PADFLASH update 3 times
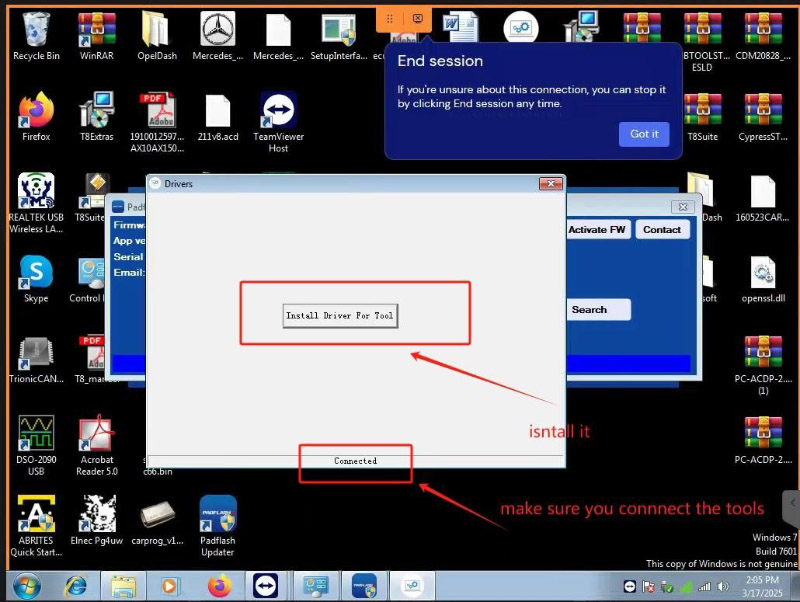
8)Connect PADFLASH Tool and its dongle to computer

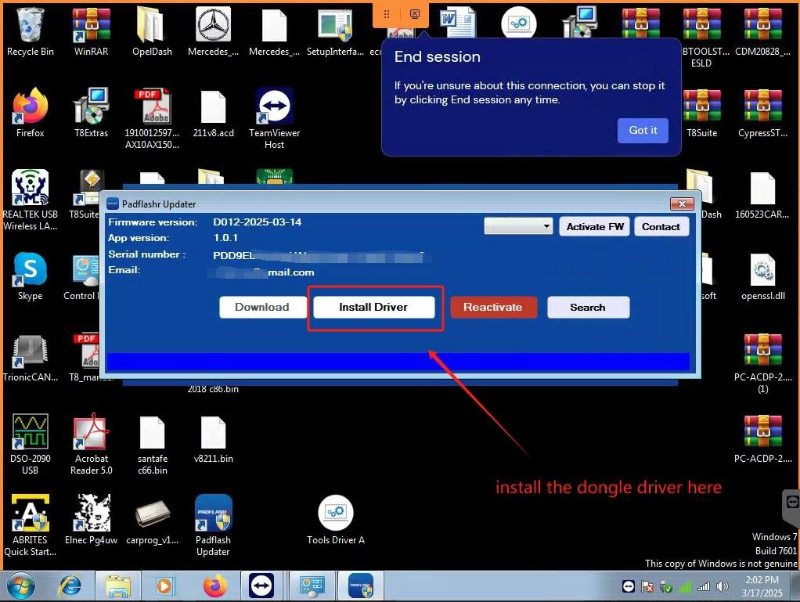
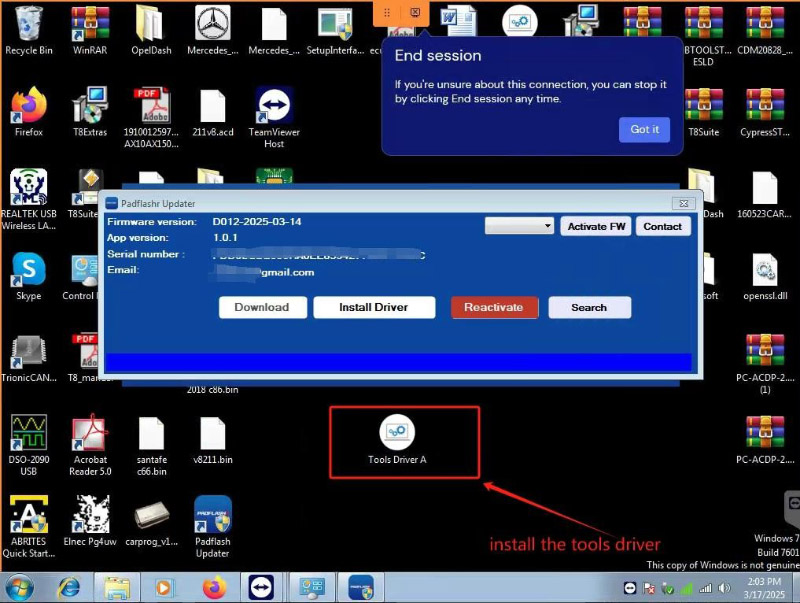
9)Install driver
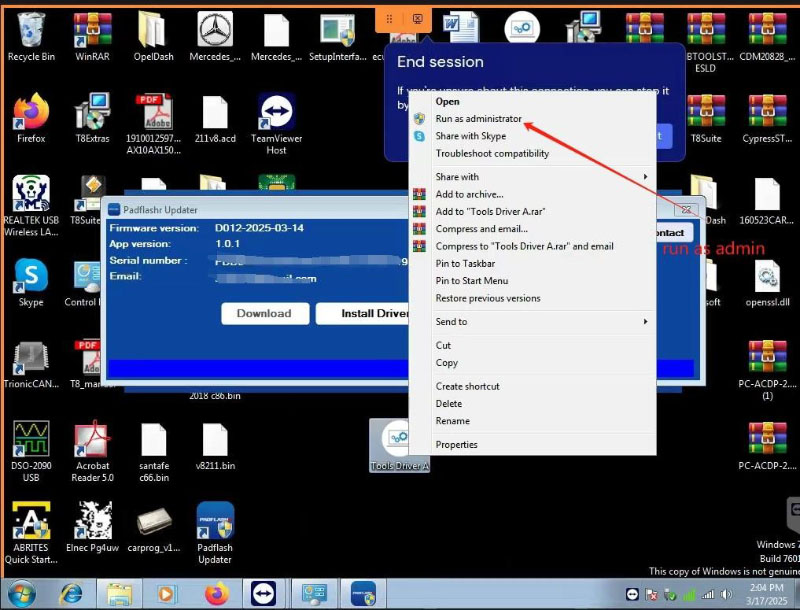
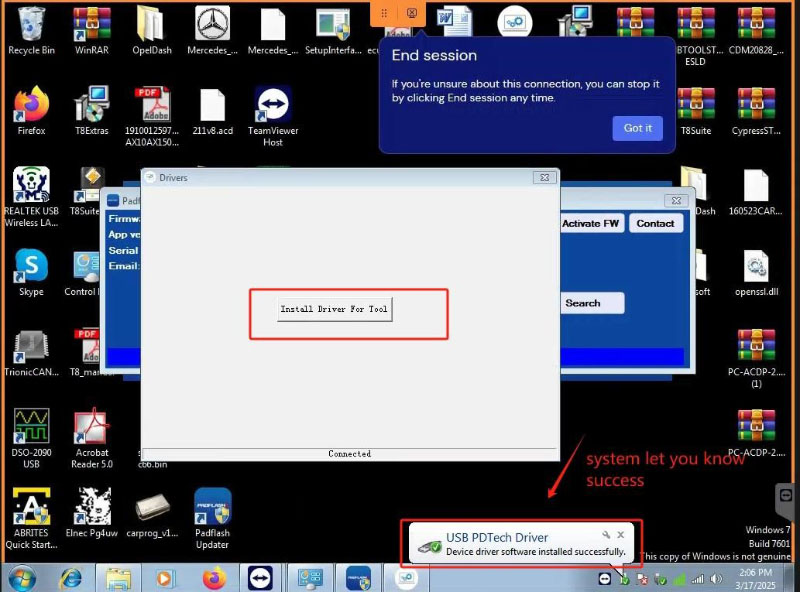
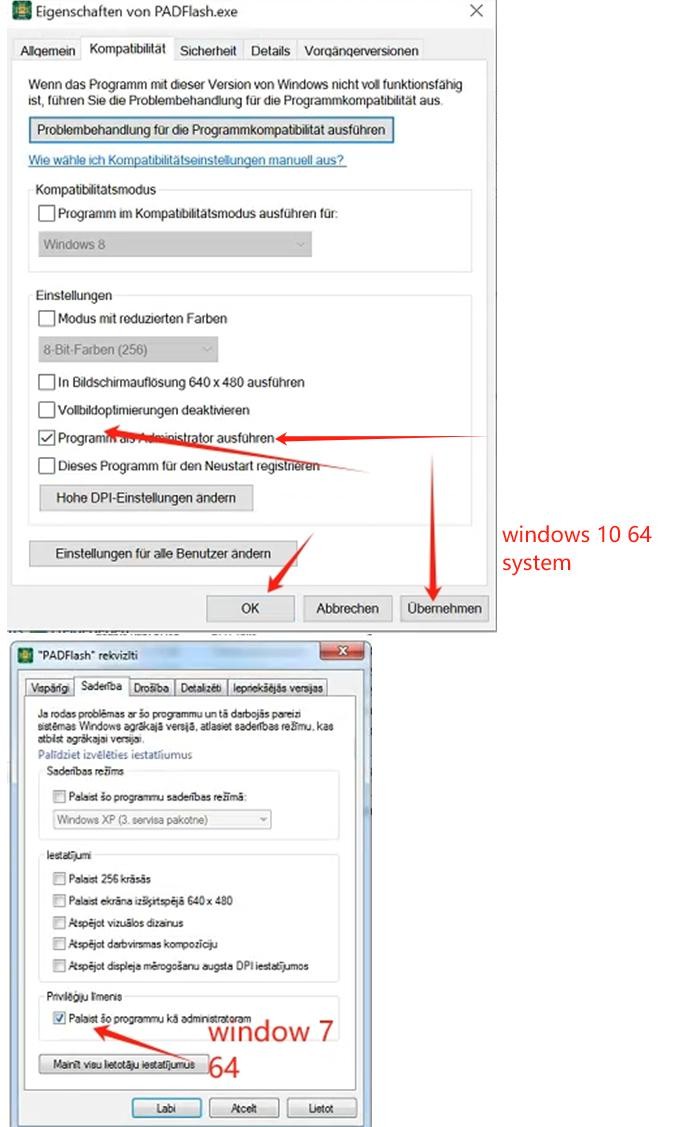
10)Set PADFLASH to always run as admin
Keep padflashr updater.exe running , then open this folder. (C:disk/windows/systembin/pdata)
Set padflashr.exe always run as admin (after set it as admin , then run it as admin mode , it will display a windows ask you input the sn ,so you write your tools big letters sn in it. then login)
![]()

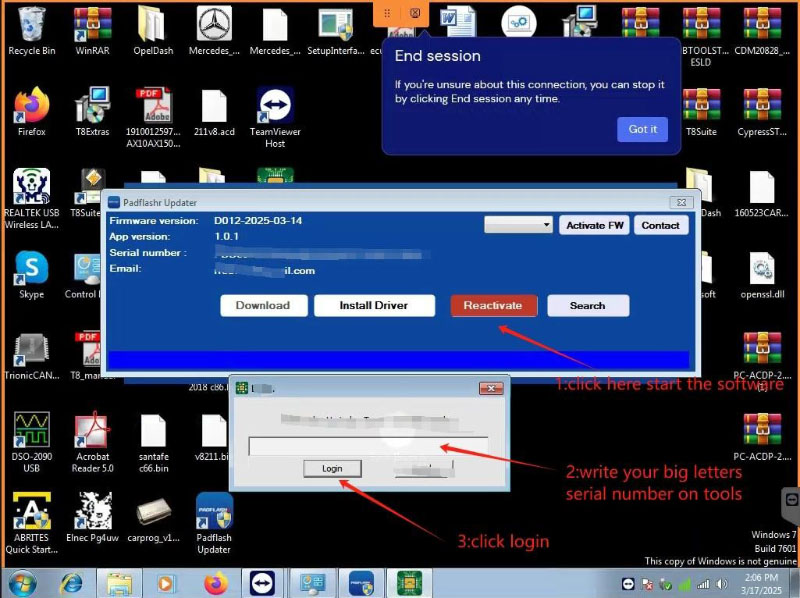
11)Run padflashr updater.exe software, click active (don’t go to desktop and run padflash.exe), wait, a windows will pop on, and write SN number with big letters
After running software, click activate FW, it has the license for your tools firmware
Every time you need click it activate FW when you close your software, it will upgrade the whole tools firmware every time when you close the software.
Notice:
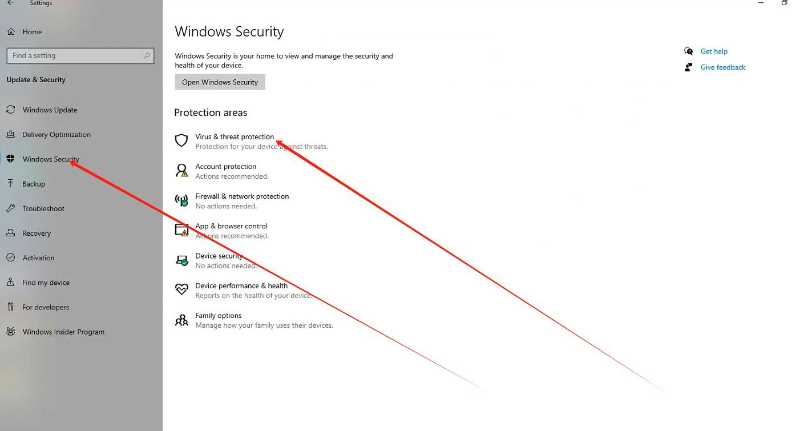
windows 10 and windows 11 must shutdown the defender fully , and turn off the real time scan , and all need do, if all of these you do, you can’t let the tools work well and software running well , contact the remote support help you refresh your windows system, it must be the windows lack some patch .
Done! That’s how to install PADFLASHR software on different Windows versions.
Skype: cardiag.co.uk
WhatsApp: https://wa.me/8615002705698