

This guide explains how to replace a BMW Siemens Continental MSV80 DME using YANHUA Mini ACDP and the ICP read/write method.
The procedure involves reading the ISN from the replacement DME, reading the original CAS data, modifying the CAS data with the donor DME ISN, and finally writing the modified data back to the CAS.
The operation is performed on the bench using the appropriate ACDP interface boards and adapters.
Required Equipment
- YANHUA ACDP-2
- OBP+ICP Adapter
- MSV80 Interface Board
- BMW CAS3/CAS3+ Interface Board
- BDM-01 Adapter
- BMW working key
- Donor MSV80 DME
Step 1: Read ISN from the Donor DME
First, read the ISN from the **donor DME that will replace the original unit**.
Connect the MSV80 interface board to the DME and connect the OBP+ICP adapter according to the required wiring.
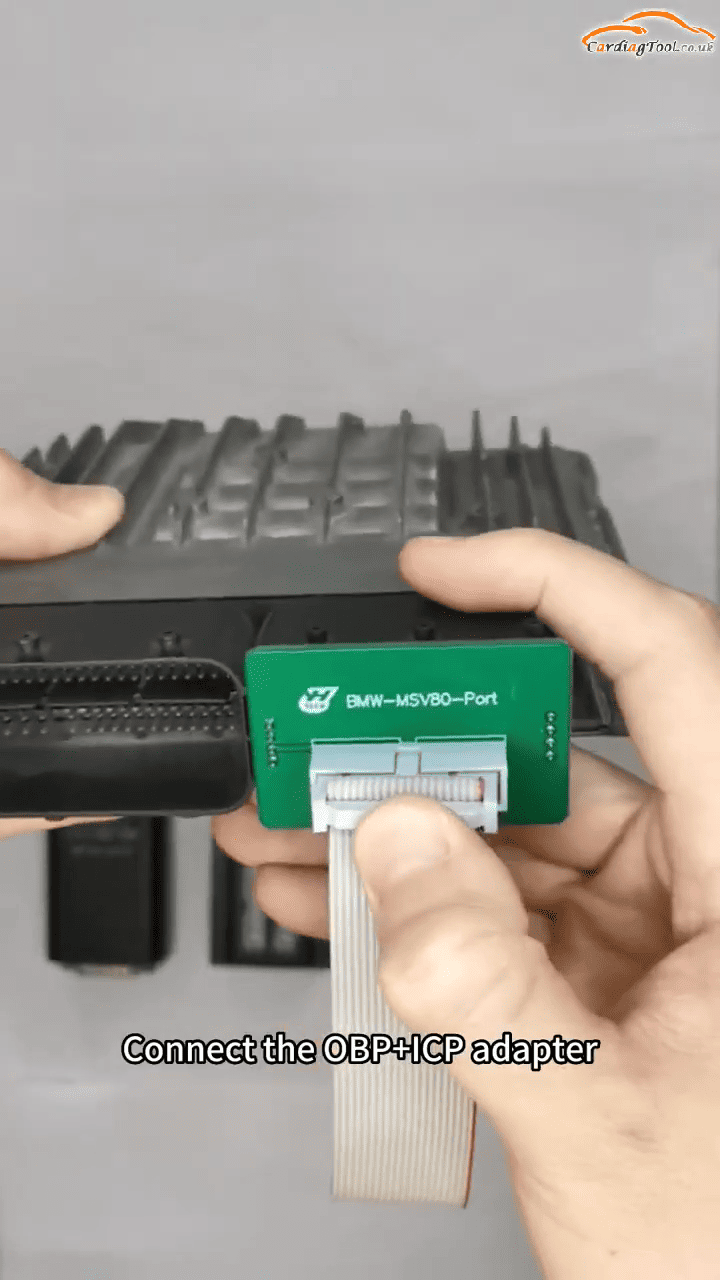
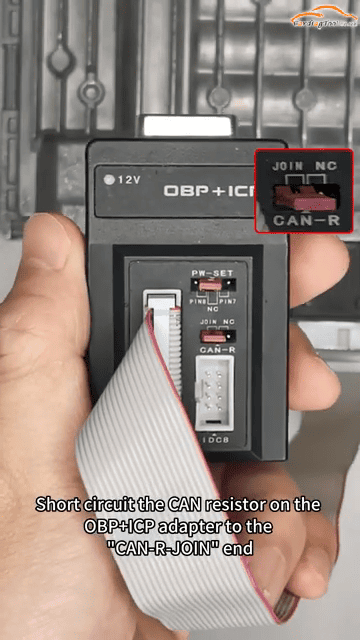
Connect the adapter to the ACDP host and open the ACDP application.
Select [BMW] → [DME ISN] → [Bench Mode Read/Write DME ISN]
Then select [Siemens Continental DME] → [Exx] → [N51 MSV80]
Select the [Read ISN] function.

Confirm that the connection between the ACDP and DME is normal, then continue.
Read the chip data and check the displayed chip information. Continue to read the chip data and locate the ISN.
Long-press the ISN value to copy it and keep it for the following steps.
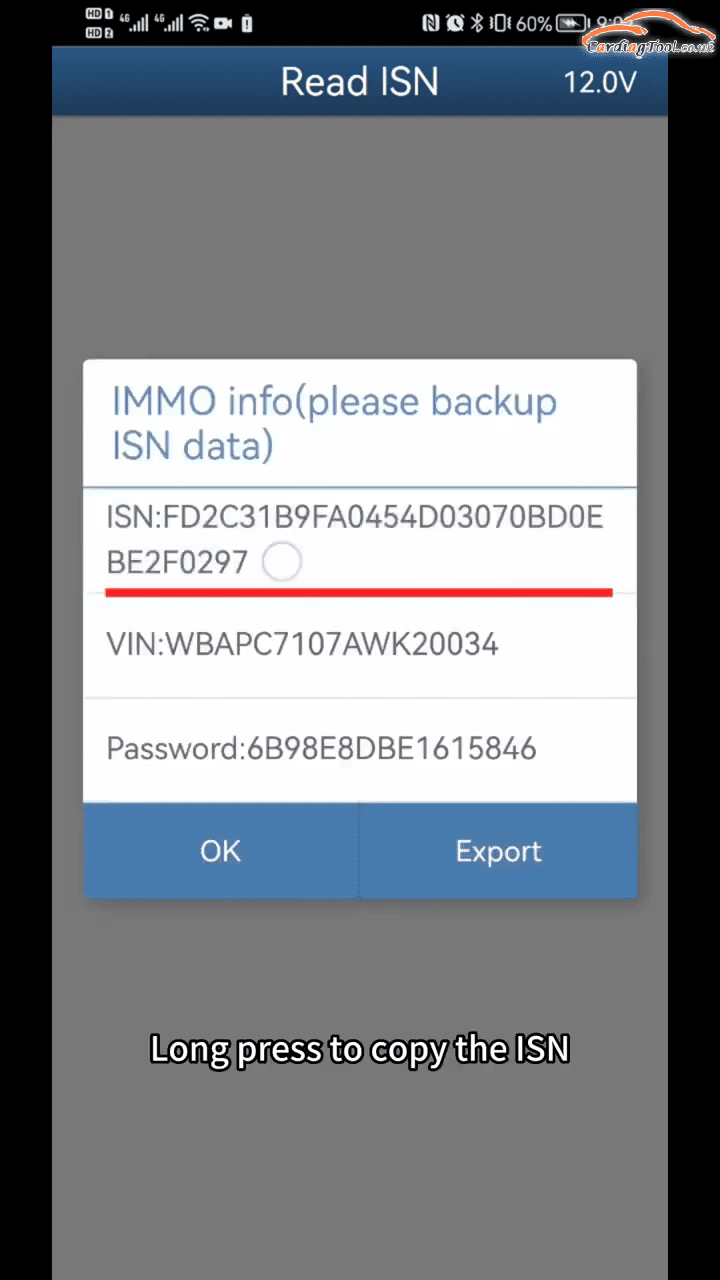
After the ISN has been successfully read, tap [OK].
Step 2: Read the Original CAS Data
Next, read the CAS data from the original vehicle.
Install [CAS3] and locate the positioning holes on the CAS interface board. Install the support studs and attach the BMW CAS3 interface board.
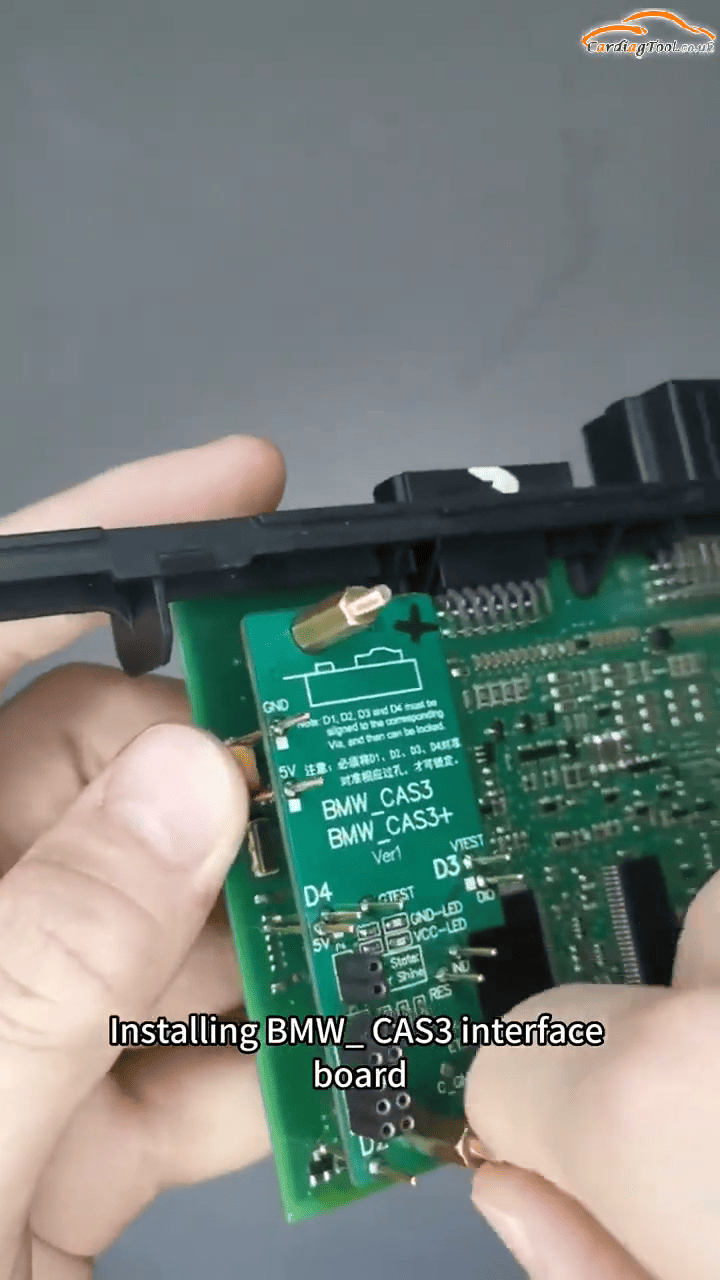
Connect the OBP+ICP adapter to the BDM-01 adapter and then connect the setup to the CAS interface board.
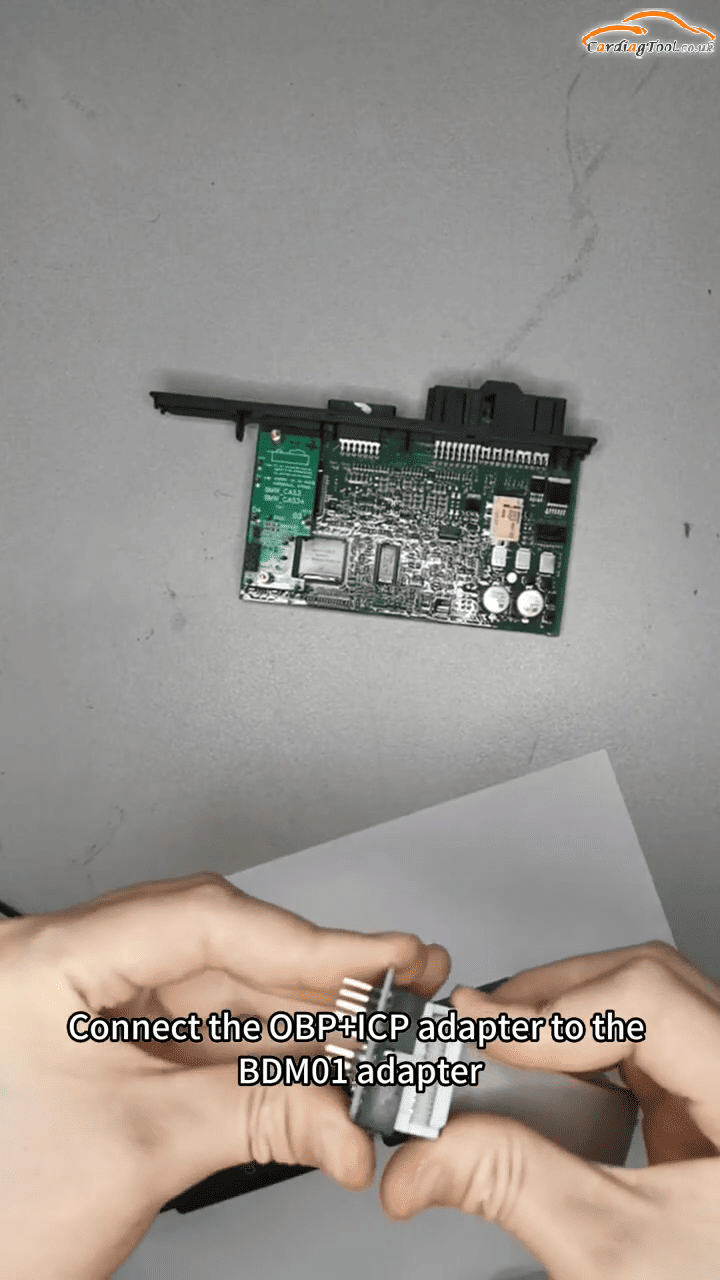
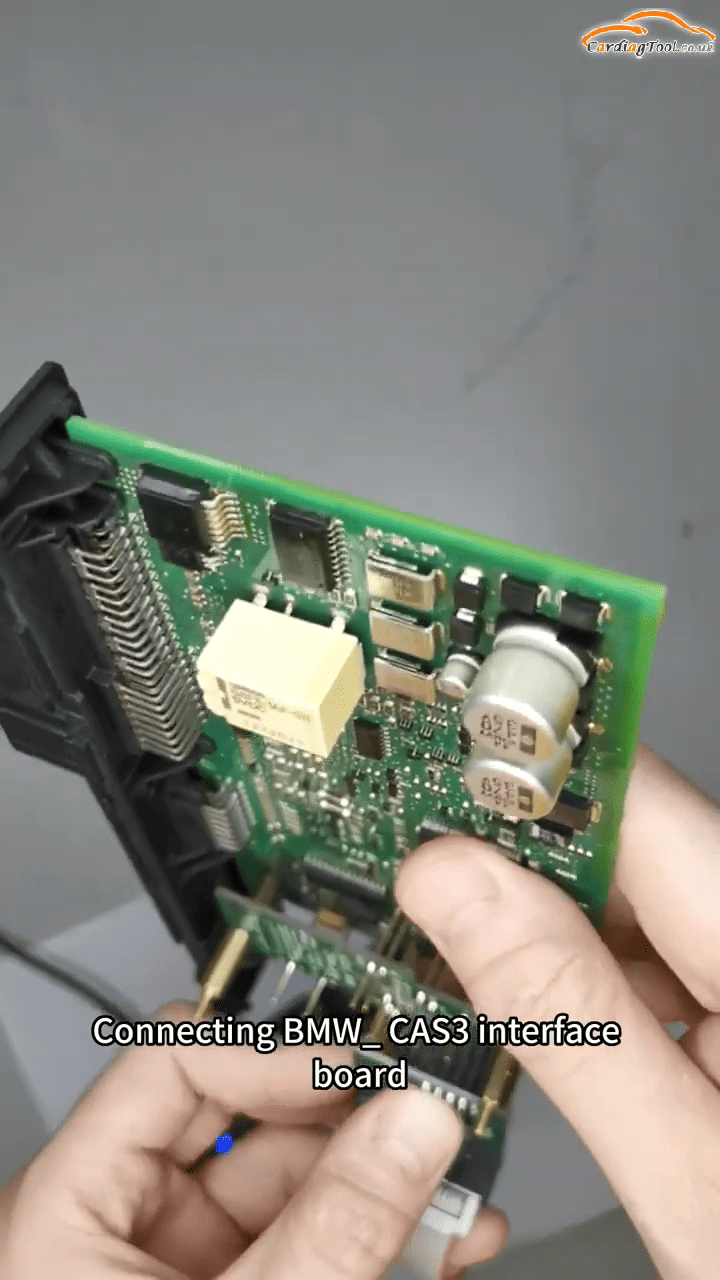
Return to the BMW menu and select [CAS1~4] → [CAS3/CAS3+] → [ICP Mode] → [Read/Write CAS ISN (Replace DME)]
Select the corresponding option according to the chip type.
Choose [Read CAS EEPROM]
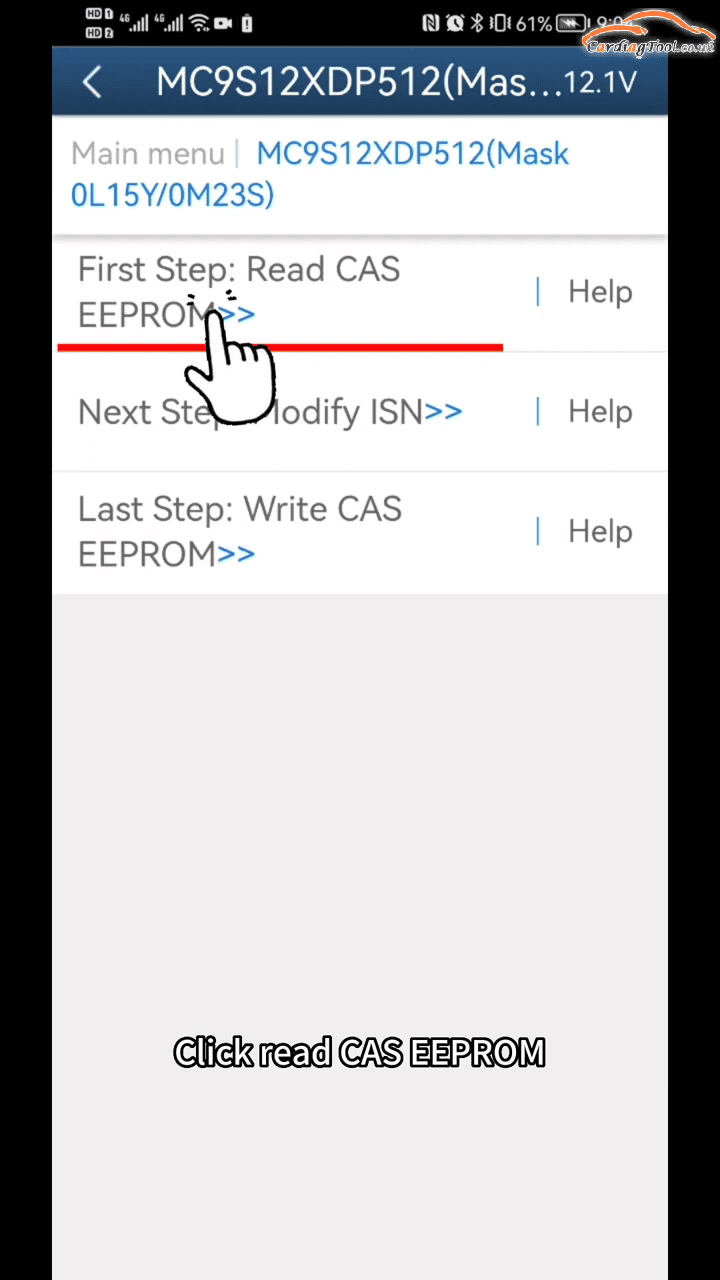
Confirm that the ACDP is properly connected and start the operation.
Wait for pin detection to finish and continue with the chip reading process.
Once the EEPROM data has been read successfully, note the generated file name and save the file.
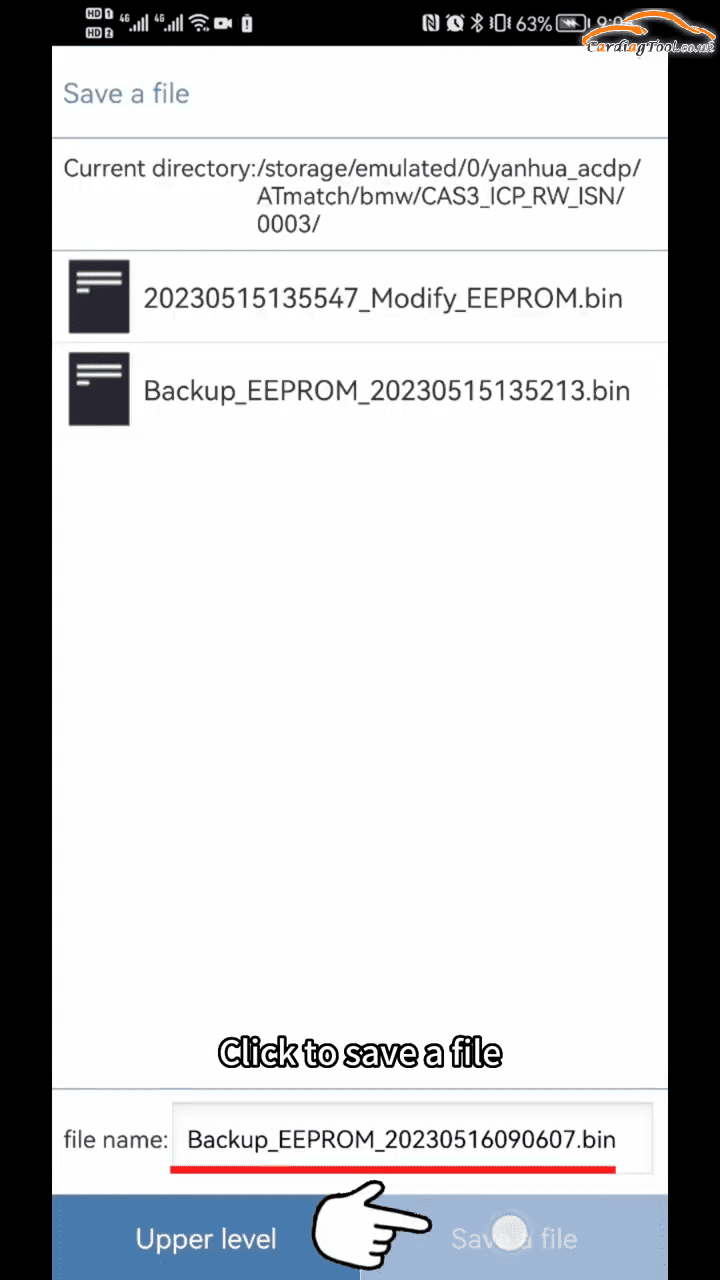
Pay attention to the storage location and file name so that the data can be easily identified later.
Step 3: Modify CAS Data with the Donor DME ISN
Now connect the [BAV key adapter] to the ACDP host and insert the working key.
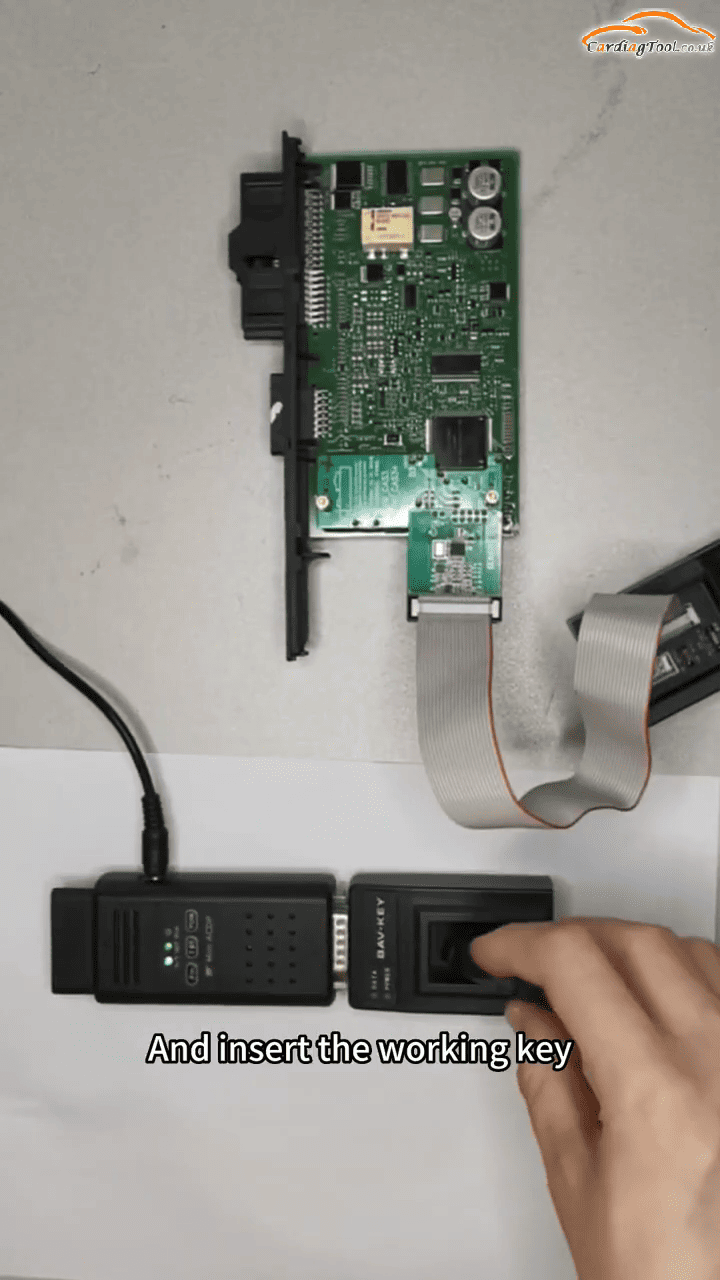
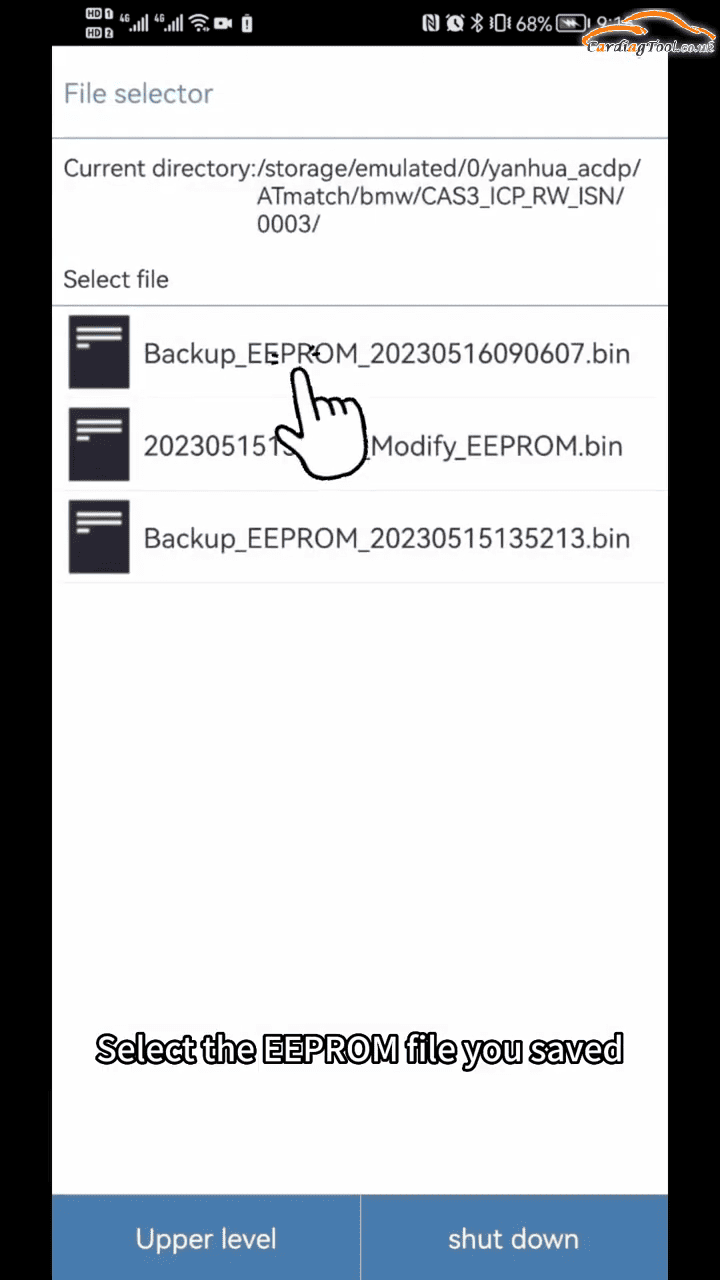
Select [Modify ISN] → [Replace 32-bit ISN DME]
Load the CAS EEPROM file saved in Step 2.
Confirm that the ACDP and BAV adapter are connected correctly.
The system will display the key information. Save a screenshot if necessary for future reference, then continue.
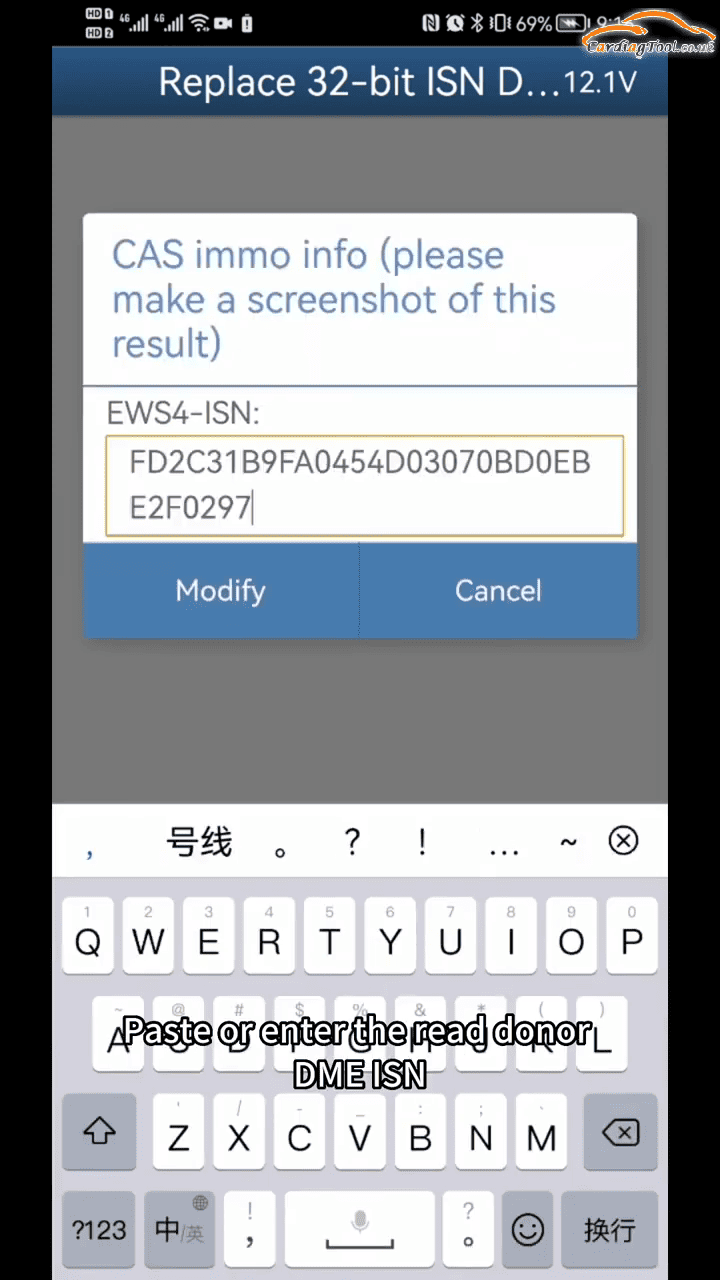
Select the ISN field and clear the existing value.
Enter or paste the ISN read from the donor MSV80 DME in Step 1.
Select [Modify] to update the CAS data.
After modification is completed, save the new EEPROM file.
Again, pay attention to the file name and storage path because this modified file will be used in the next step.
Step 4: Write the Modified CAS Data
Return to the previous menu.
Disconnect the BAV key adapter and reconnect the **OBP+ICP adapter**.
Select [Write CAS EEPROM]
Confirm the connection between the ACDP and the device, then continue.
Wait for pin detection to complete.
Select the modified EEPROM file created in Step 3.
The ACDP will process the data and write it to the CAS.
Wait until the system reports that the data has been written successfully.
DME Replacement Completed