


LAUNCH X431 V+ 4.0 scanner allows customers to reprogram adaptive data for certain components after making repairs or replacements, providing ways for the issues of Drivability, Fuel Efficiency, Power Loss, Fault Codes, Durability of Mechanical Parts. It is the ideal scanner for professional mechanics and auto repair stores to perform all-around fixes and comprehensive tests.
This article aims to provide the operation method of How to Perform Launch X431 V+ 4.0 Scanner Local Vehicle Diagnosis to all customers from cardiagtool.co.uk OBD2 car tool e-shop.
First of all, come to the scanner’s Home screen and tap “Local Diagnose” to enter the vehicle selection page. Tap a corresponding diagnostic software logo, and then follow the on-screen instruction to access the diagnostic software.
Here below is an example to demonstrate how to diagnose a vehicle.
1). Select diagnostic software version: Tap the “DEMO” to go to Step 2 (Note: If more than one version is available on this handset, it will be listed on the screen.).
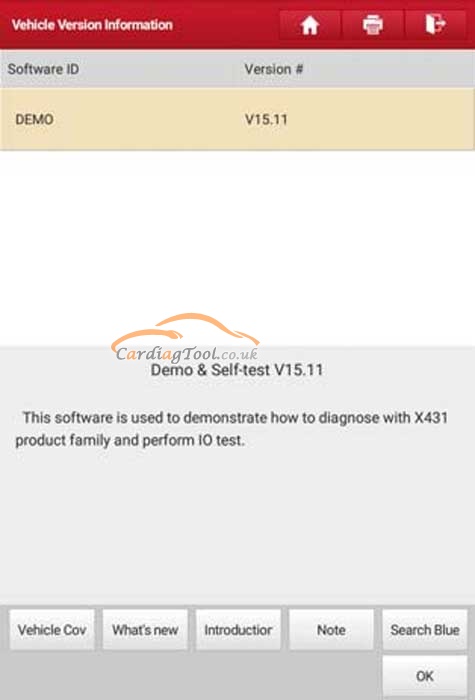
On-screen Buttons:
Testable models: Tap to view the vehicle models that the current diagnostic
software covers.
Update instruction: Tap to view the optimized items and enhancements.
Software introduction: Tap to check the software function list.
Note: Tap to read some precautions on using the current diagnostic software.
Search Bluetooth: Tap to search for the available VCI Bluetooth connector.
Important message:
1.No Bluetooth connection is required for DEMO program.
2.If a vehicle is tested and no Bluetooth connection is made before diagnosis, tap
“Search Bluetooth”, a dialog box similar to the following appears:
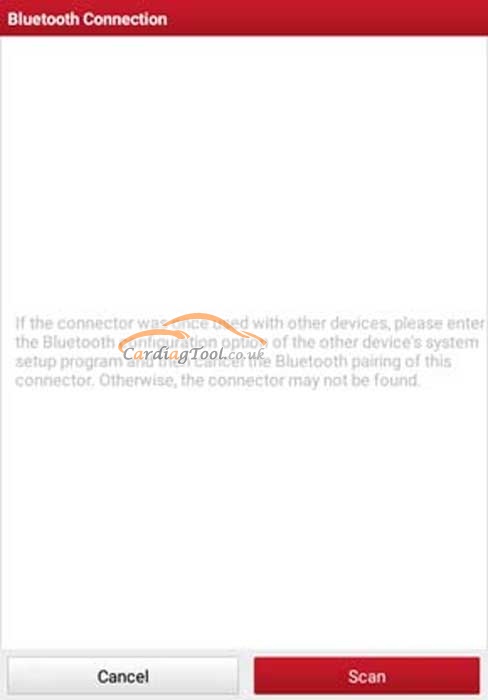
Tap “Scan” to start searching for the VCI. Once it is found, tap it to start pairing. If the tablet has paired with the VCI, it will enter Step 2 directly.
OK: Tap it to go to next step.
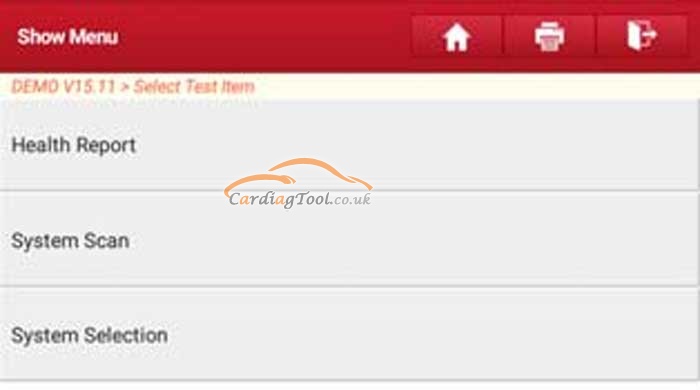
2). Select test item: Select the desired test item to proceed.
The instruction of performing Local Vehicle Diagnosis on Launch X431 V+ 4.0 Scanner will be explained to customers from the following three parts.
Part 1.How to Perform Health Report Function (or Start a Quick Test)?
This function varies from vehicle to vehicle. It enables you to quickly access all the electronic control units of the vehicle and generate a detailed report about vehicle health.
Tap “Health Report”, the system start scanning the ECUs and the screen displays as follows:
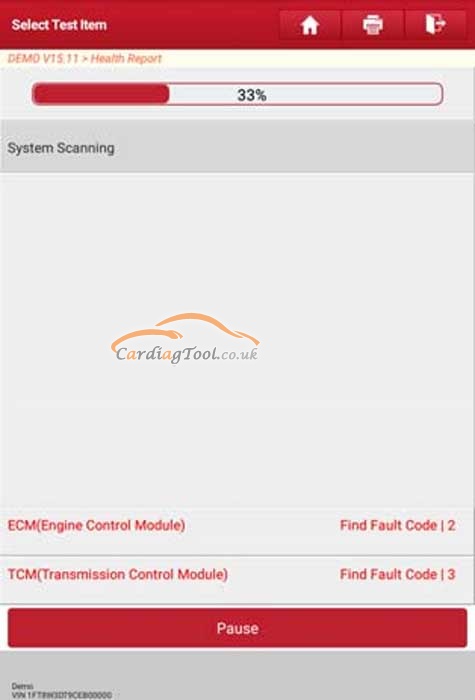
Once the scanning is complete, a screen similar to the following appears:
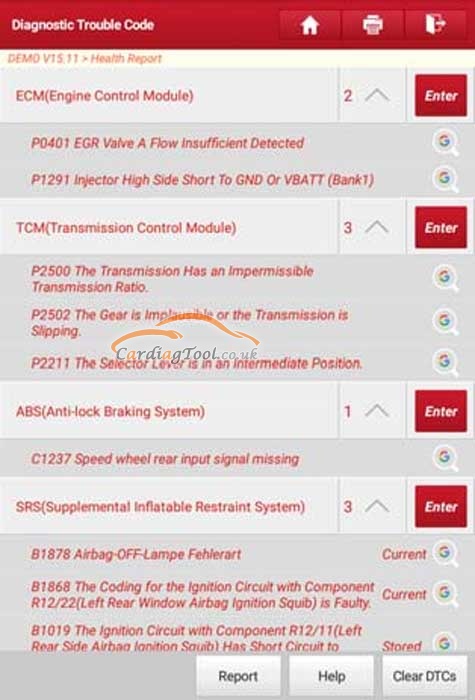
The tested system with fault code appears in red and the system with OK displays in black (normally).
On-screen Buttons:
Clear DTC: Tap to clear the existing diagnostic trouble codes.
Report: Tap to save it as a diagnostic report.
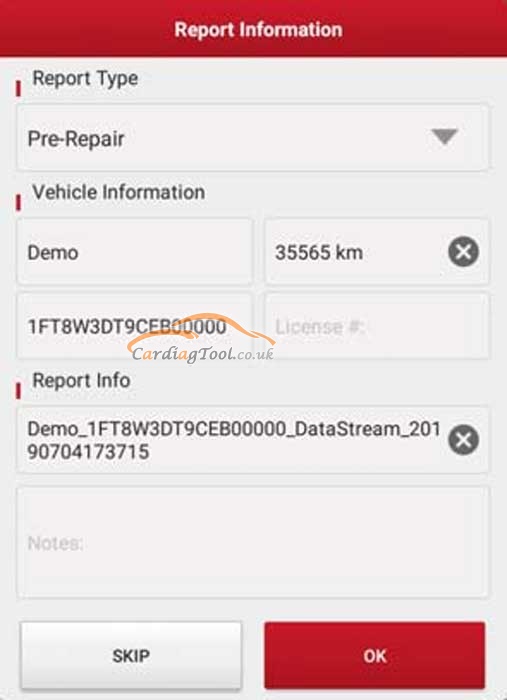
Input the required information, and then tap “OK” to save it.
Alternatively you can also set the workshop information in “User Info” -> “Settings” -> “Print Information”.
Once you configured the information, it will be automatically generated every time you saved the diagnostic report. All vehicle and workshop information will be appended to the diagnostic report.
To skip the workshop information, tap “Skip” to go to the next step.
All reports are saved under the tab “Diagnostic Report” in “My Report” from “User Info” menu.
Part 2.How to Quickly Start System Scan Function?
This option allows you to quickly scan which systems are installed on the vehicle.
On the test item selection screen, tap “System Scan”, the system start scanning the systems. Once the scanning is complete, the screen will display the result.
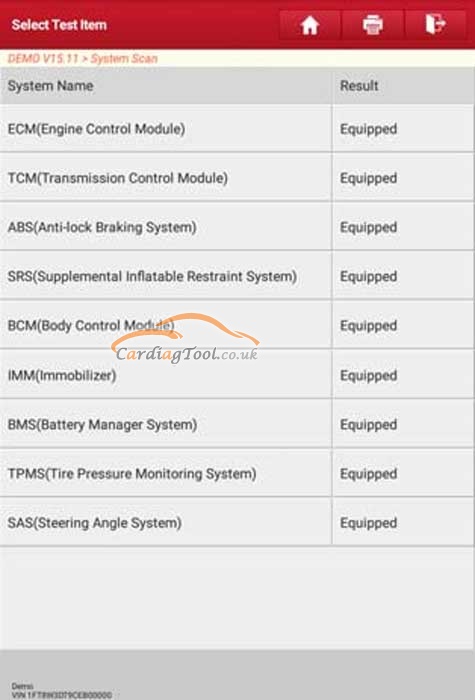
Tap the desired system to advance to the test function selection page.
Part 3. How to Manually Start System Selection?
This option allows you manually select the test system and function step by step.
On the test item selection screen, tap “System Selection”, the screen displays as follows:
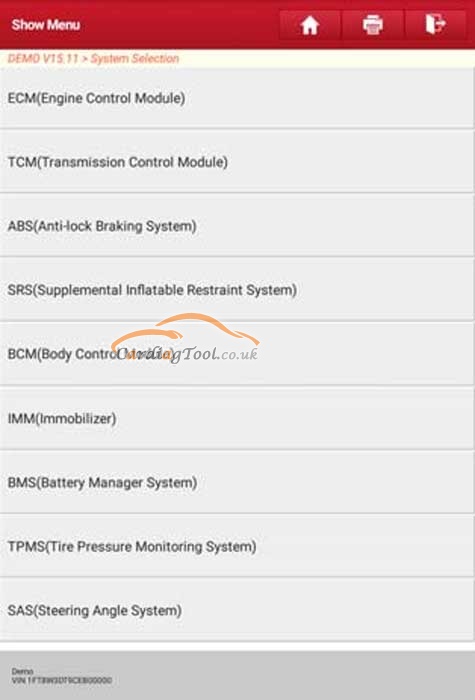
Swipe the screen from the bottom to view the vehicle system on the next page.
Tap the desired system (take “ECM” for example) to jump to the diagnostic function selection screen.
Important message: Different vehicle has different diagnostic menus.
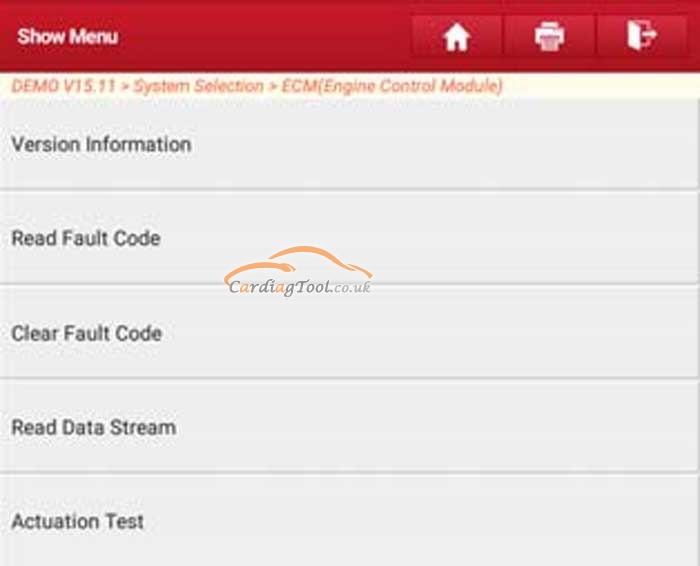
A.Version Information
This function is used to read the version information of system mode, vehicle VIN, software and ECU.
B.Read Fault Code
This function displays the detailed information of DTC records retrieved from the Vehicle’s control system.
Important message: Retrieving and using DTCs for troubleshooting vehicle operation is only one part of an overall diagnostic strategy. Never replace a part based only on the DTC definition. Each DTC has a set of testing procedures, instructions and flow charts that must be followed to confirm the location of the problem. This information can be found in the vehicle’s service manual.
On the diagnostic function selection screen, tap “Read Fault Code”, the screen will display the diagnostic result.
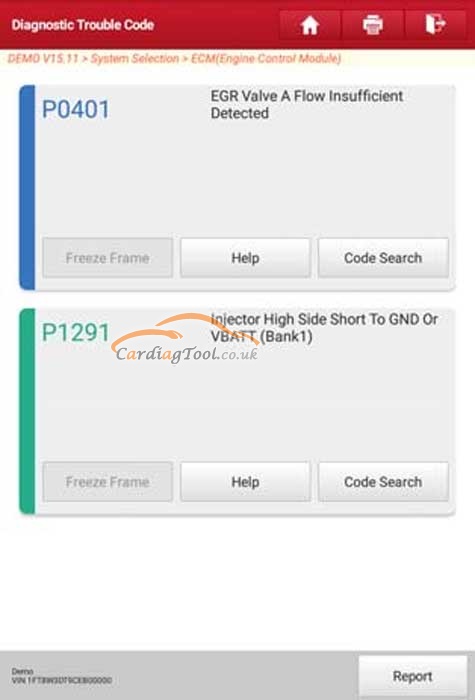
On-screen Buttons:
Freeze Frame: When an emission-related fault occurs, certain vehicle conditions are recorded by the on-board computer. This information is referred to as freeze frame data. Freeze frame data includes a snapshot of critical parameter values at the time the DTC is set.
Help: Tap to view the help information.
Code Search: Tap it to search for more information about the current DTC online.
Report: To save the current data in text format. All reports are saved under the tab “Health Reports” in “My Report” from “User Info” menu.
C.Clear Fault Code
After reading the retrieved codes from the vehicle and certain repairs have been carried out, you can use this function to erase the codes from the vehicle. Before performing this function, please be sure the vehicle’s ignition key is in the ON position with the engine off.
Clearing DTCs does not fix the problem(s) that caused the code(s) to be set. If proper repairs to correct the problem that caused the code(s) to be set are not made, the code(s) will appear again and the check engine light will illuminate as soon as the problem that cause the DTC to set manifests itself.
On the diagnostic function selection screen, tap “Clear Fault Code”, a confirmation dialog box pops up on the screen.
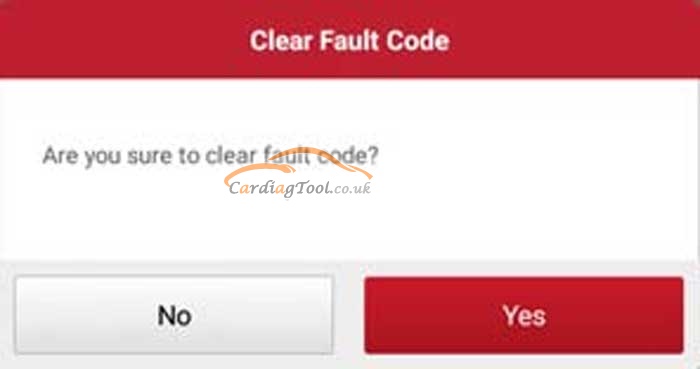
Tap “Yes” and the system will automatically delete the currently existing trouble code.
Important message: After clearing, you should retrieve trouble codes once more or turn ignition on and retrieve codes again. If there are still some trouble codes in the system, please troubleshoot the code using a factory diagnosis guide, then clear the code and recheck.
D.Actuation Test
This option is used to access vehicle-specific subsystem and component tests. Available test vary by vehicle manufacturer, year, and model.
During the actuation test, the tool outputs commands to the ECU in order to drive the actuators, and then determines the integrity of the system or parts by reading the ECU data, or by monitoring the operation of the actuators, such as switching an injector between two operating states.
On the diagnostic function selection screen, tap “Actuation Test”, the system will
display as follows:
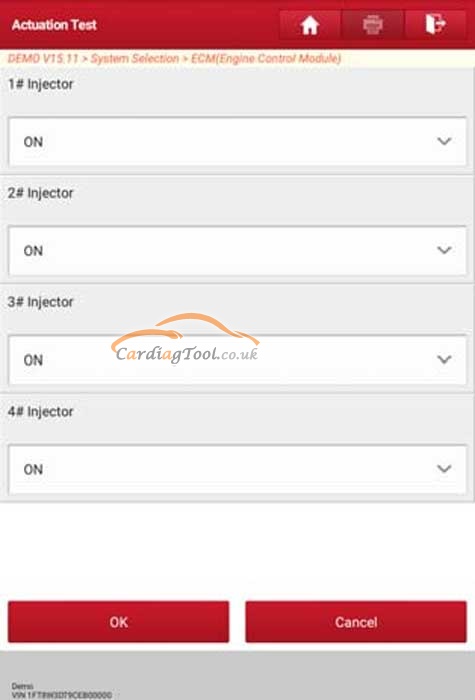
Simply follow the on-screen instructions and make appropriate selections to complete the test. Each time when an operation is successfully executed, “Completed” displays.
E.Special Function
In addition to amazing & powerful diagnostic function, the tool also features various reset functions, which varies from vehicle to vehicle. In this case, just choose the desired special functions to perform.
That’s all. Thank you for sharing your time with us!
Don’t forget to contact us at:
Email: sales@CarDiagTool.co.uk
Skype: cardiag.co.uk
Whatsapp: +86 15002705698
Or leave a message at https://www.cardiagtool.co.uk/
to tell us what suggestions or questions you have about our products.