


How to use v96 Julie car emulator in BOSCH ME7.4.5 ECU in Peugeot 307?
Here I’d like to share my experience.
Julie Emulator and Bosch:
Model: PEUGEOT 307CC
Year: 2007
109 HP, 1.6 GASOLINE
Firstly, I insert my original car key to turn on the ignition switch. My car can boot normally.
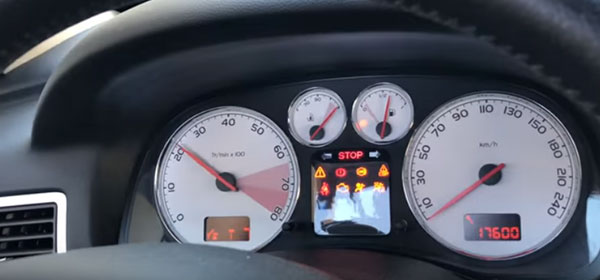

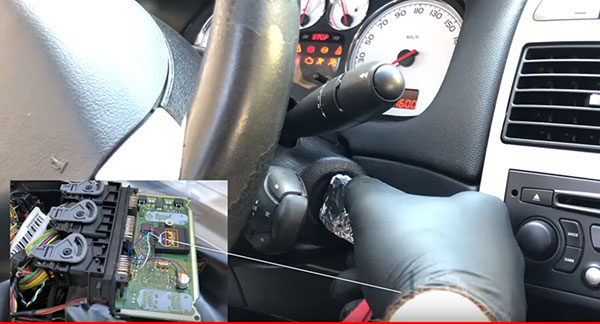
Then I use the foil-wrapped car key to start my car again. It cannot work.

After that I start to use Julie emulator in Peugeot 307.
Step 1: Take out Bosch ME7.4.5 from car boot
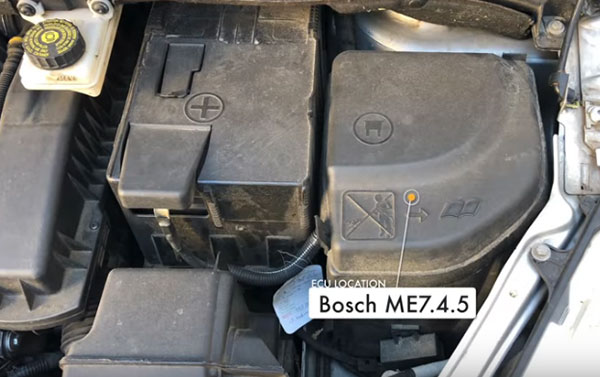
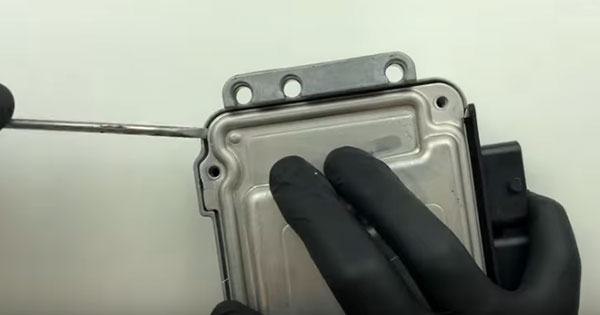
Step 2: Bosch ME7.4.5 as shown in the following picture
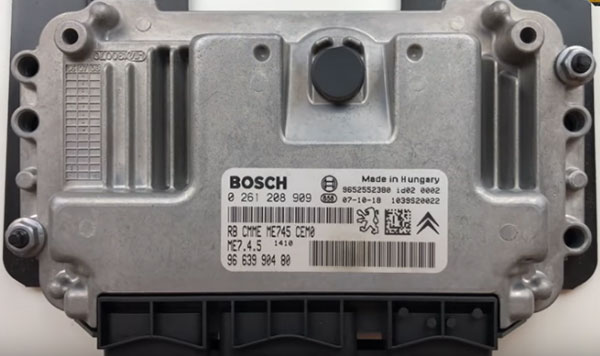
Step 3: Remove the two screws on both sides of Bosch ME7.4.5

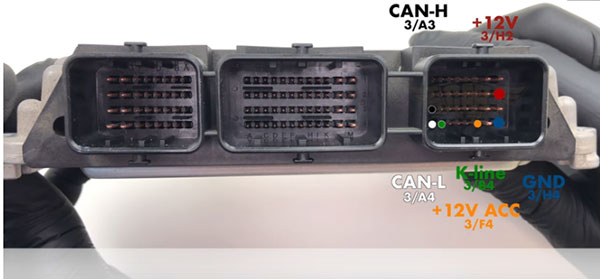
Step 4: Pinout of Bosch ME7.4.5 ECU
CAN-H 3/ A3
+12V 3/ H2
CAN-L 3/ A4
K-line 3/ B4
+12V ACC 3/ F4
GND 3/H4
Step 5: Remove the shell of Bosch ME7.4.5
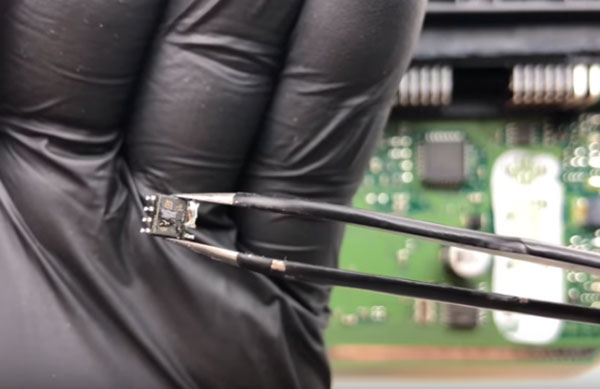
Step 6: 95320 memory
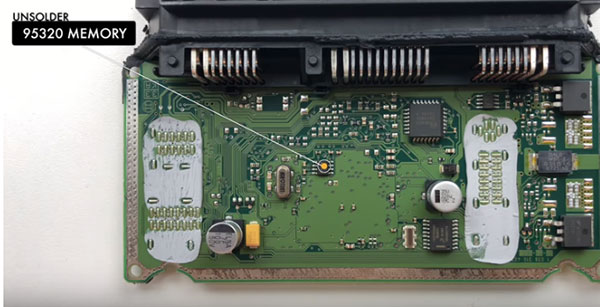
Step 7: Mark the location of the 1st memory leg
Step 8: Unsolder 95320 memory
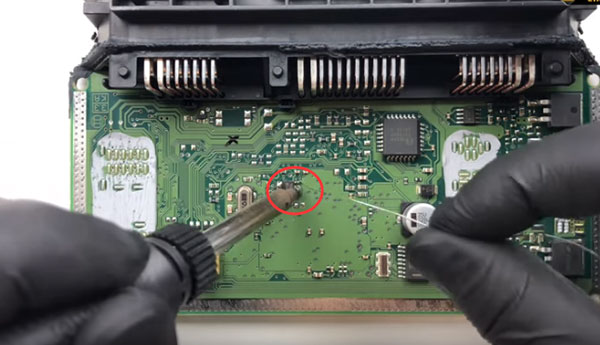
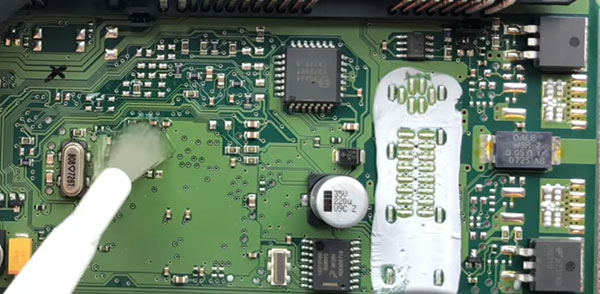
Step 9: Clean the soldering pads
Step 10: Pay attention to location of the 1st memory leg
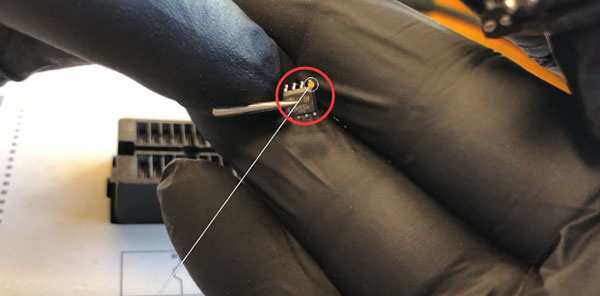
Step 11: Put 95320 memory into chip holder
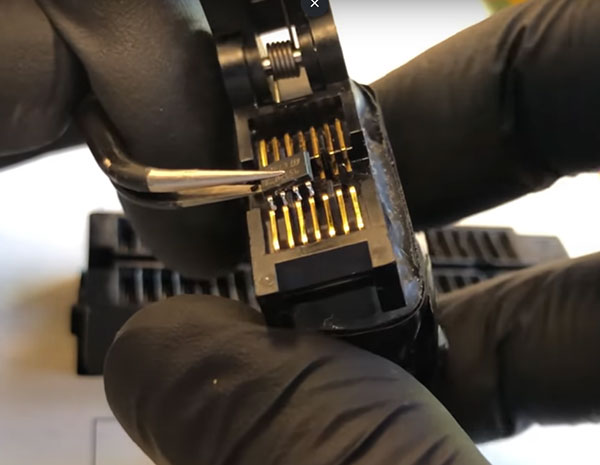
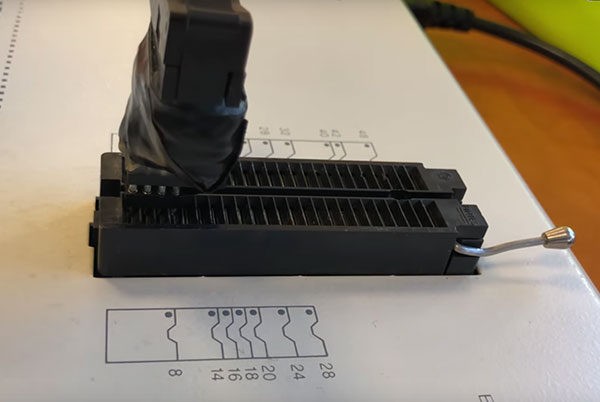
Step 12: Insert the chip holder into another holder
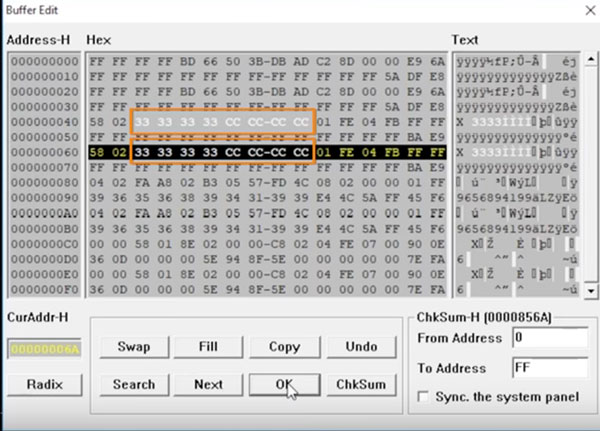
Step 13: Use the programmer -Buffer edit
Change the following values in memory content
Addresses: 042-049&062-069
Values: 33 33 33 33 CC CC CC CC
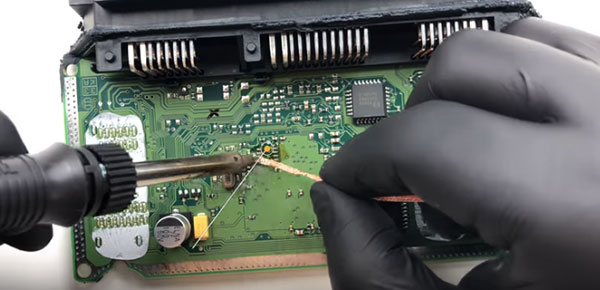
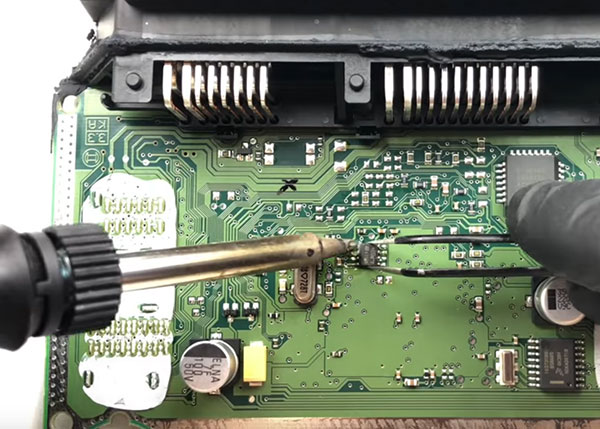
Step 14: Weld the chip to the ECU board
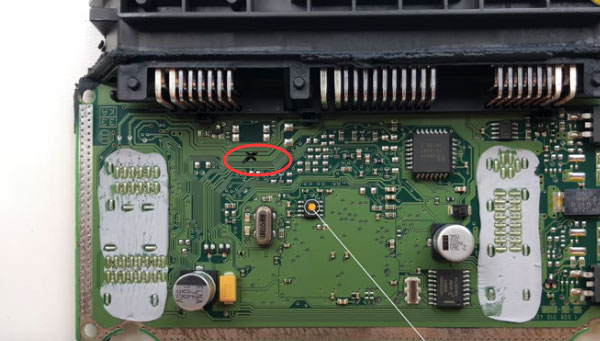
Step 15: In this case solder jumpers1+2+4+5+6

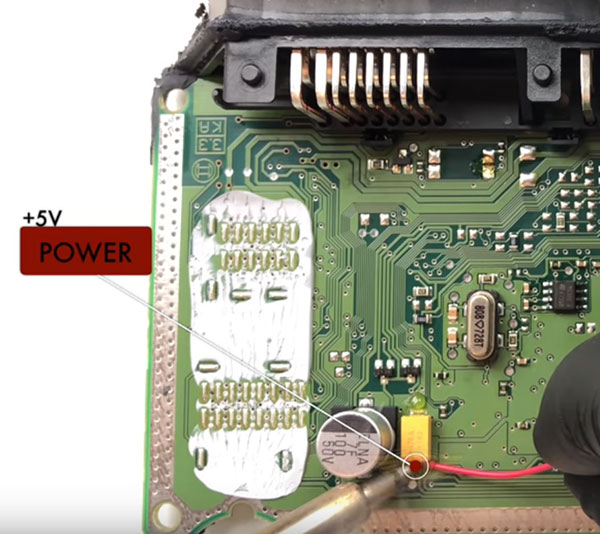
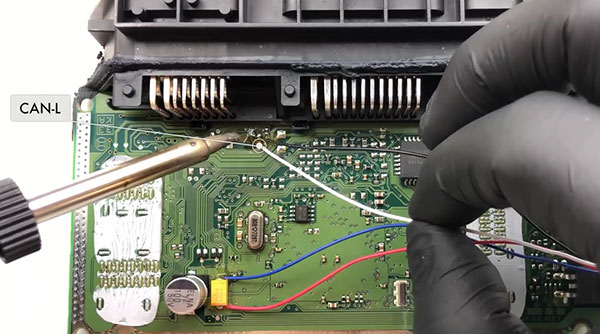
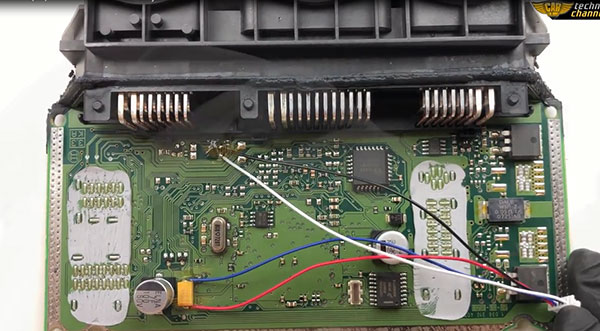
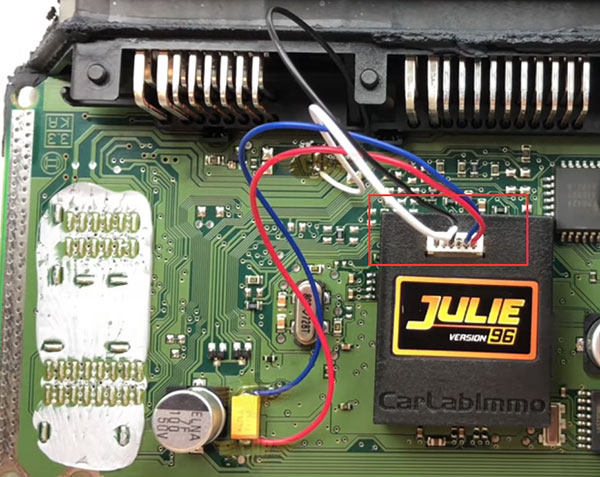
Step 16: Solder the Julie Emulator Version 96 to the ECU
+5v POWER
GROUND
CAN-H
CAN-L


Step 17: Install the ECU back to the car

Step 18: Insert the foil-wrapped car key to start my car again
Step 19: The blue led means correct self-adjustment
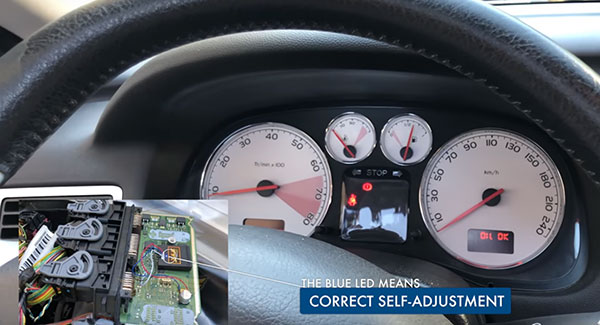
Finally, my car can work successfully.