


ELM327 interfaces arrived, and now the fun begins. I ordered it on Friday evening and it arrived last night, 5 days from order to delivery.
See the two ELM327 interfaces i have:
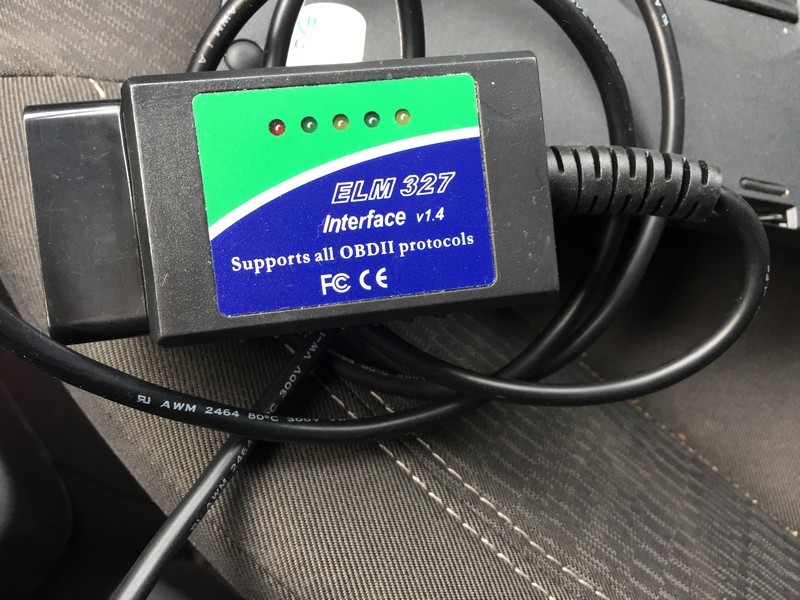
I chose good ELM327 with original PIC18F25K80 FDTI chip, avoid bad clones that do not work
I will show you now what i did with the two:
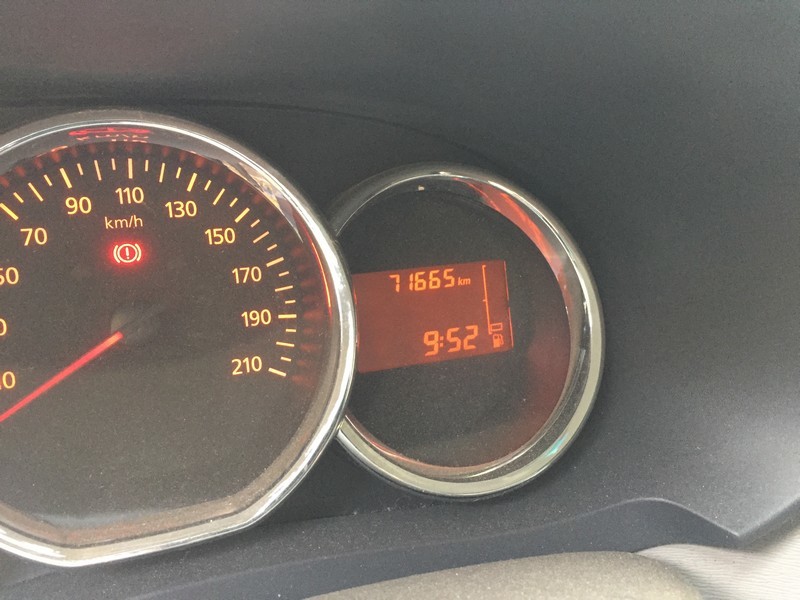
activate the permanent lighting of the TDB and enable the display of time and temperature
start the ELM327 DDT4All version Française
Note: DDT4All is tool to create your own ECU parameters screens and connect to the vehicle with an ELM327 cable.
This application is work in progress, so be very careful when using expert mode. If you’re brave enough to use it and it’s working (or not), please tell me so I can update the tested ECUs database. Using the application in non expert mode should not be harmful for your vehicle (leave the expert mode button released).
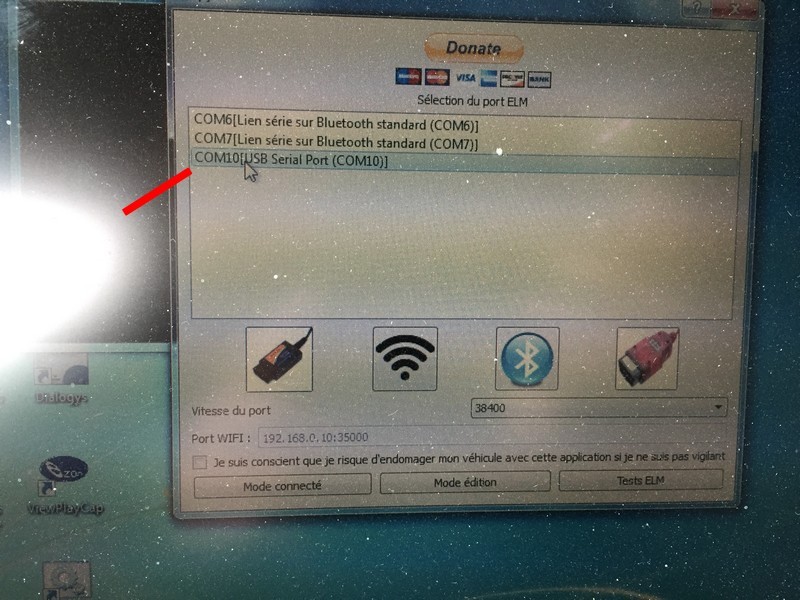
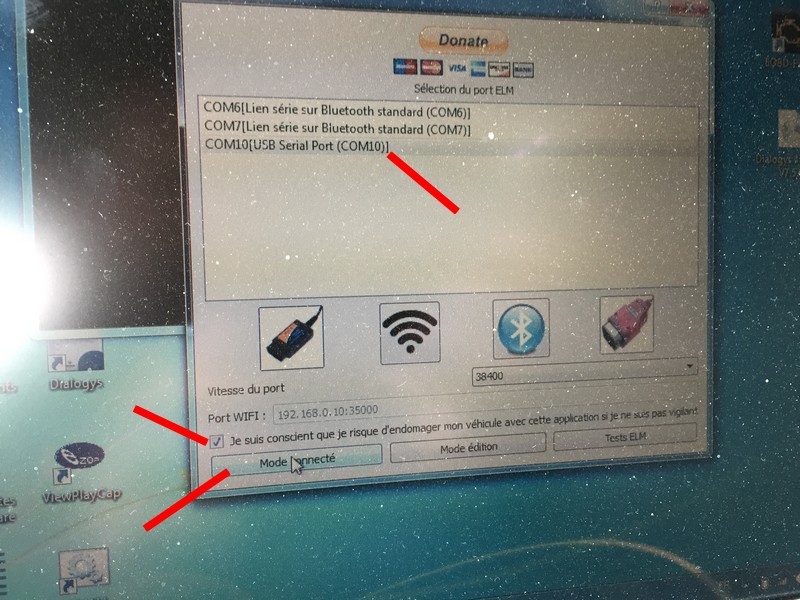
choose the com port corresponding to the connection mode, put the cross in “I am aware” and click on “connected mode”
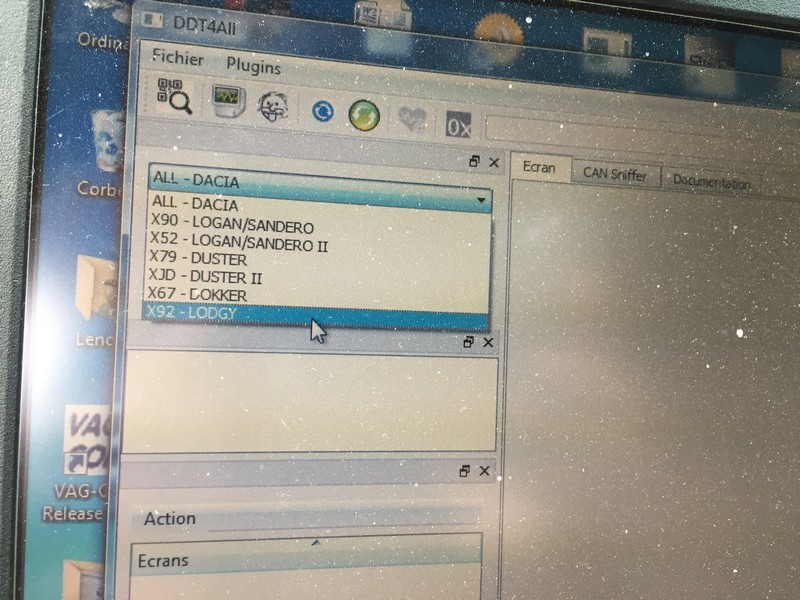
choose the vehicle
go into TDB cluster
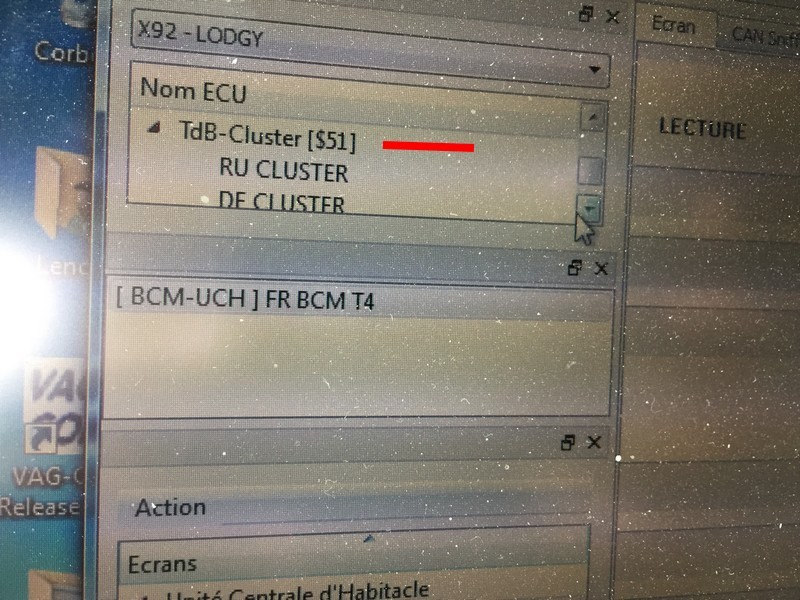
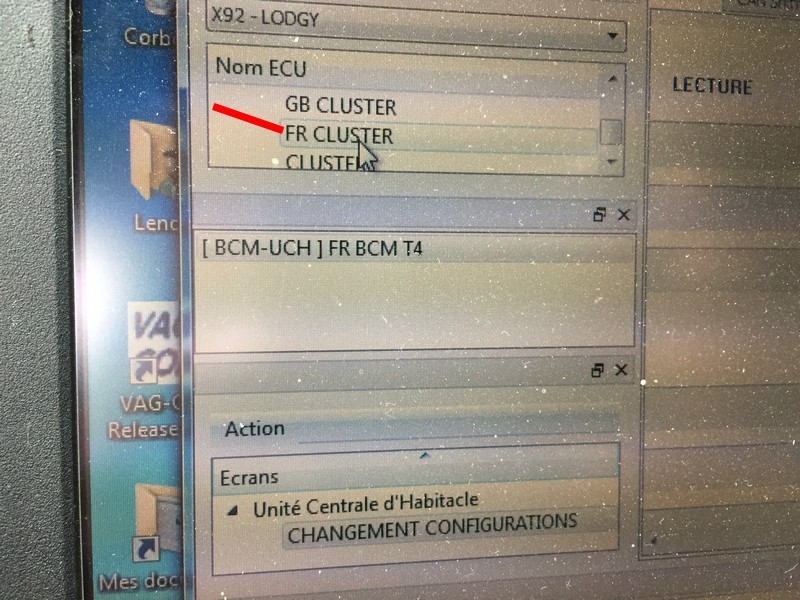
then double click on FR cluster
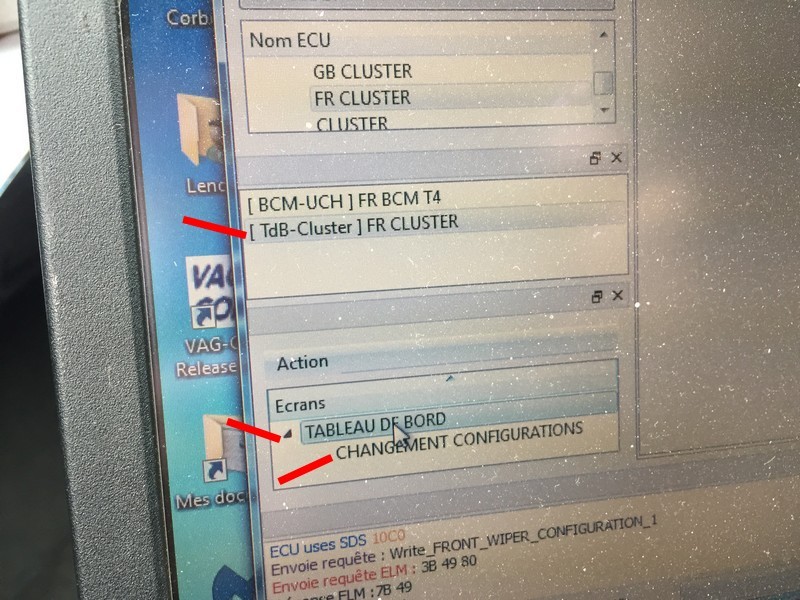
then ditto in the window below then on TDB and change configurations
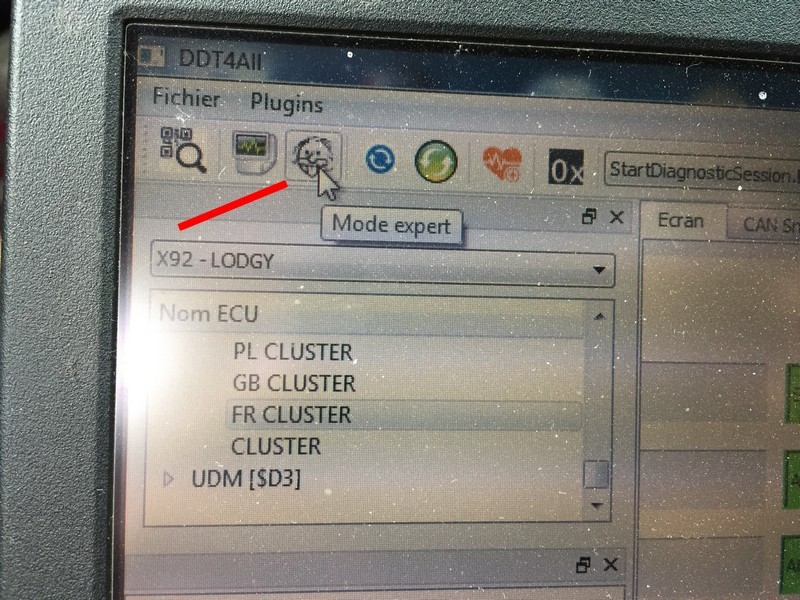
switch to expert mode
change the desired parameters (clock, temperature, permanent lighting, etc …) then validate by clicking on save

it’s finished 😉
Note: even if I prefer the ELM327 USB, a good ELM327 Bluetooth will work
you have an ELM test in the soft, it is necessary that all the line AT are OK at least until version 1.3