

In this guide, we will show how to use YANHUA ACDP Module46 and YANHUA Mini ACDP 2 to transfer Immo data and coding data from an original VGS4 TCU to a donor VGS4 TCU, completing the data transfer process for TCU replacement.
Make sure ACDP-2 device is connected and the TCU wiring is properly installed.
1. Connect ACDP and VGS4 TCU
Power on YANHUA ACDP2, then open the ACDP APP.
Next confirm that the ACDP device is connected in the upper-right corner.
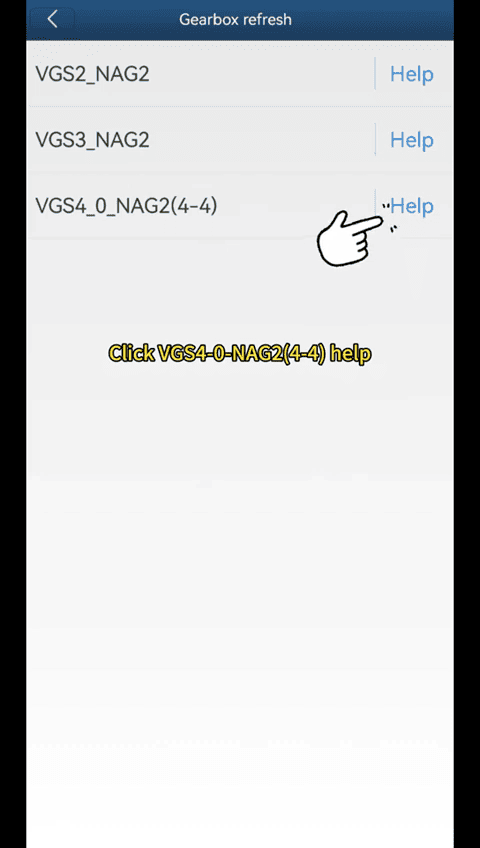
Select [Benz] → [Gearbox refresh]
Choose [VGS4-0-NAG2 (4-4)] help
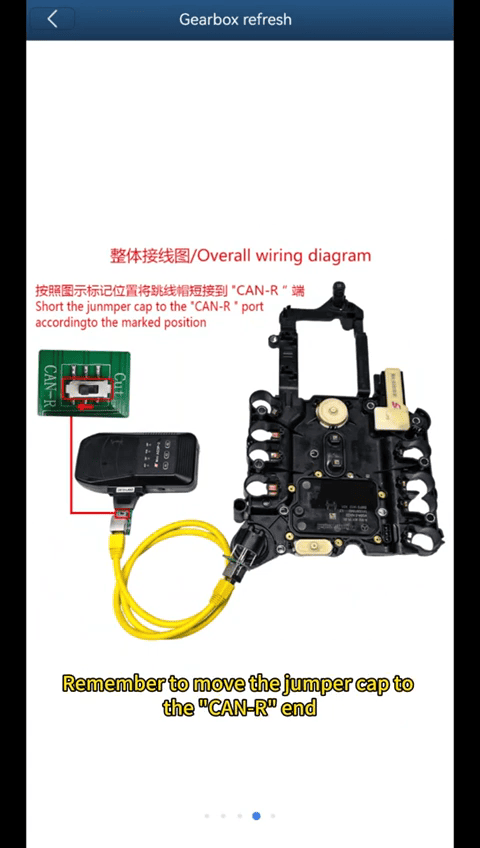
Follow the help document to connect the VGS4 TCU with the ACDP interface board.
During connection, remember to move the jumper cap to the CAN-R position.
After completing the wiring, select [Identify Info] → [Continue]
Check whether the detected original TCU information is correct.
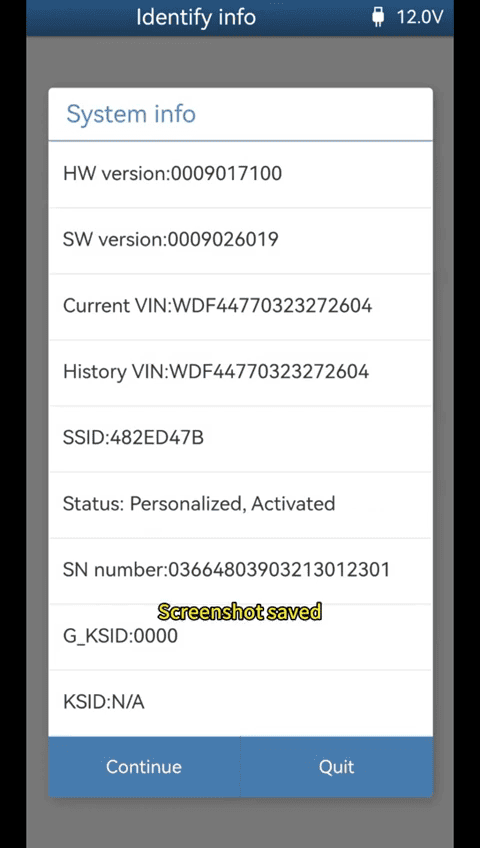
Attention, IMMO status: Support refresh/transfer data
2. Read Original TCU Coding Data
Select [Transfer Data] → [Step 1: Read original coding]
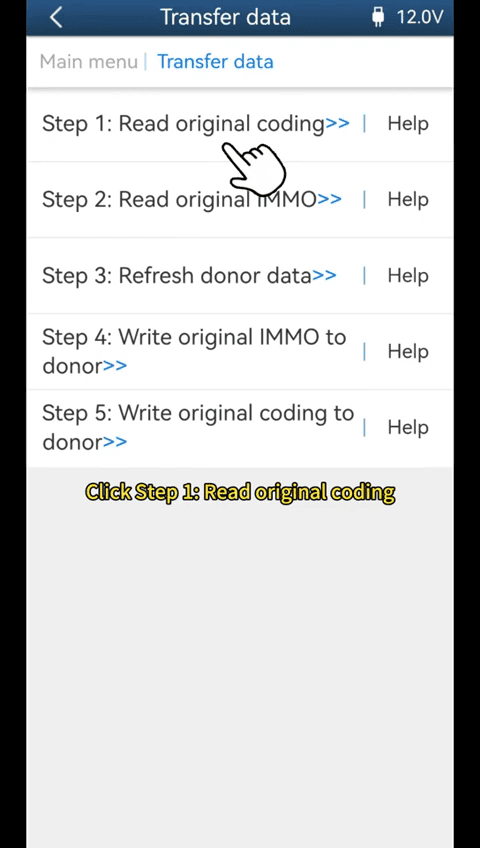
Follow the prompts and save the coding data file.
When saving the file, keep a record of Backup date and time, vehicle VIN, data storage location
The file name will end with “coding.bin”
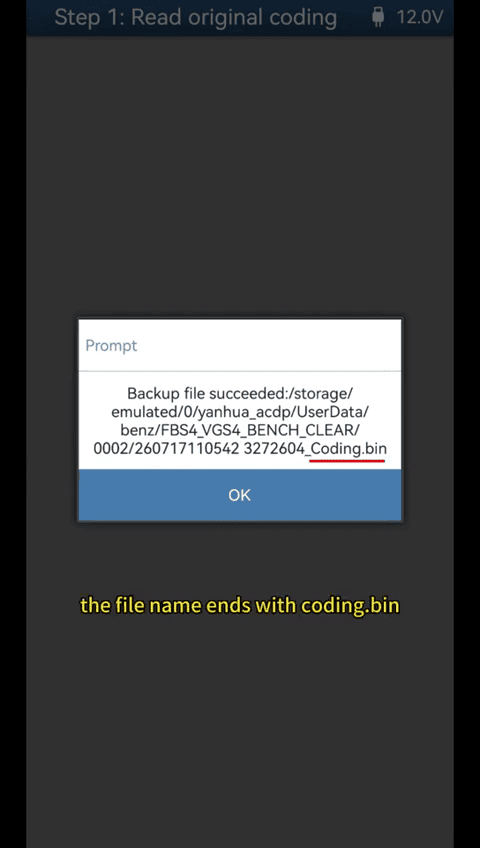
After that, the original coding data reading process will complete.
3. Read Original Immo Data
Select [Step 2: Read original Immo]
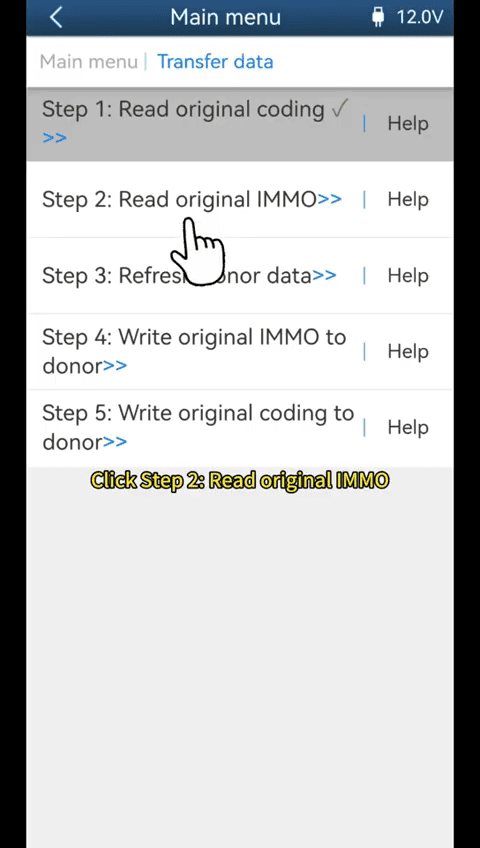
Save the original immobilizer data file and record the backup information.
The file name will end with “Origimmo.bin”
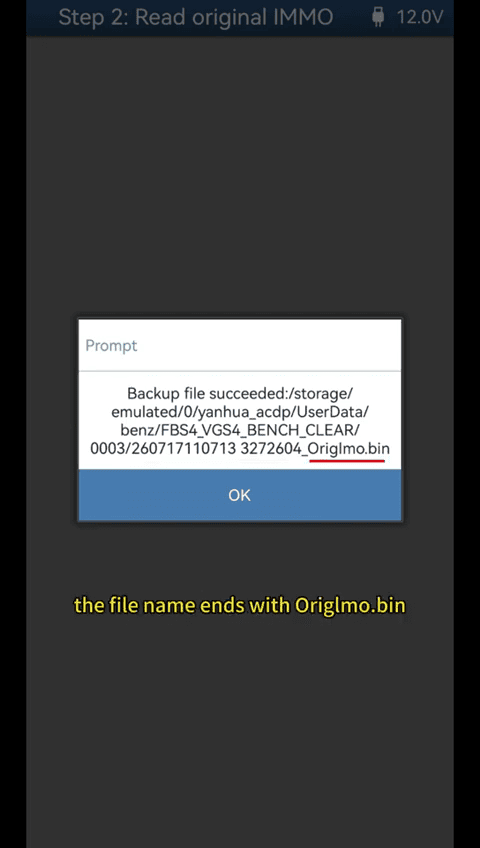
After the reading process is complete, disconnect the original TCU.
4. Connect Donor VGS4 TCU
Connect the donor VGS4 TCU to the Mini ACDP interface board, select [Step 3: Refresh donor data]. Confirm that the donor TCU information is correct.
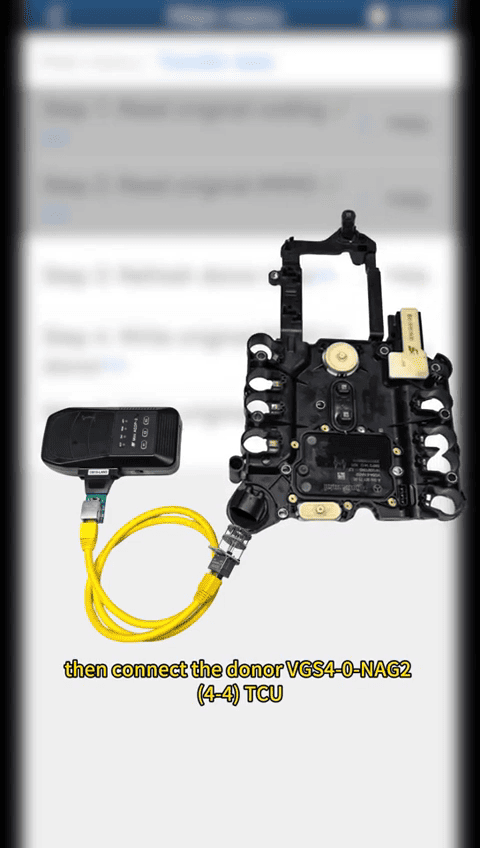
The system will save the donor system data. Keep the backup information. The file name will end with “ClrRam.bin”
After confirmation, the module data erase process will begin.
5. Write Original Immo Data to Donor TCU
First, select [Step 4: Write original IMMO to donor], confirm that the donor TCU has been erased.
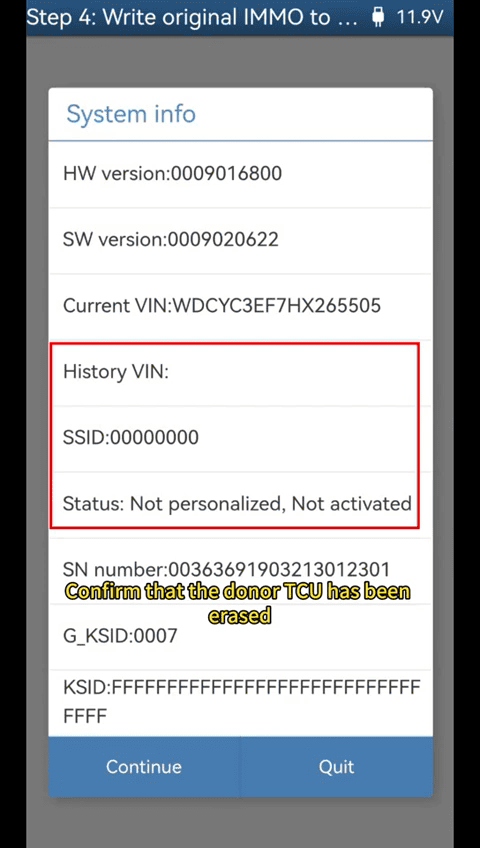
Then select the previously saved original immobilizer data file, check the original vehicle information and continue.
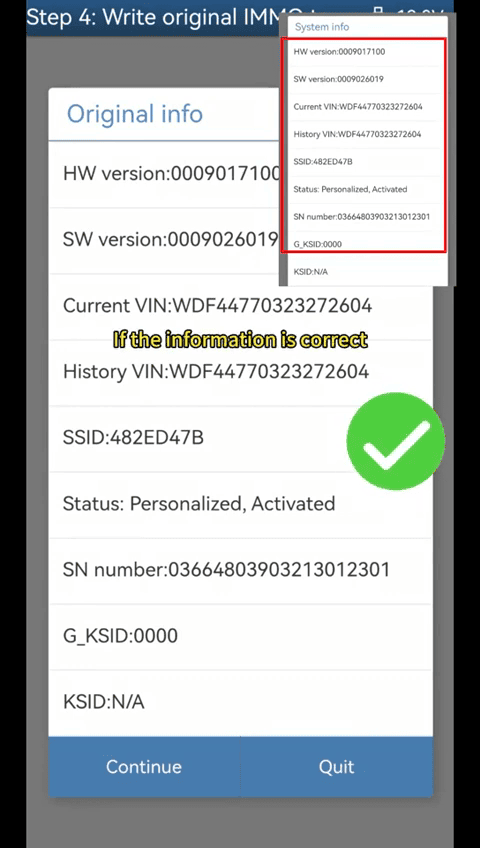
Next the ACDP will write the original Immo data into the donor TCU. Finally the original immobilizer data transfer is finished.
6. Write Original Coding Data to Donor TCU
Select [Step 5 → Write original coding to donor]
Choose the saved coding data file, confirm the vehicle information and start writing.
After the coding data writing process is completed, the donor TCU will contain the transferred coding information.
Verify TCU Data Transfer, and return to the previous menu and select [Identify Info]
Compare the donor TCU information with the original TCU information, if the information matches, the data transfer process is completed successfully.
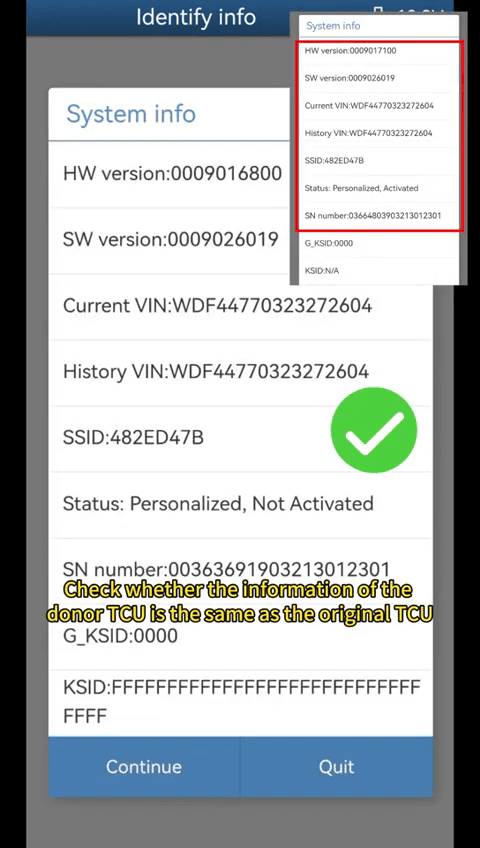
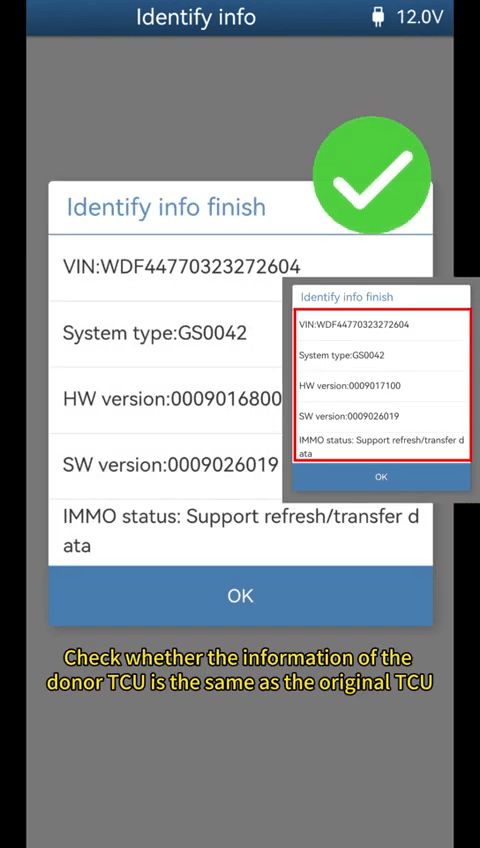
The complete transfer includes VGS4 TCU immobilizer data, coding data, system information
Install the replacement TCU back into the vehicle and check whether the gearbox operates normally.