
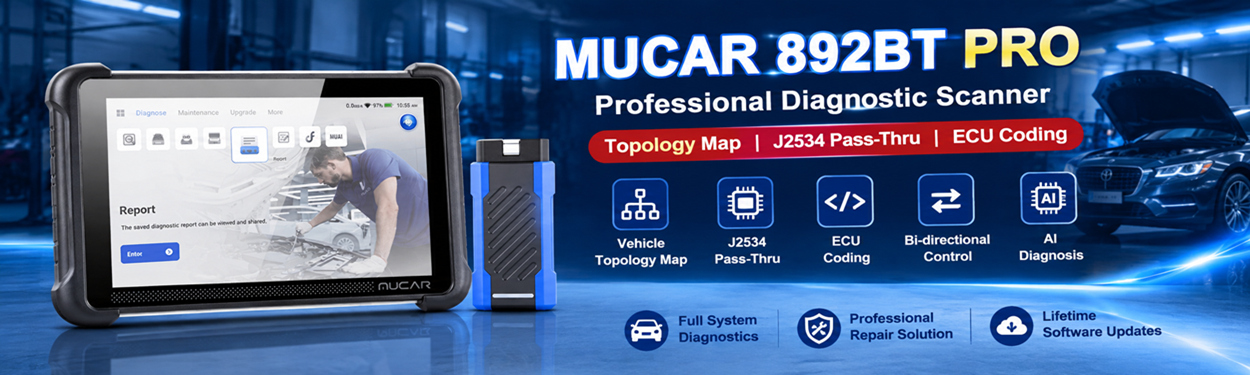
This guide walks through the complete setup, from installing the J2534 driver to connecting the MUCAR GVCI and performing diagnostics with MUCAR 892BT Pro.
What You Need
MUCAR 892BT Pro
MUCAR GVCI connector
USB to USB Type-C data cable included with the product
A Windows laptop
OEM or compatible diagnostic software
J2534 driver
Step 1: Download and Install the J2534 Driver
First, visit official MUCAR website and go to Support > Software Download.
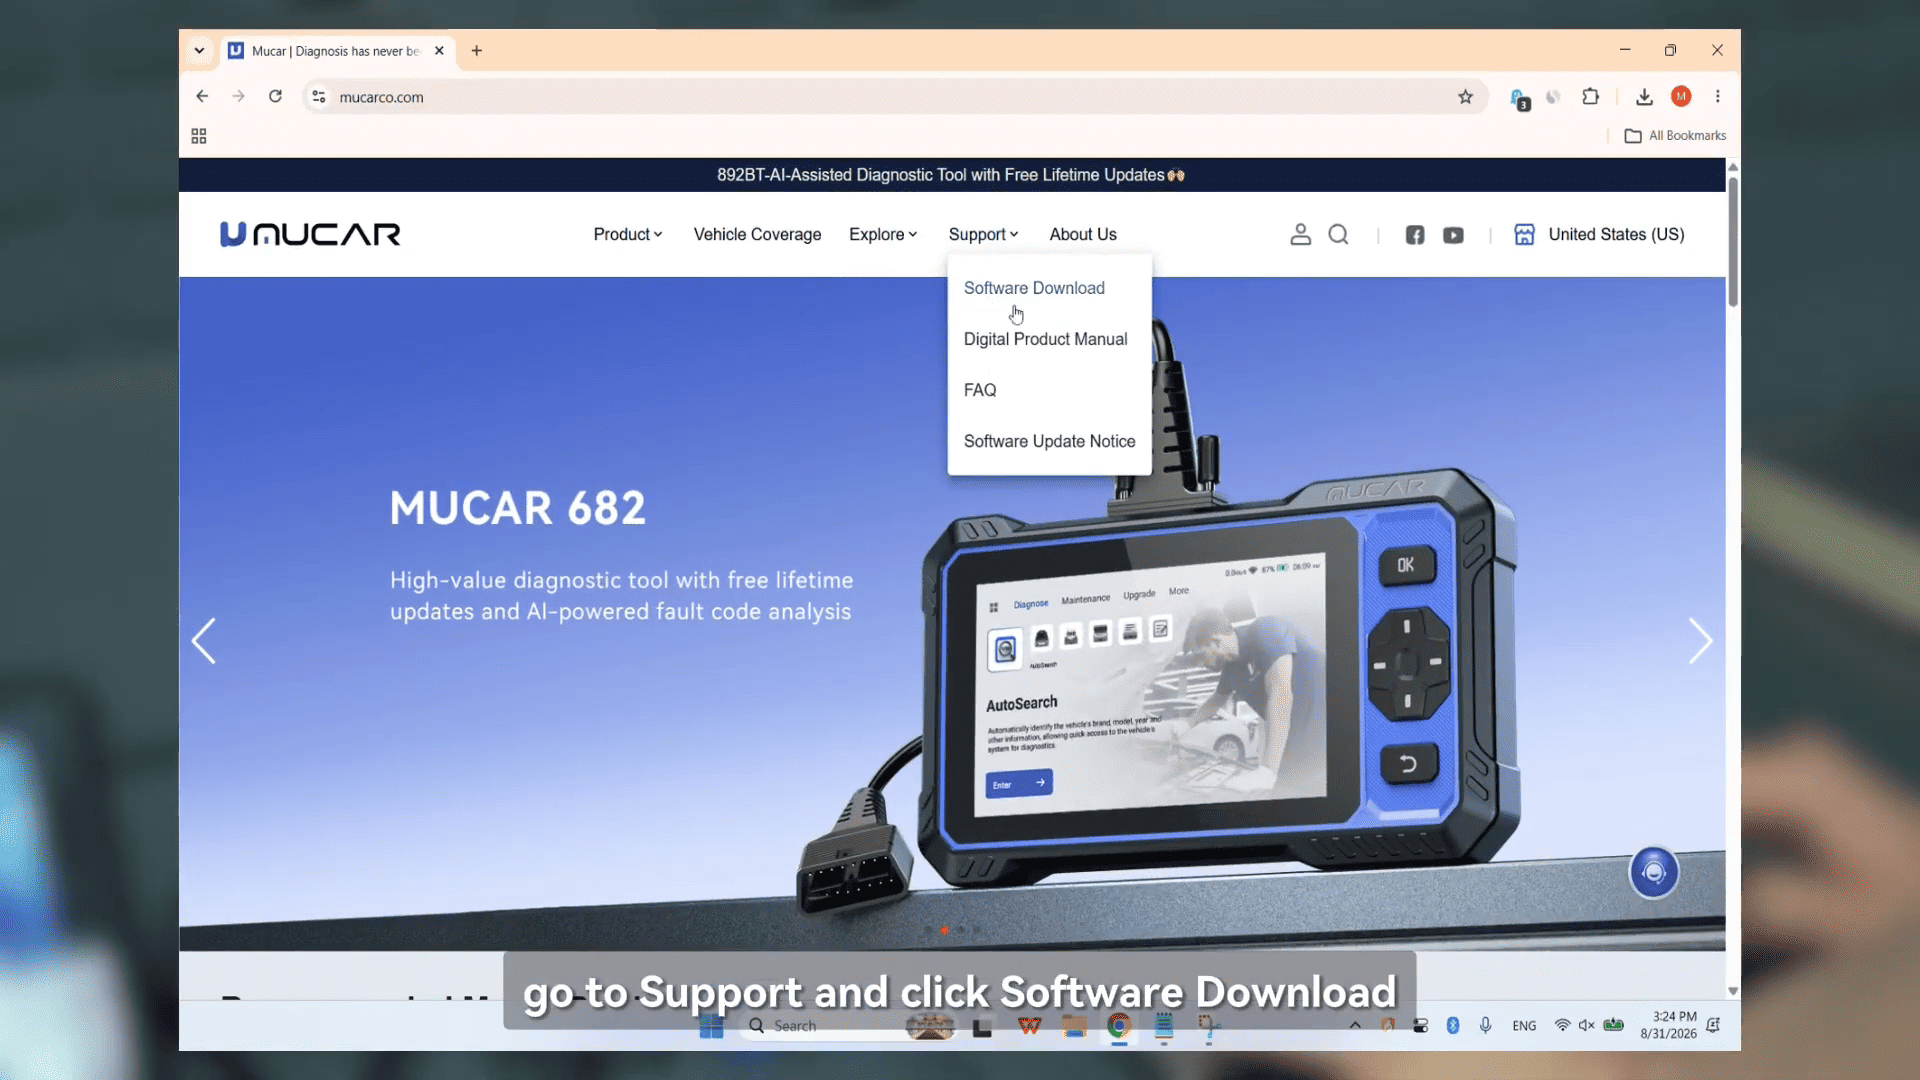
Download the latest version of the J2534 driver. In the video, the current version is v4.9, so always check the website for the newest available version before installation.
Run the downloaded setup file.
If an older version of J2534 Plus is already installed, the installer may ask you to remove it first. Follow the prompts to uninstall the previous version, then run the installation package again.
Click Next and Install, then wait for the installation to finish. Click Finish when completed.
Step 2: Connect the MUCAR GVCI to the Laptop
Connect the USB data cable between the laptop and the MUCAR GVCI.
The green indicator on the GVCI confirms that the device is properly connected.
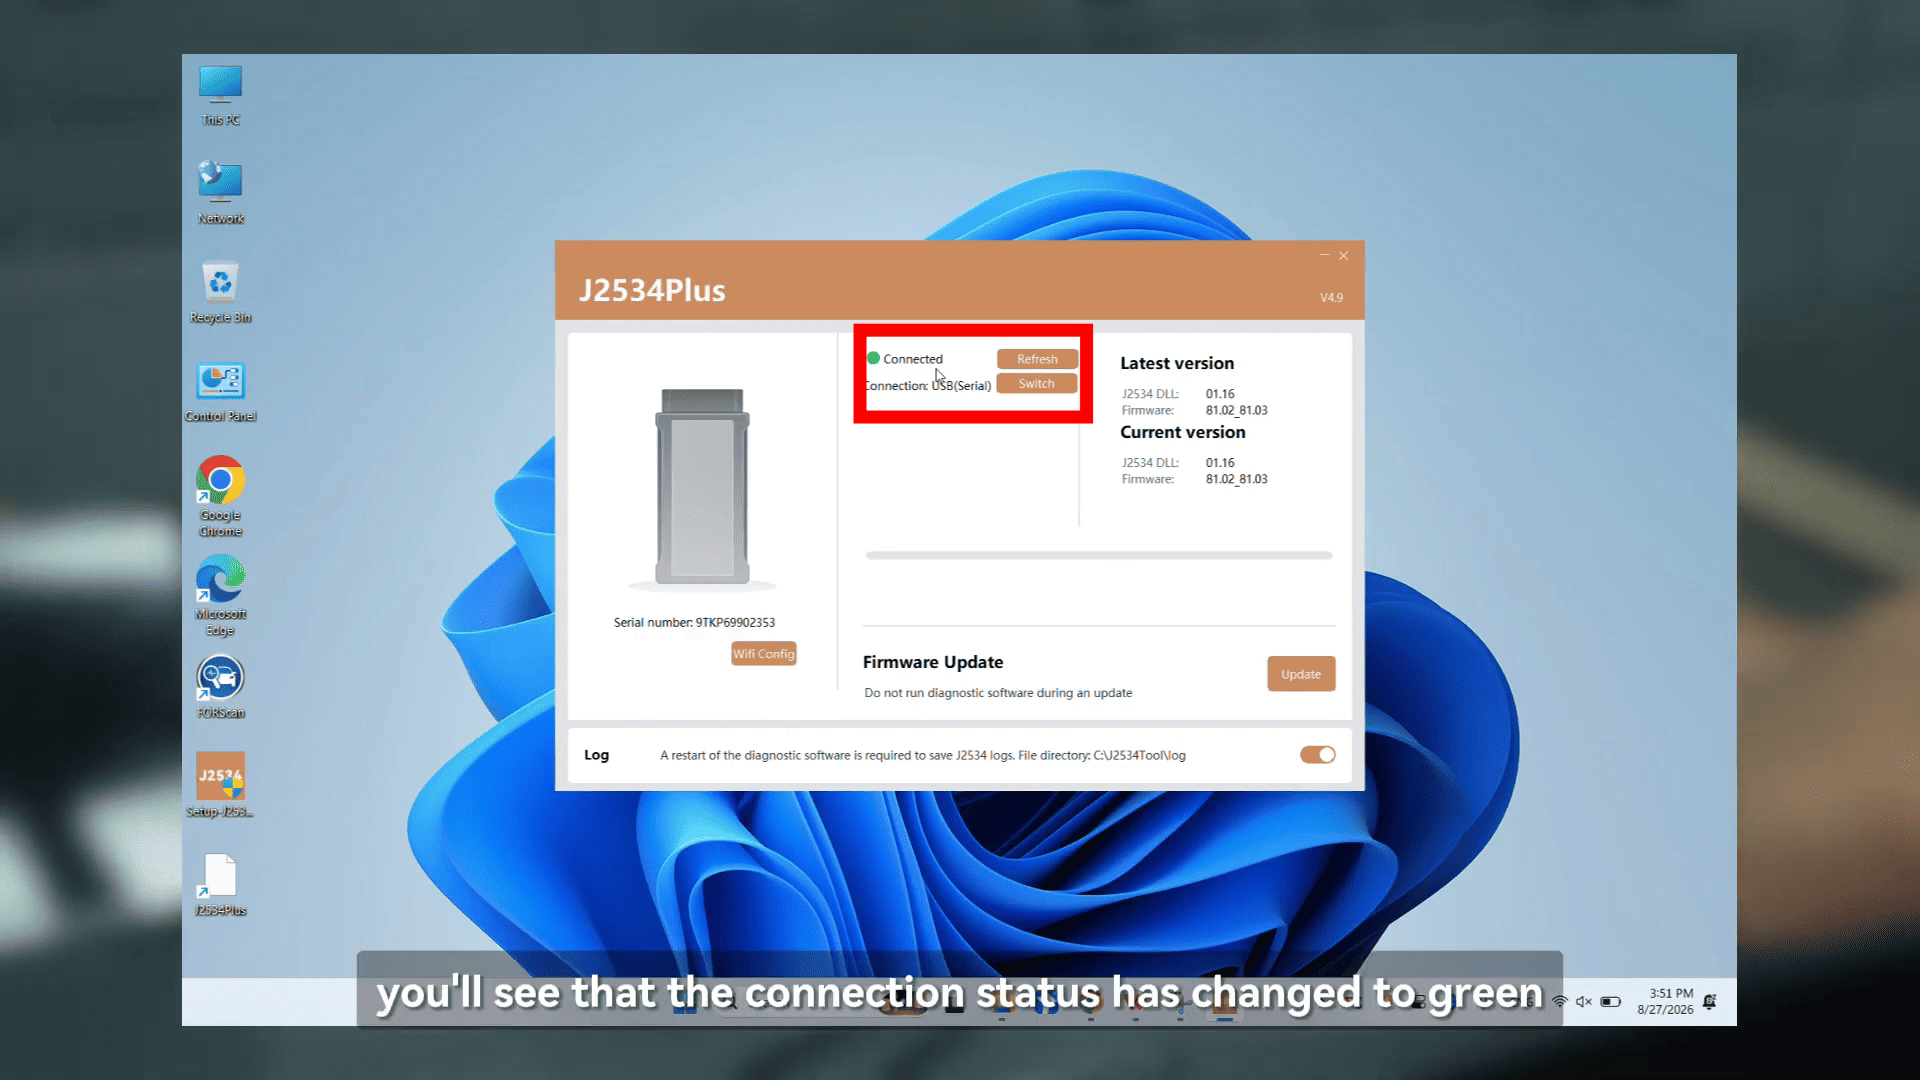
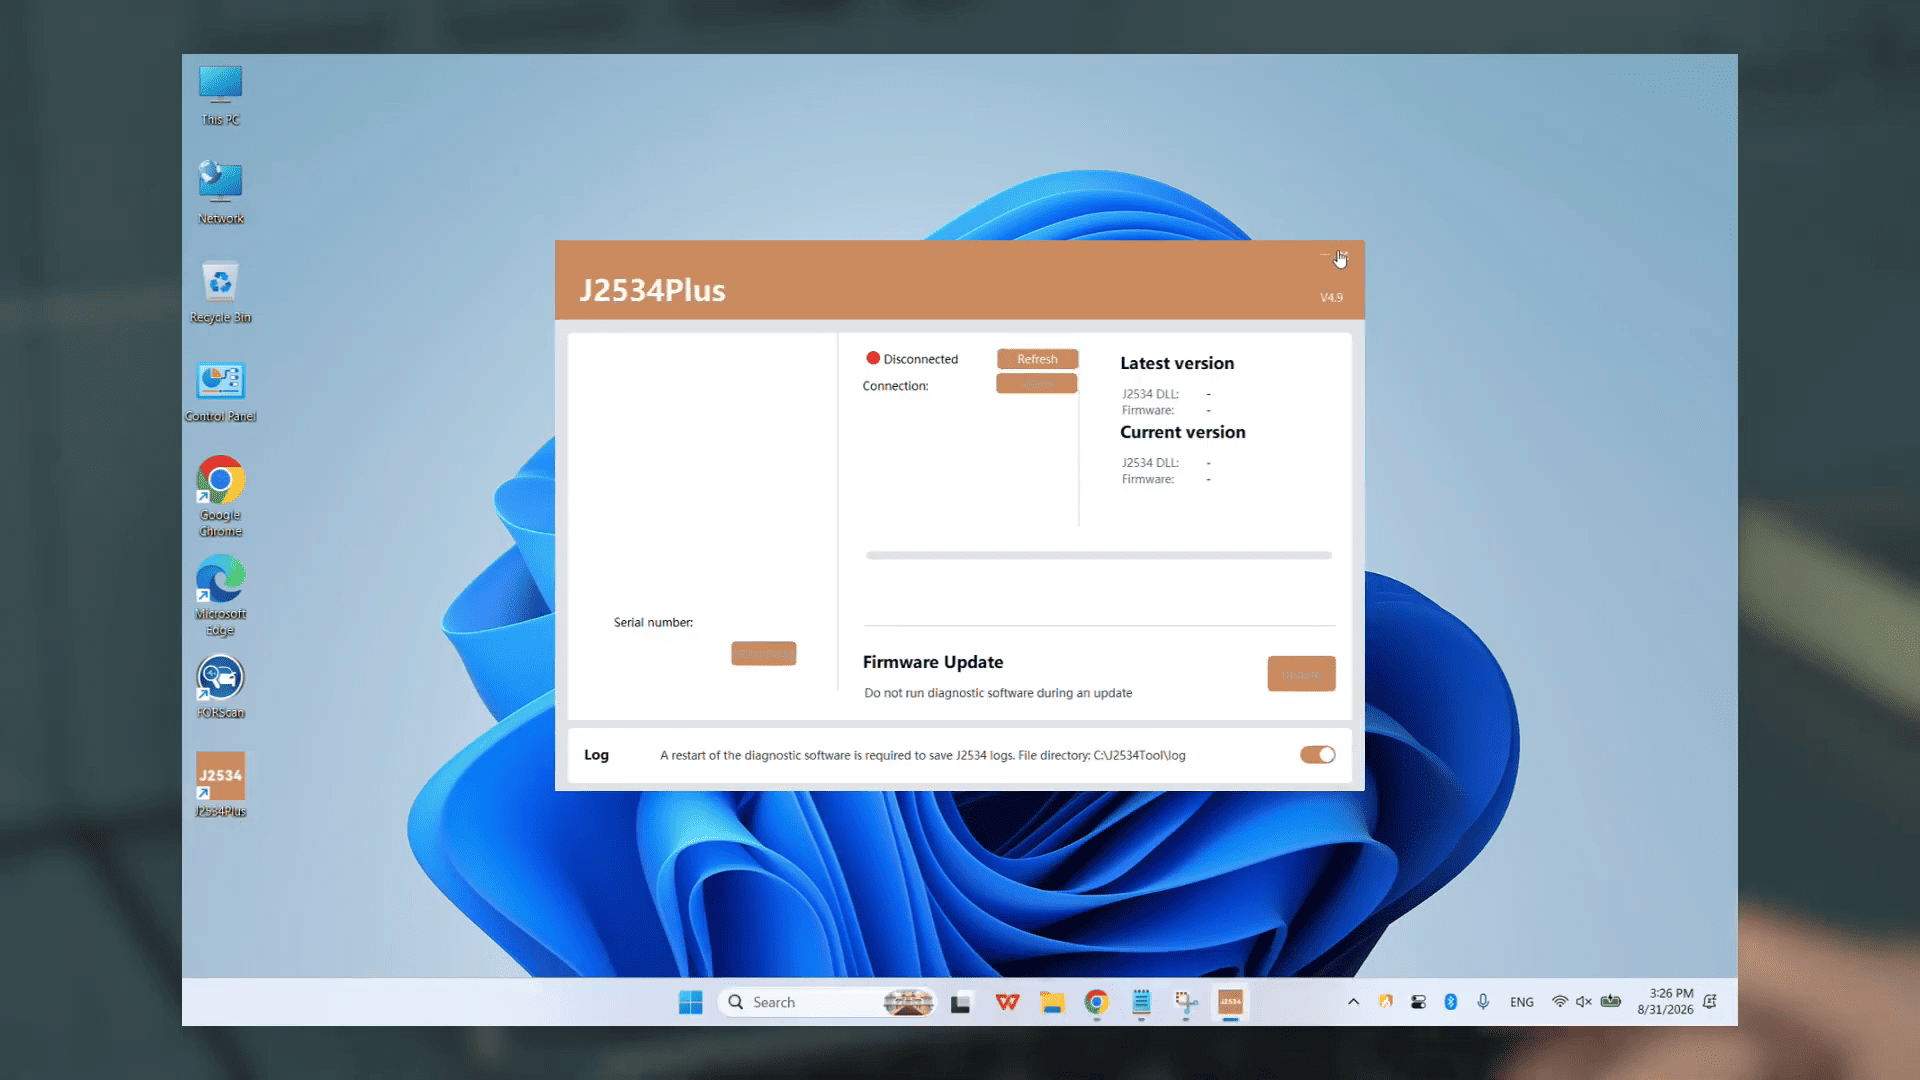
Open the J2534 application and check the connection status. The connection method should be set to USB Serial. Also check the Driver DLL version and VCI firmware version
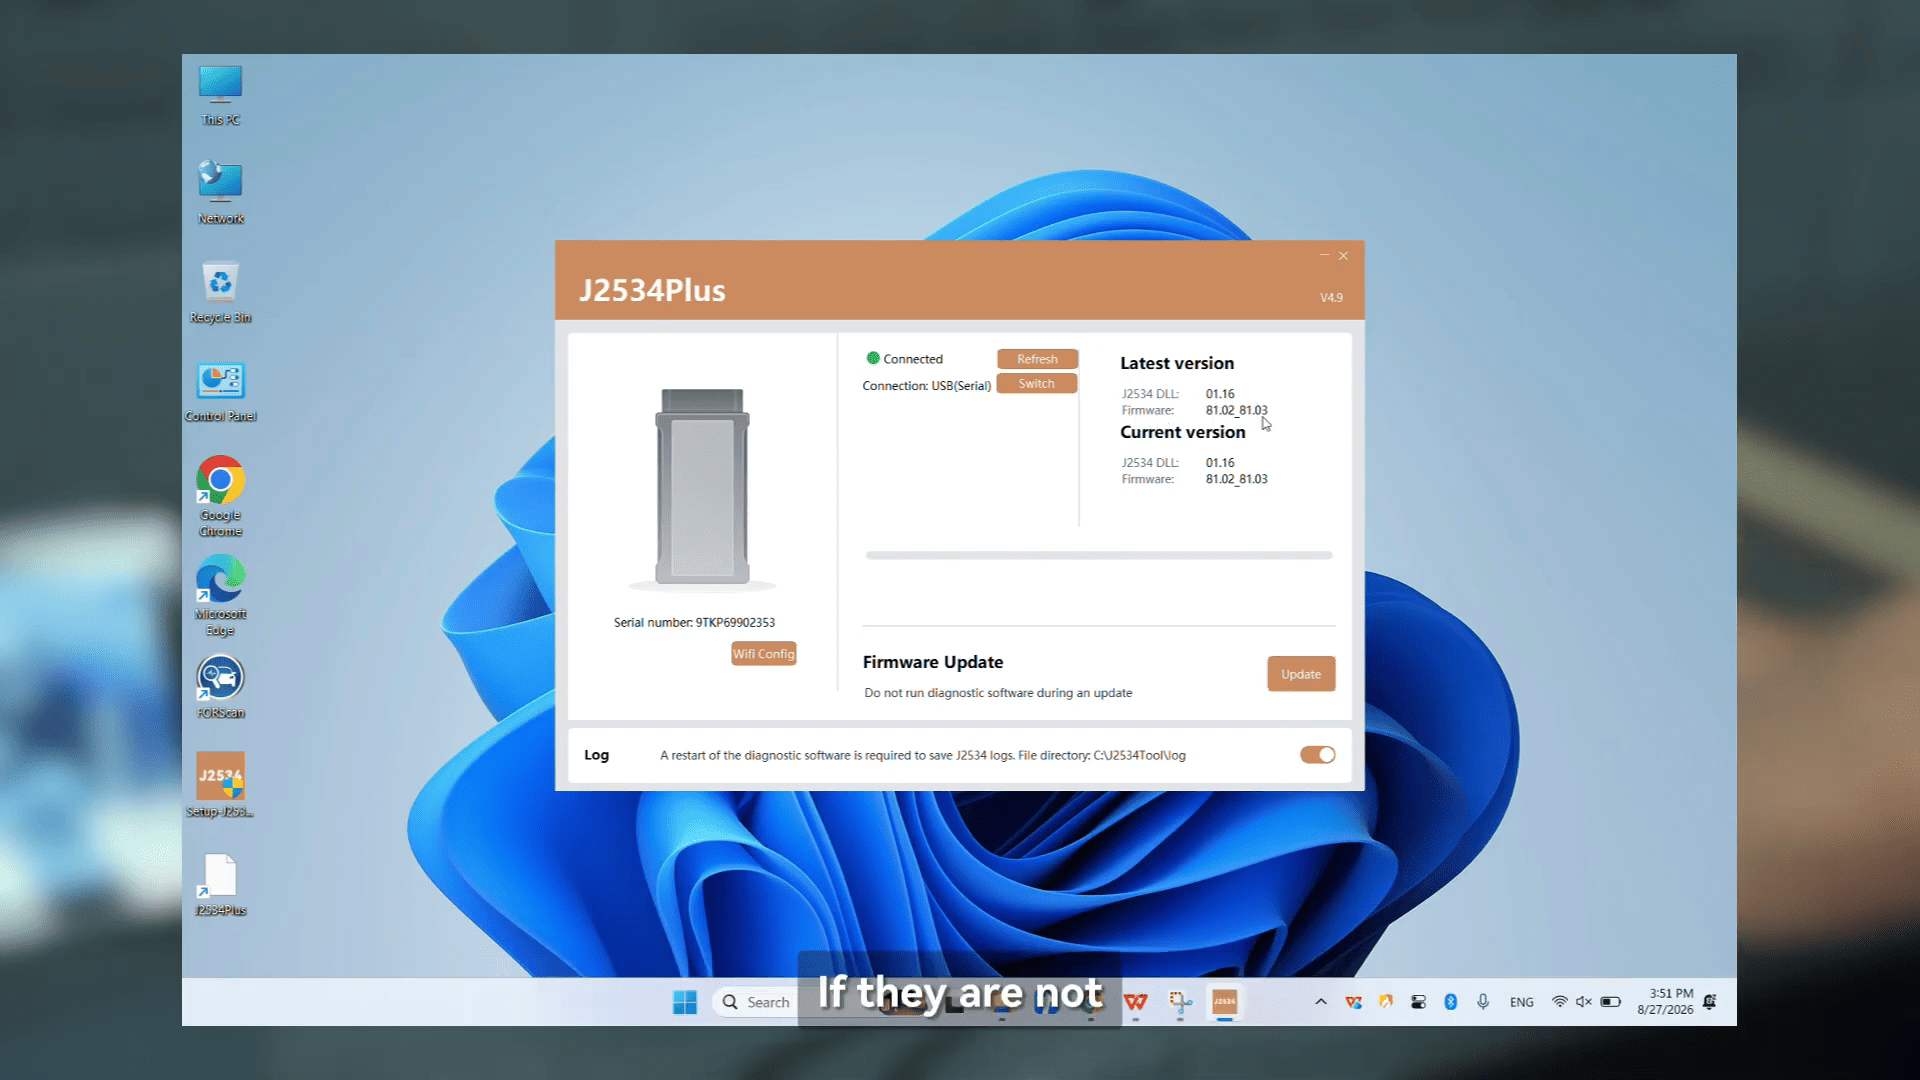
If either one is outdated, use the Update function to update it before continuing.
Diagnostic Log Function
The J2534 tool also provides a logging function.
When logging is enabled, diagnostic data generated during GVCI operation is saved in the J2534 tool log folder. If you encounter a communication or diagnostic problem, these log files can be provided to customer support for further analysis.
If you don’t need diagnostic logs, you can turn the logging function off.
Step 3: Connect the GVCI to the Vehicle
After connecting the GVCI to the laptop, connect it to the vehicle’s OBD port.
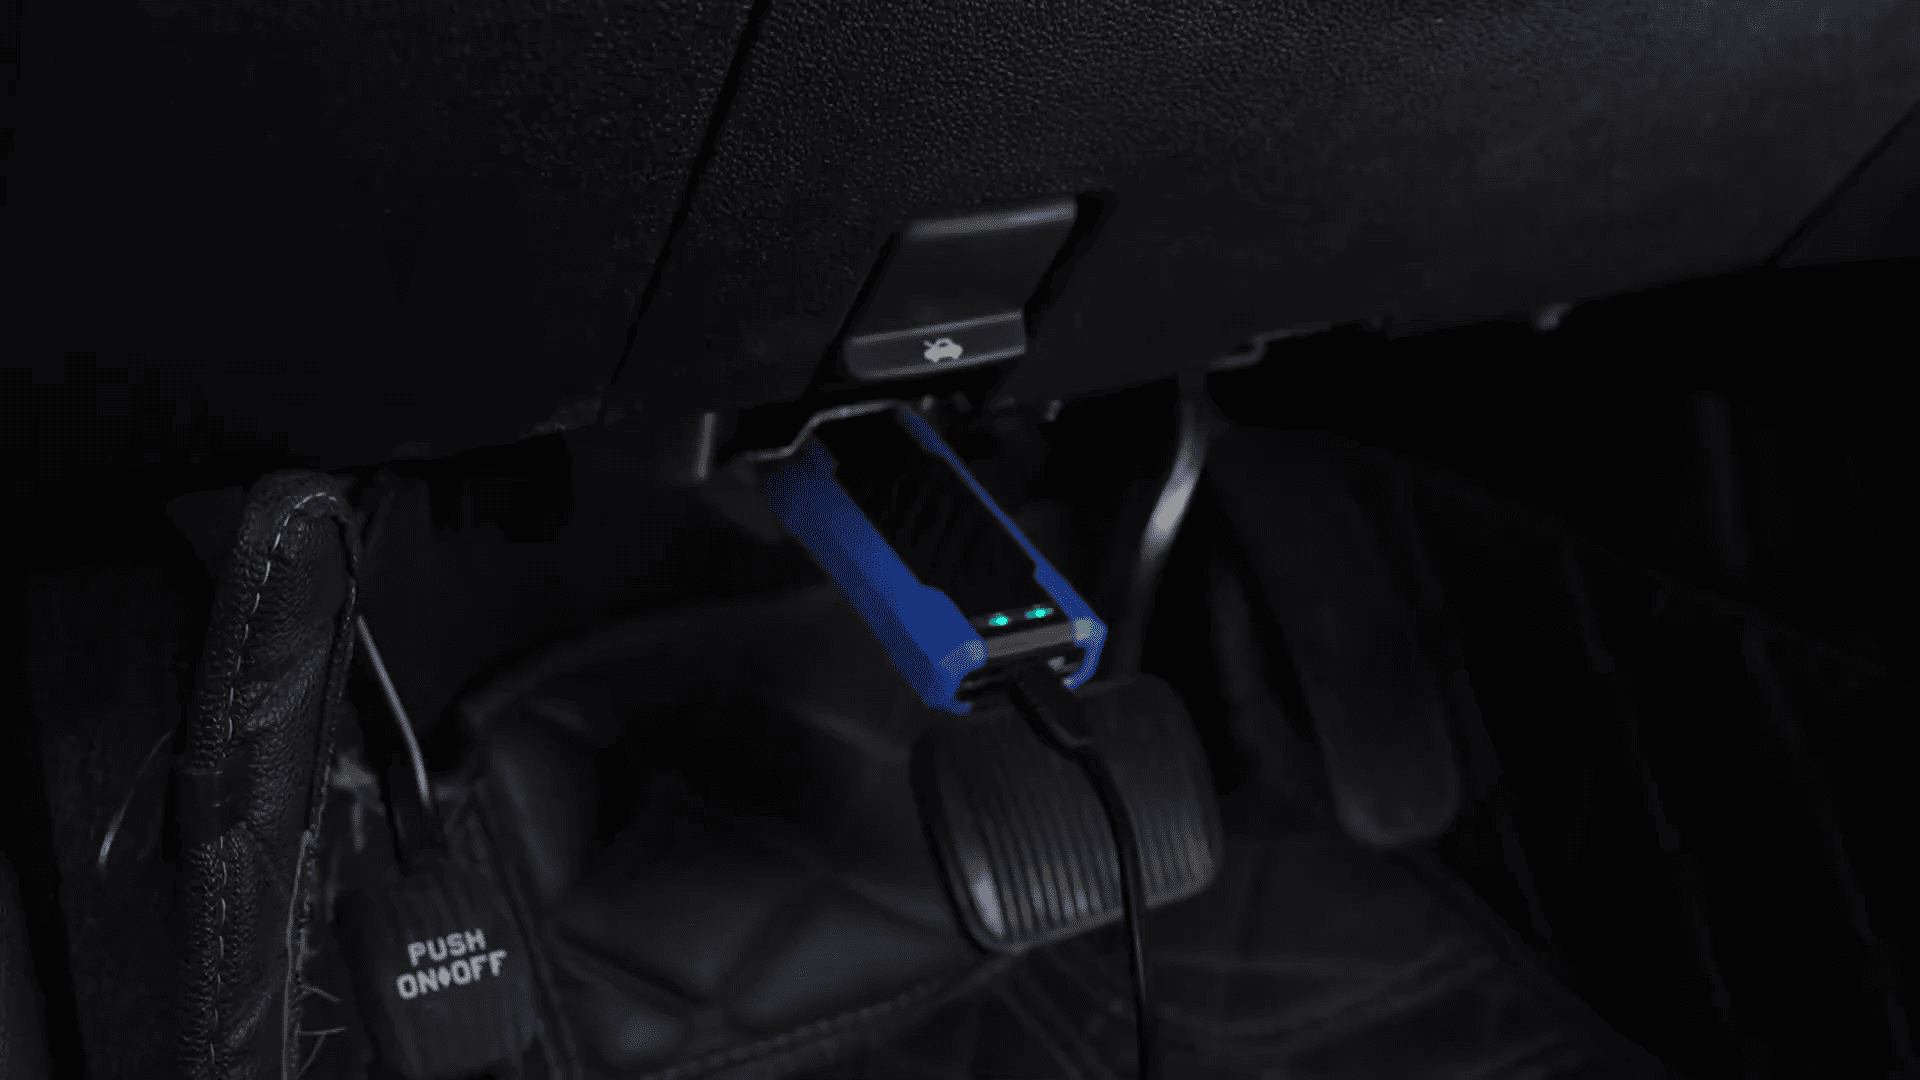
Make sure the vehicle ignition is switched on.
An important point is that J2534 Plus does not need to remain open while using the Pass-Thru driver. Once the VCI has been correctly connected and recognized, you can close the application or leave it running.
Step 4: Configure the Diagnostic Software
Now launch the diagnostic software on your laptop.
In this example, FORScan is used to diagnose a Ford vehicle.
Open the software settings and find the connection or adapter options. Make sure that J2534Plus is selected as the J2534 device.
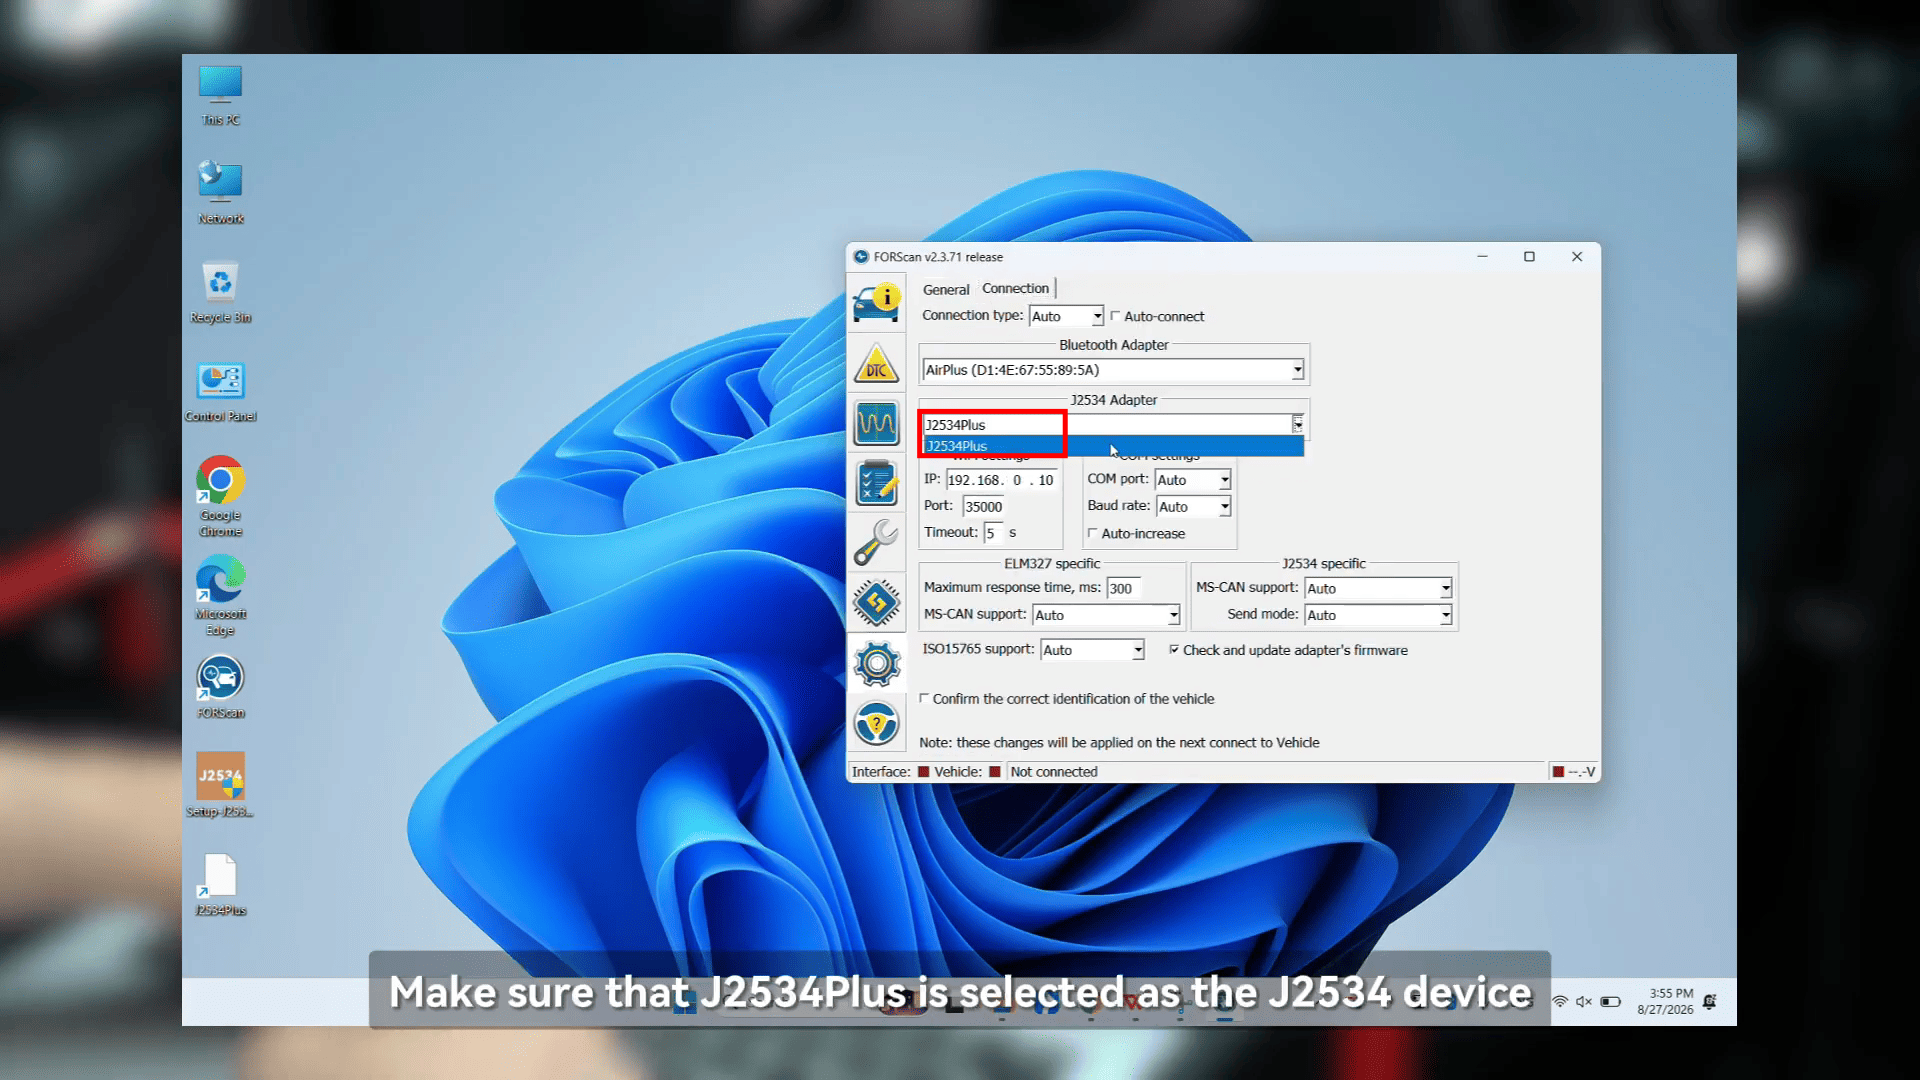
Then return to the vehicle interface and click Connect to Vehicle.
Make sure the ignition is on and confirm the connection.
Step 5: Scan the Vehicle
Once connected, FORScan can communicate with the vehicle’s control modules through the MUCAR GVCI.
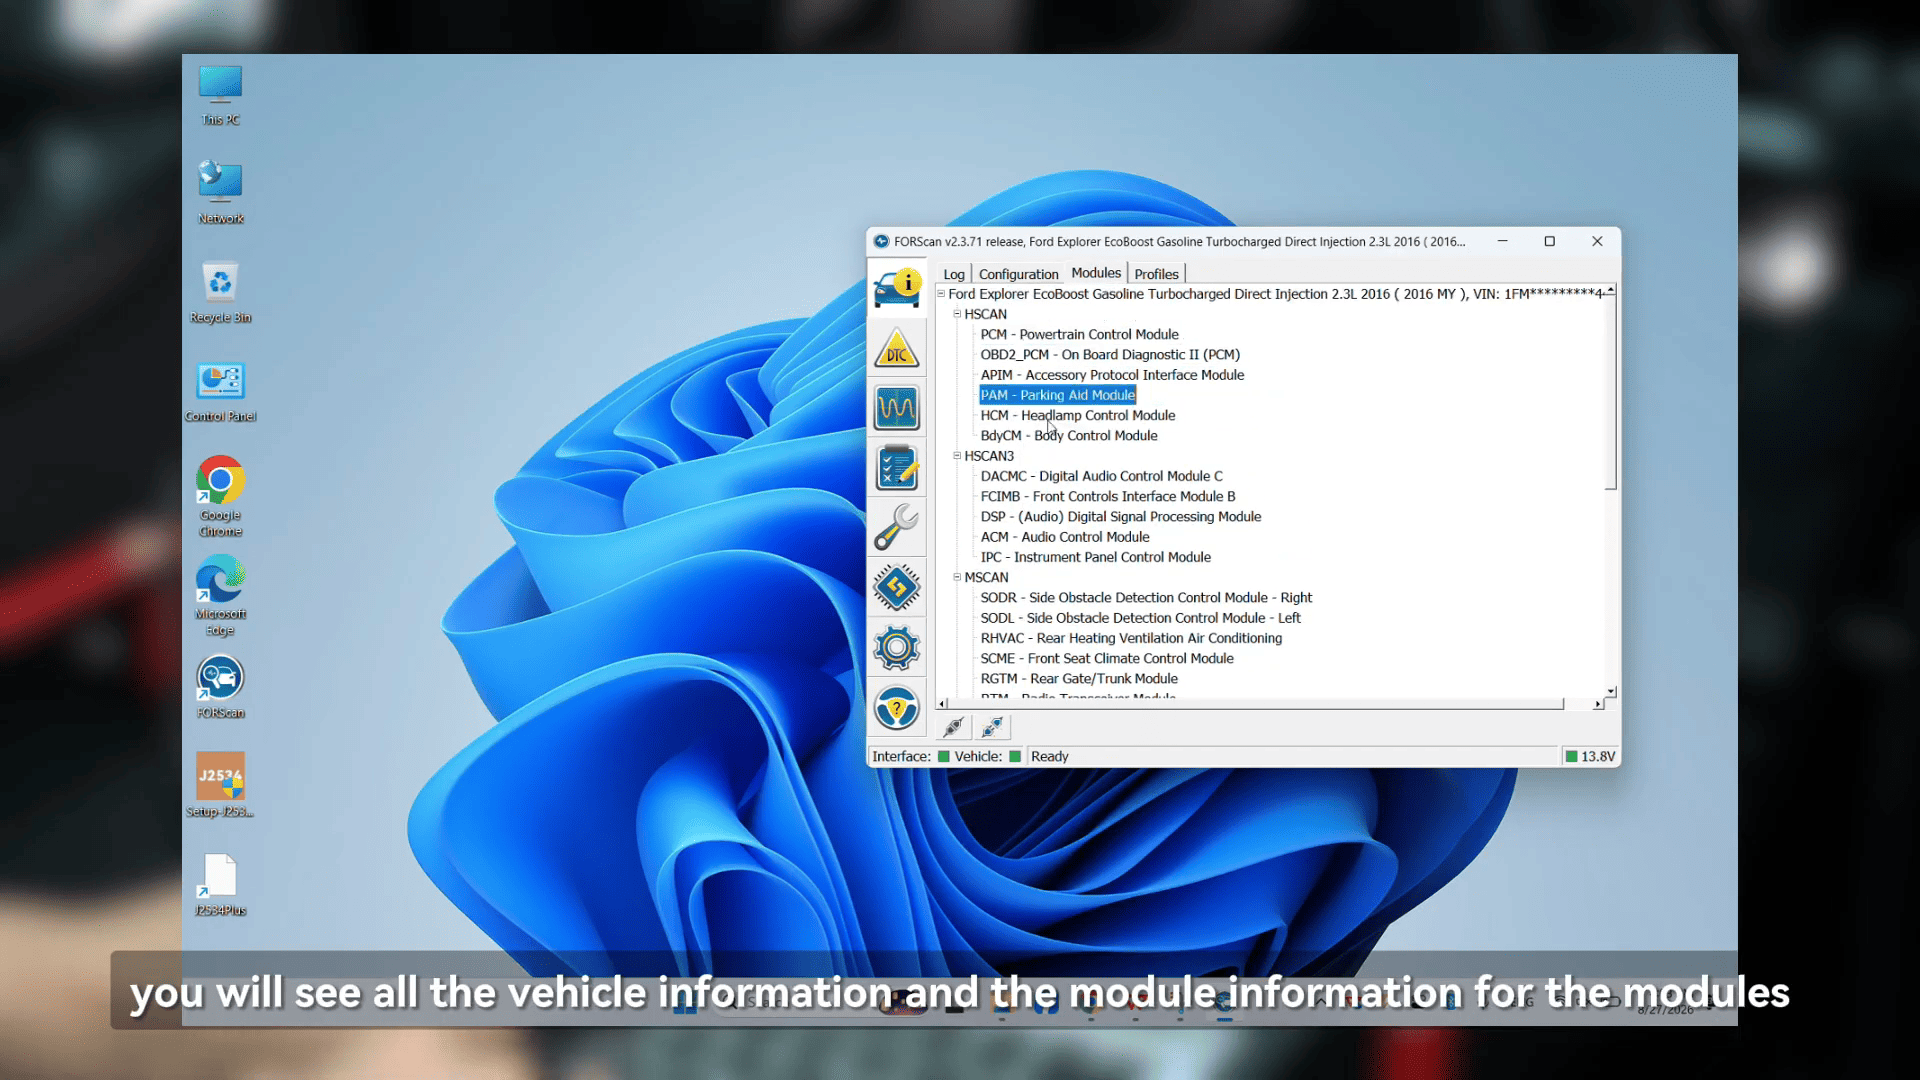
The software scans the available modules and identifies diagnostic trouble codes.
If a vehicle profile has already been saved, you can also use the existing profile to speed up the diagnostic process.
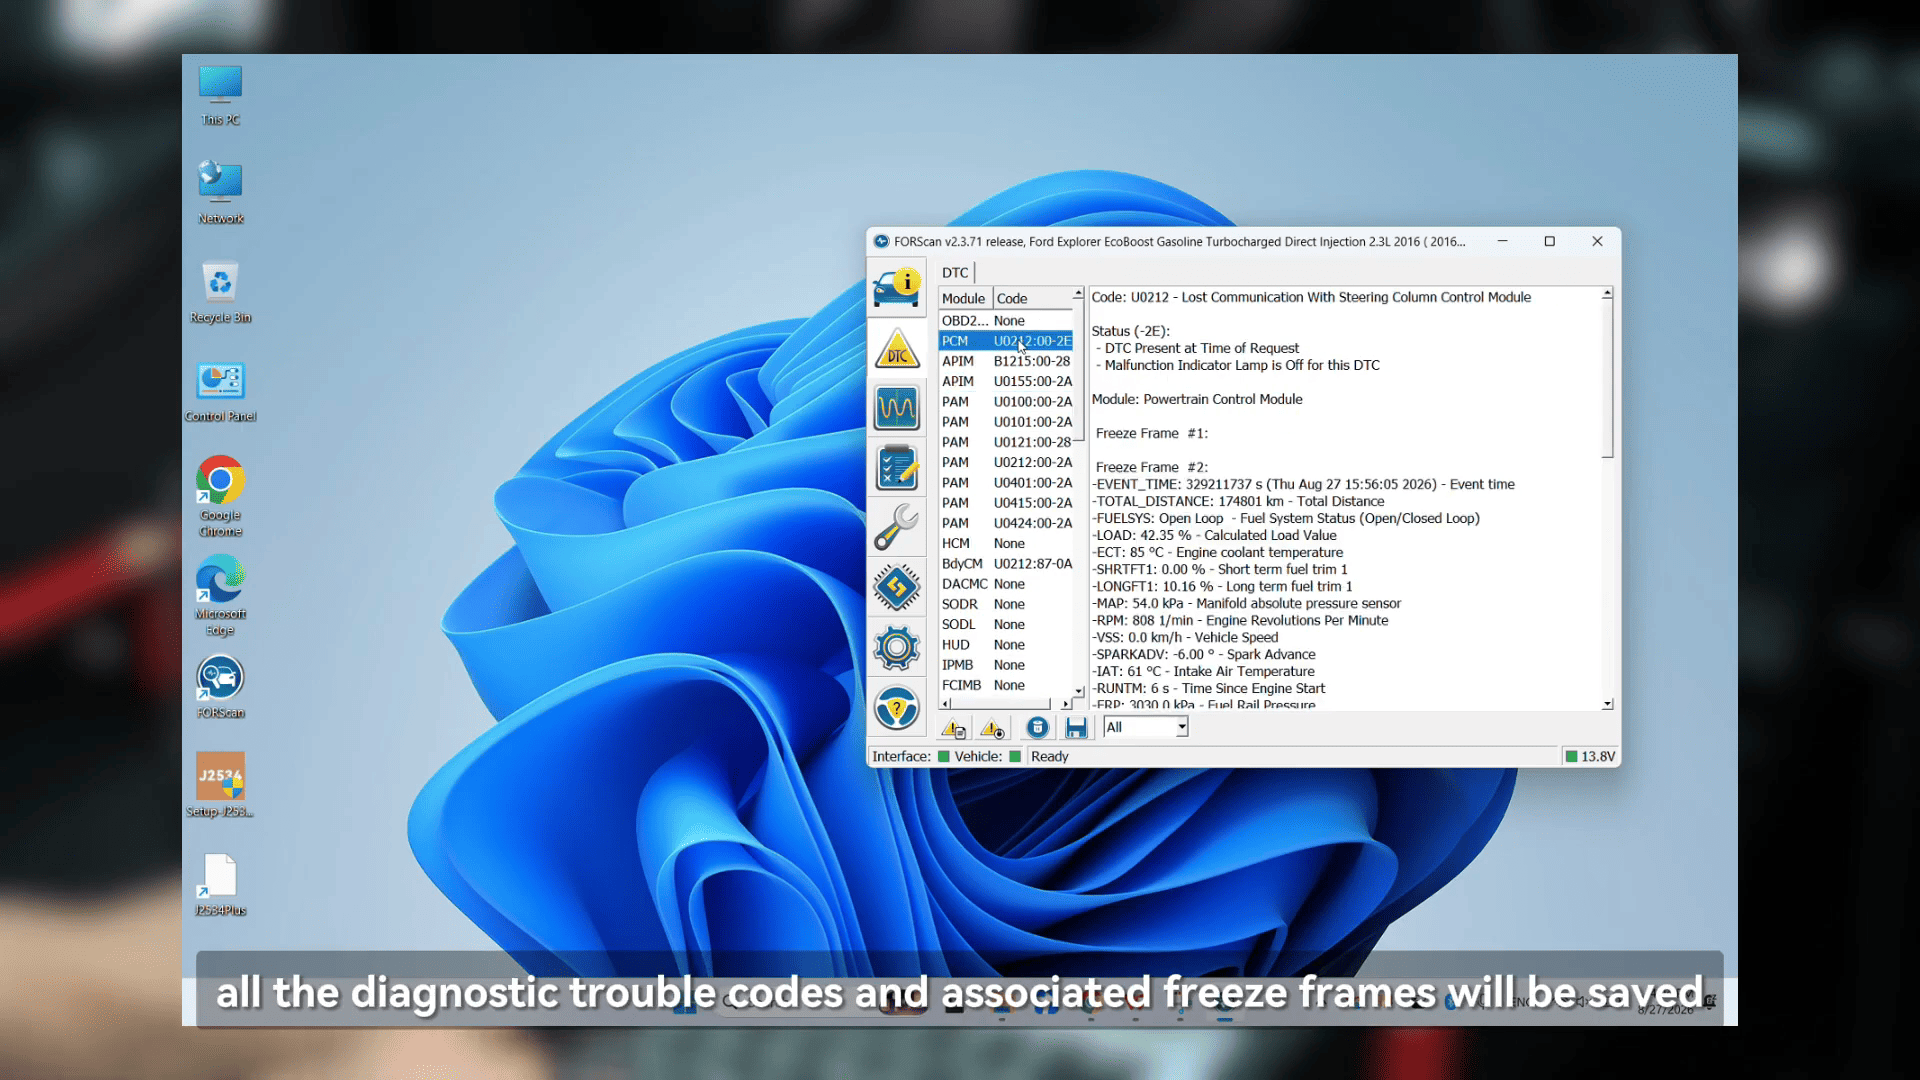
Step 6: View Live Data
FORScan also allows you to access live vehicle data.
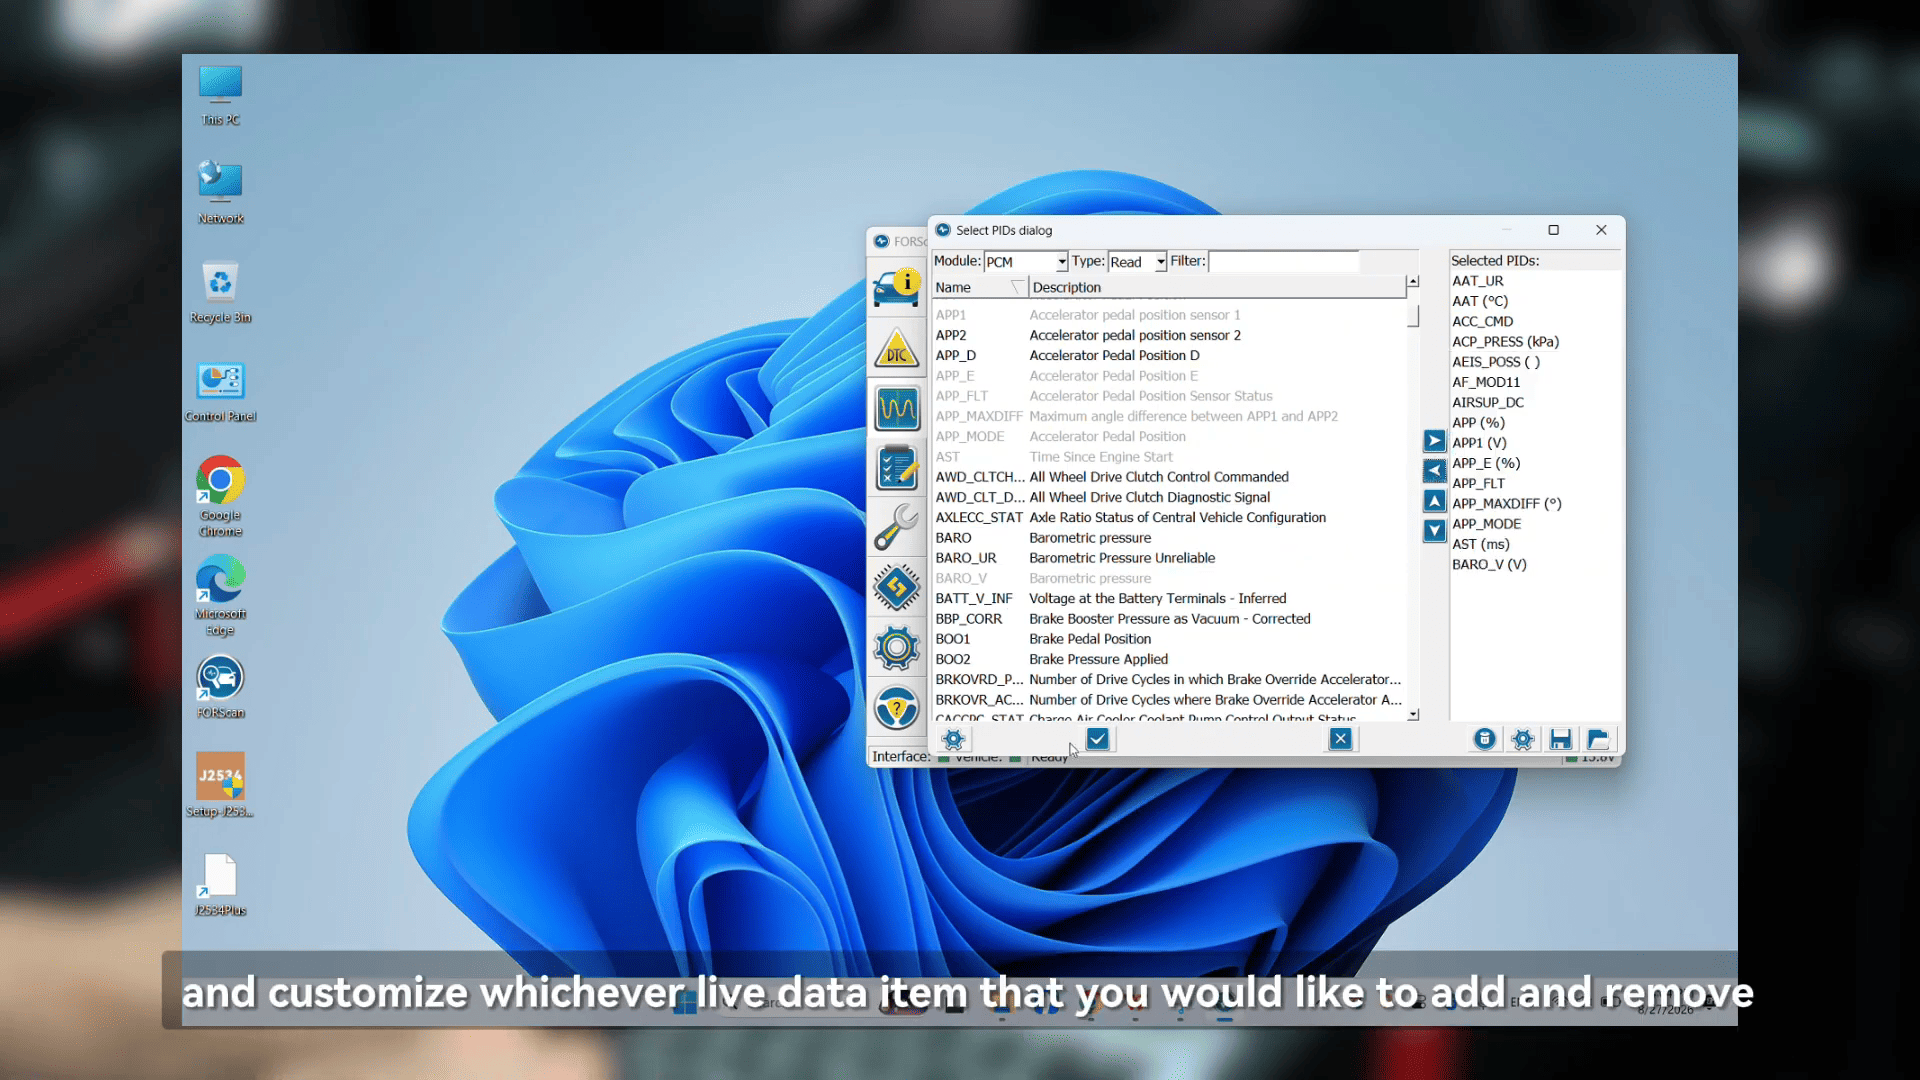
Go to the live data section and select the parameters you want to monitor. You can add or remove data items according to your diagnostic needs.
Click Start to display the selected live data in real time.
This can help technicians monitor vehicle parameters while diagnosing faults.
Step 7: Perform Available Tests
Depending on the vehicle and diagnostic software, available tests can also be performed through the J2534 connection.
After completing the required diagnostic work, return to the vehicle interface and click Disconnect.
The J2534 Pass-Thru diagnostic session is then complete.
Video guide