OEM orange 5 with full set of adapters is popular among the public. Our engineer has already tested the software installation successfully. This is the procedure step by step.
Device required:
OEM orange 5
Laptop with XP/WIN7/WIN8 system
Notice before testing:
There will be warning in yellow for the first time to install device on some laptops. Just reconnected the device will be OK.
Testing process:
Move my computer-orange5 (E:)-software-orange5v1.34 to the desktop
Install from a list or specific location (Advanced)
Choose the search and installation options
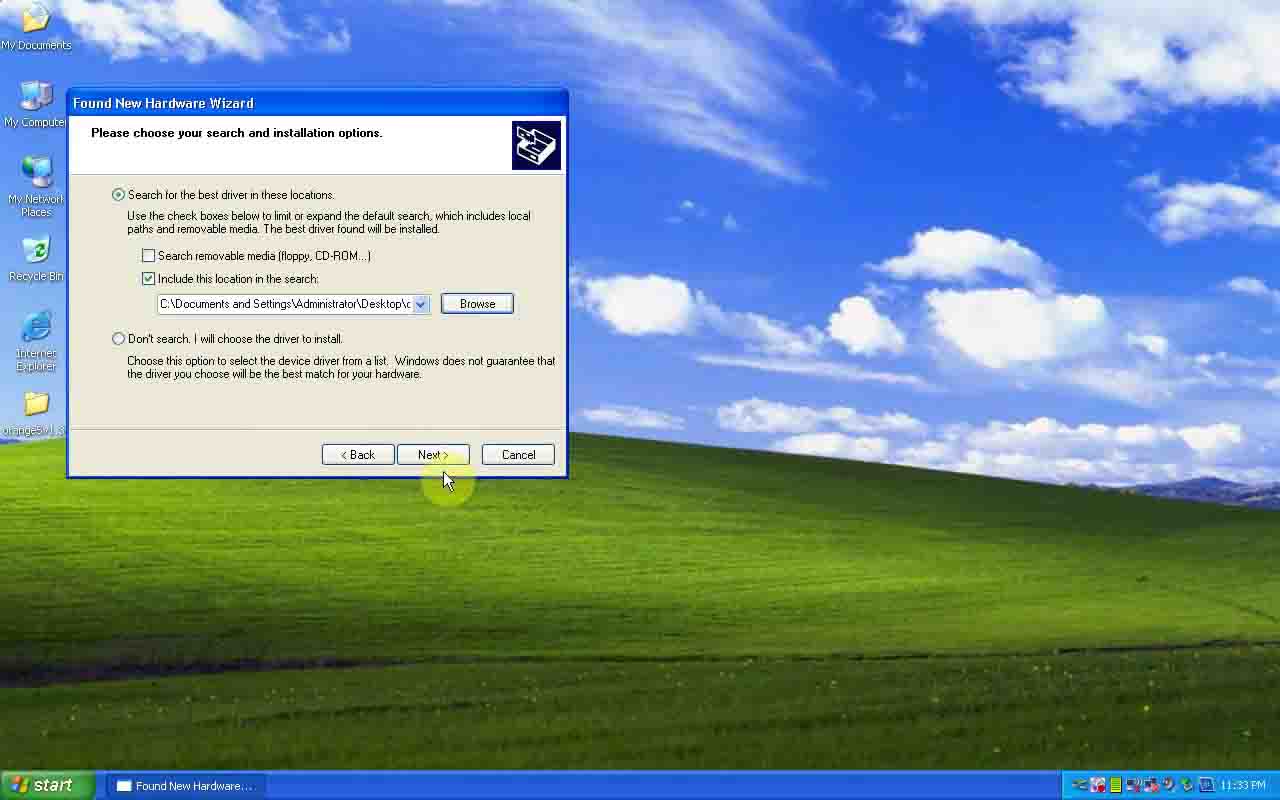
Please wait while the wizard searches…
The device cannot start, and then click finish to start a troubleshooter that can help you resolve the problem.
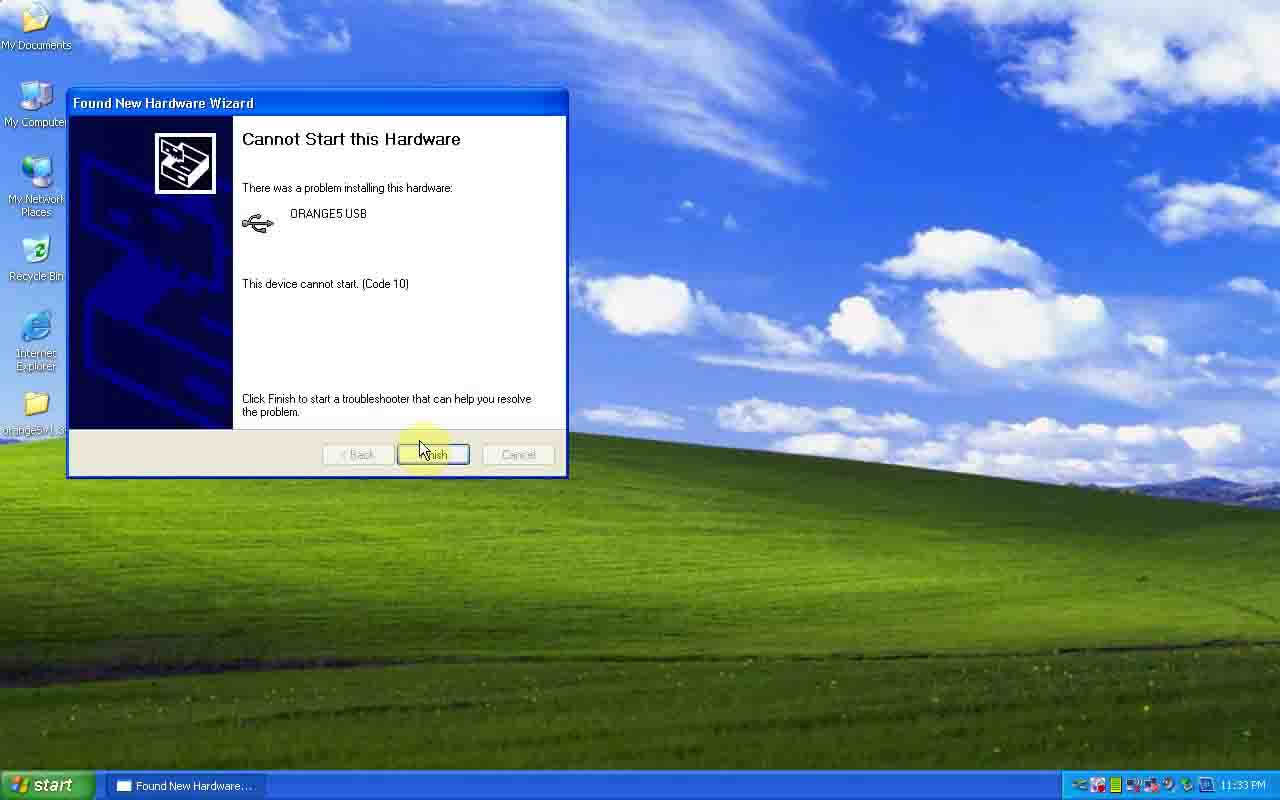
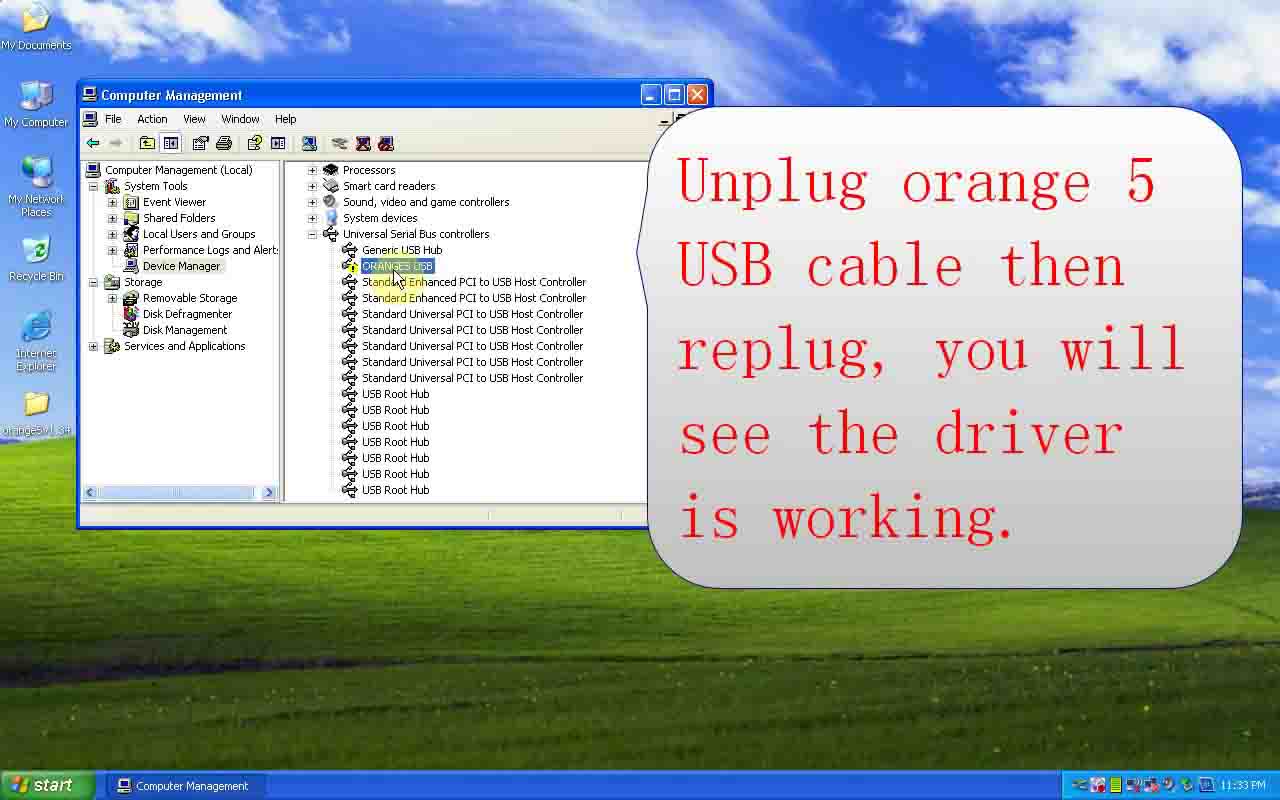
Choose computer management (local)-Device Manager-universal serial bus controllers-ORANGES USB
Unplug orange 5 USB cable then replug, you will see the drive is working.
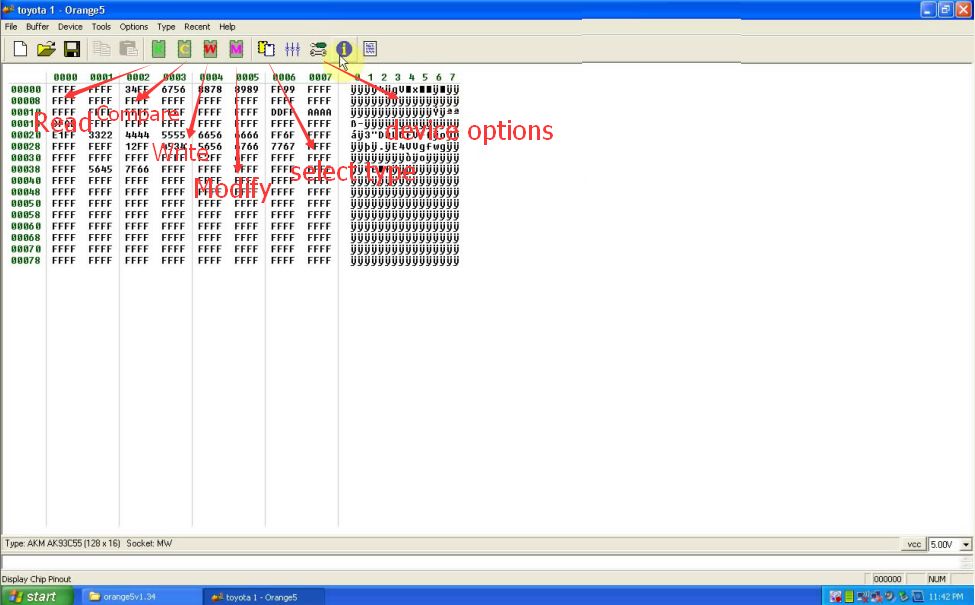
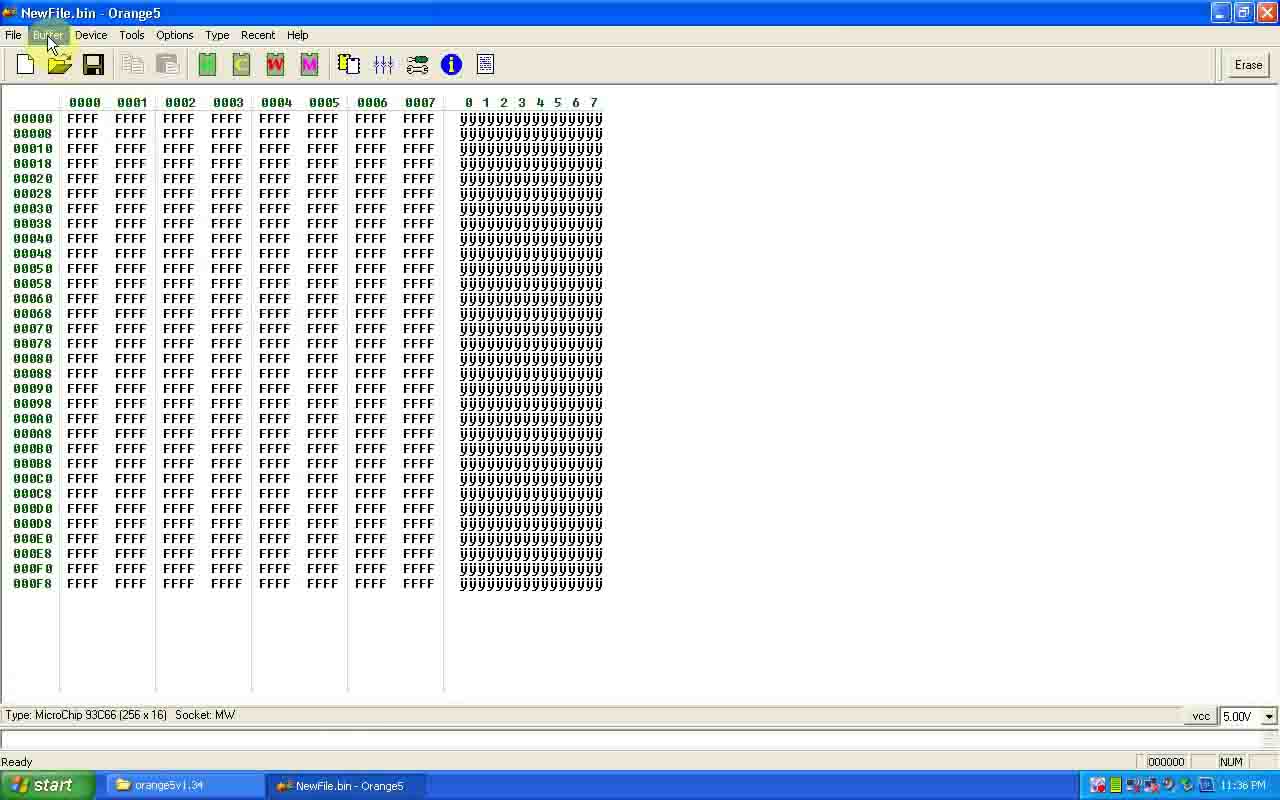
Open Orange programmer CnClab
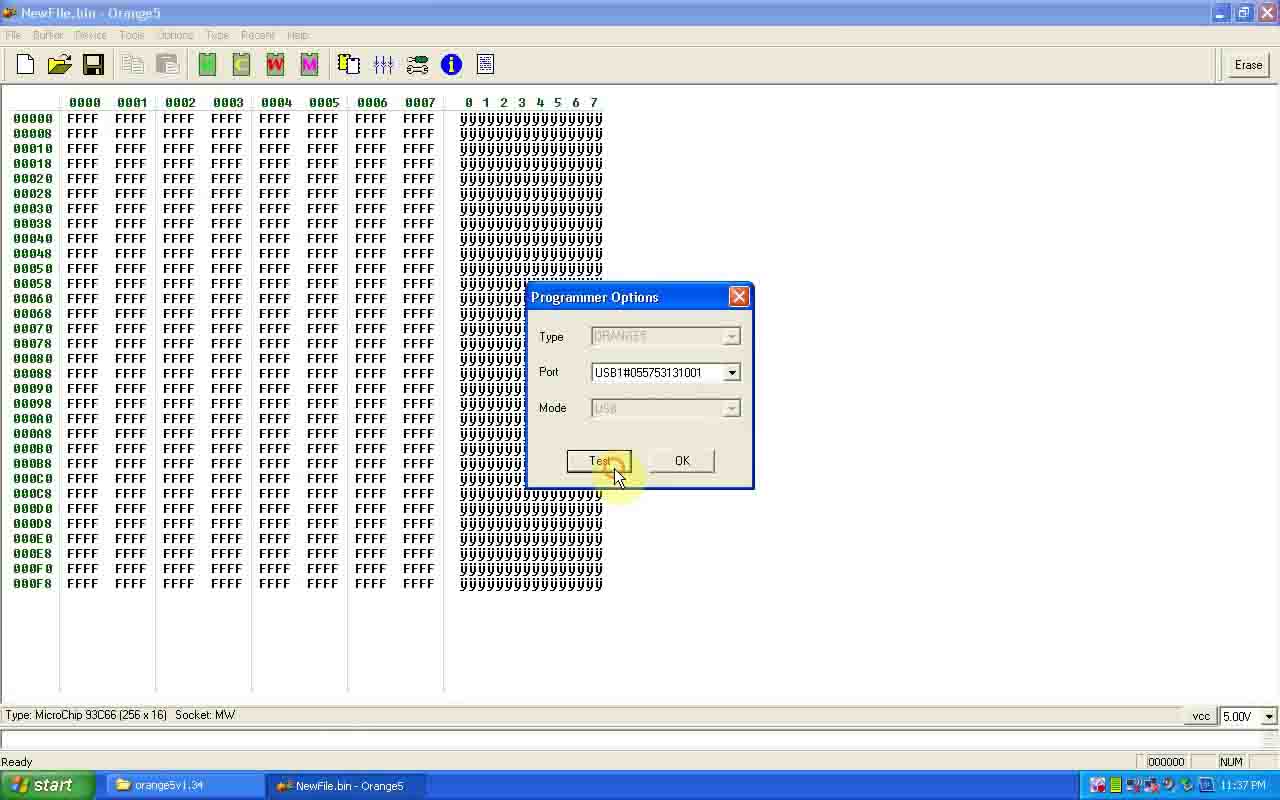
Select options-hardware, click test
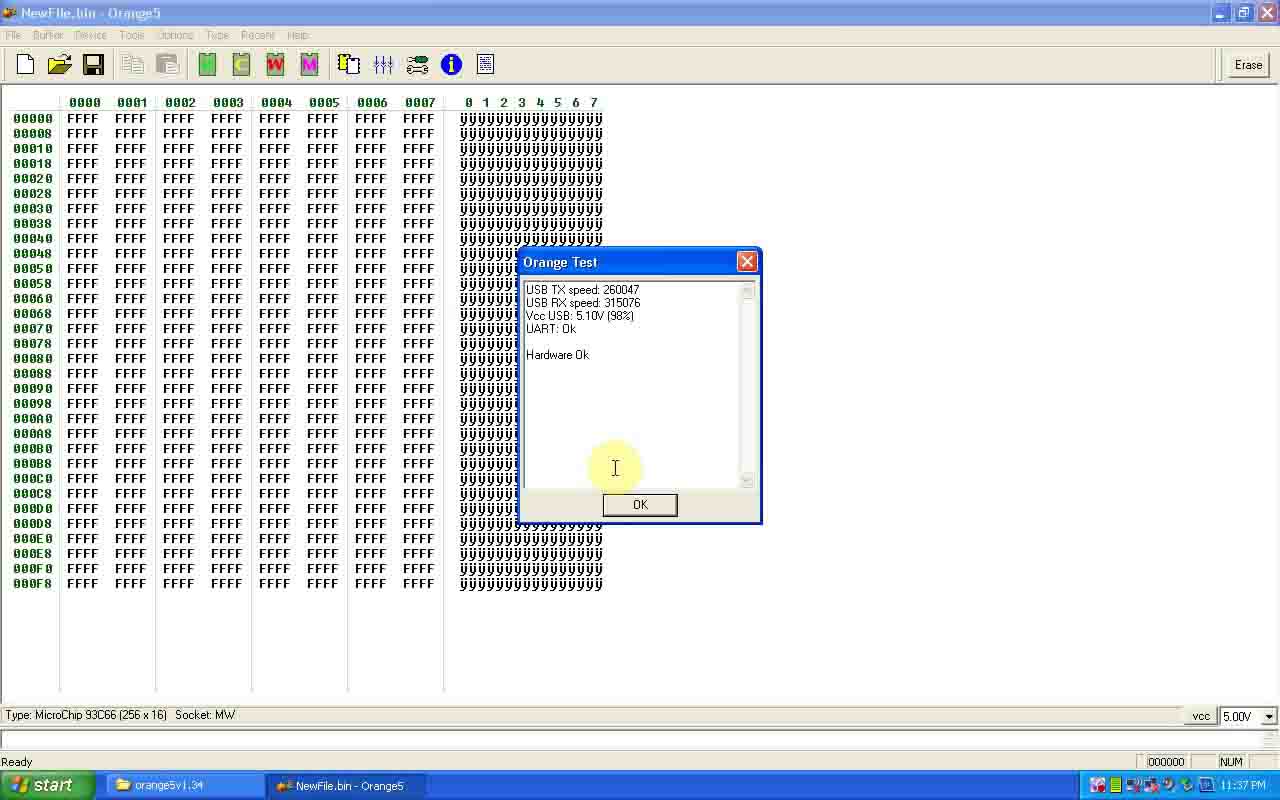
Hardware is ok
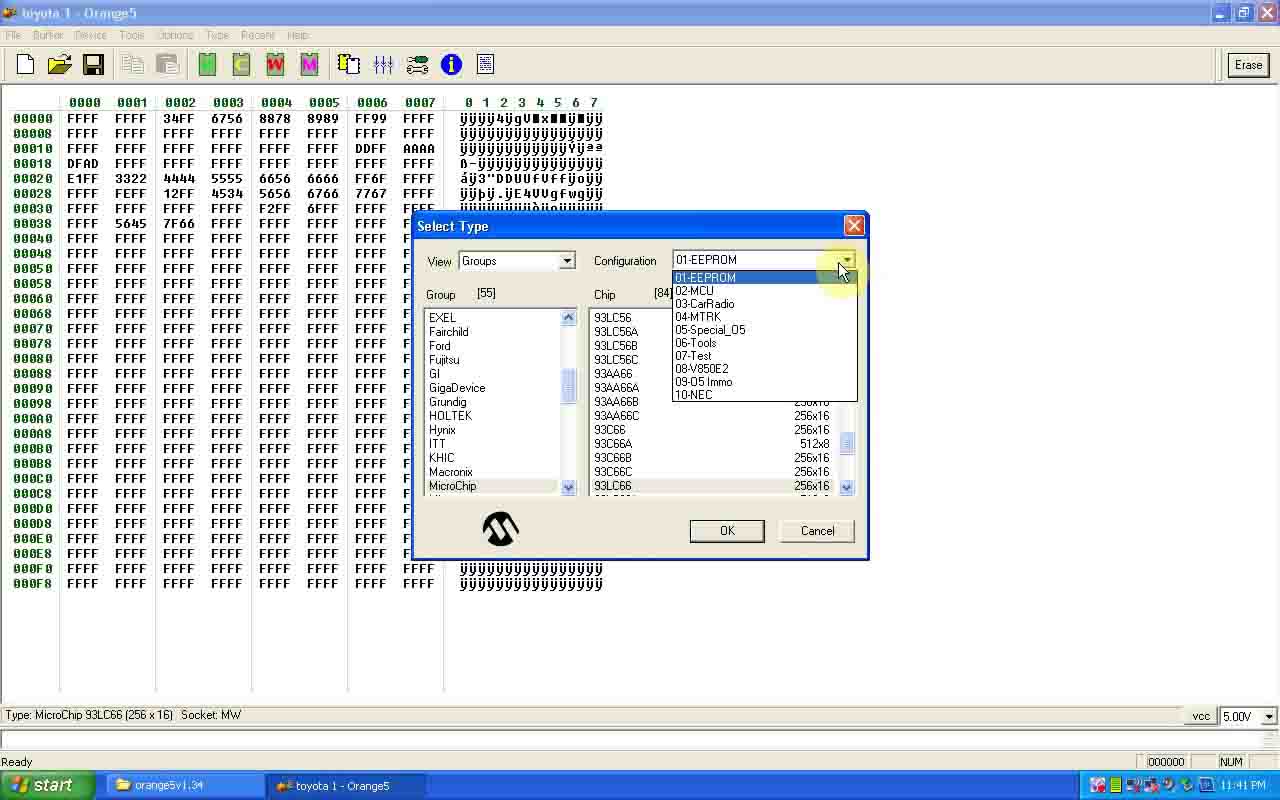
Select type: Group-MicroChip; Chip-93C66

Read chip 93C66
Choose 93LC56, 93LC46 and read
Notice: do not choose the wrong chip.
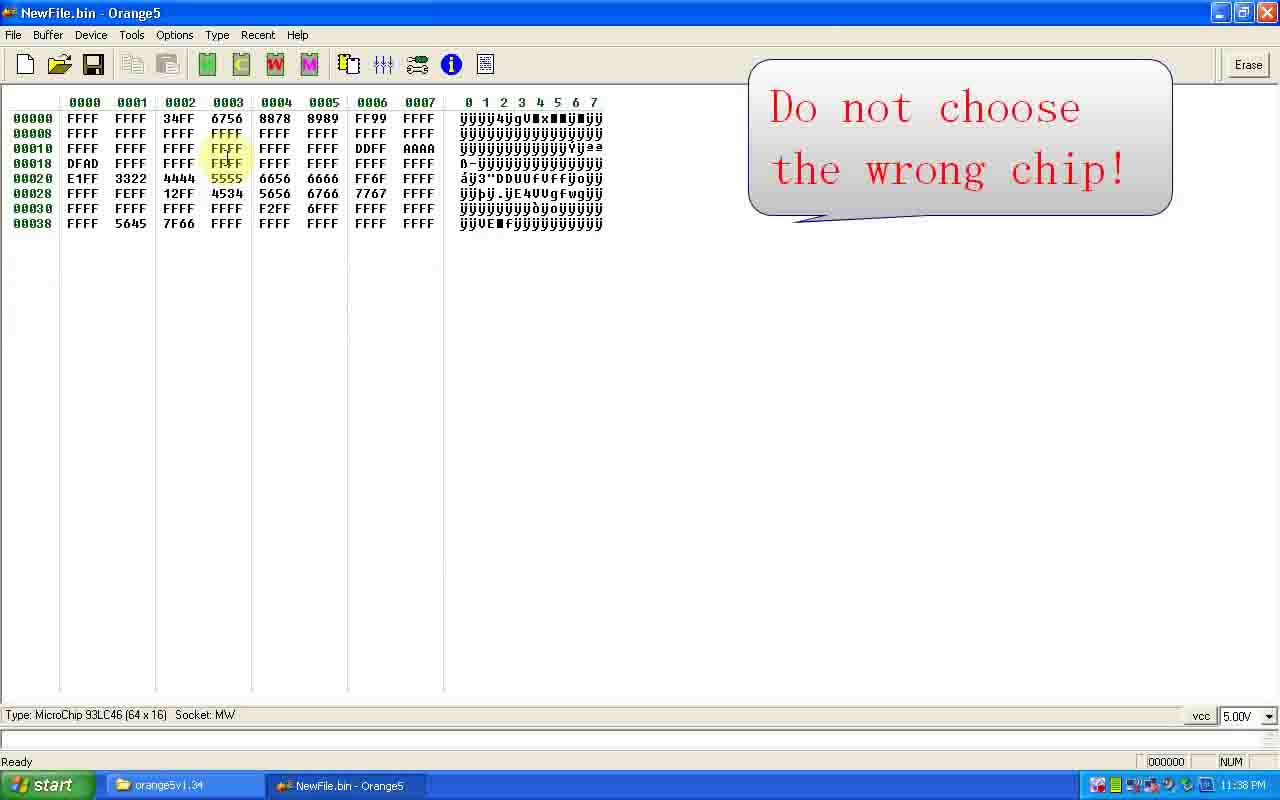
Cancel “Chip not responds at 0000”
Choose 93LC66 and read. Then save them in file named Toyota 1 on the desktop
Click erase
Buffer is EMPTY! Write and read 93LC66
Open Toyota 1
Write and read 93LC66
Choose Buffer-checksum

Choose Tools-pintester, press set
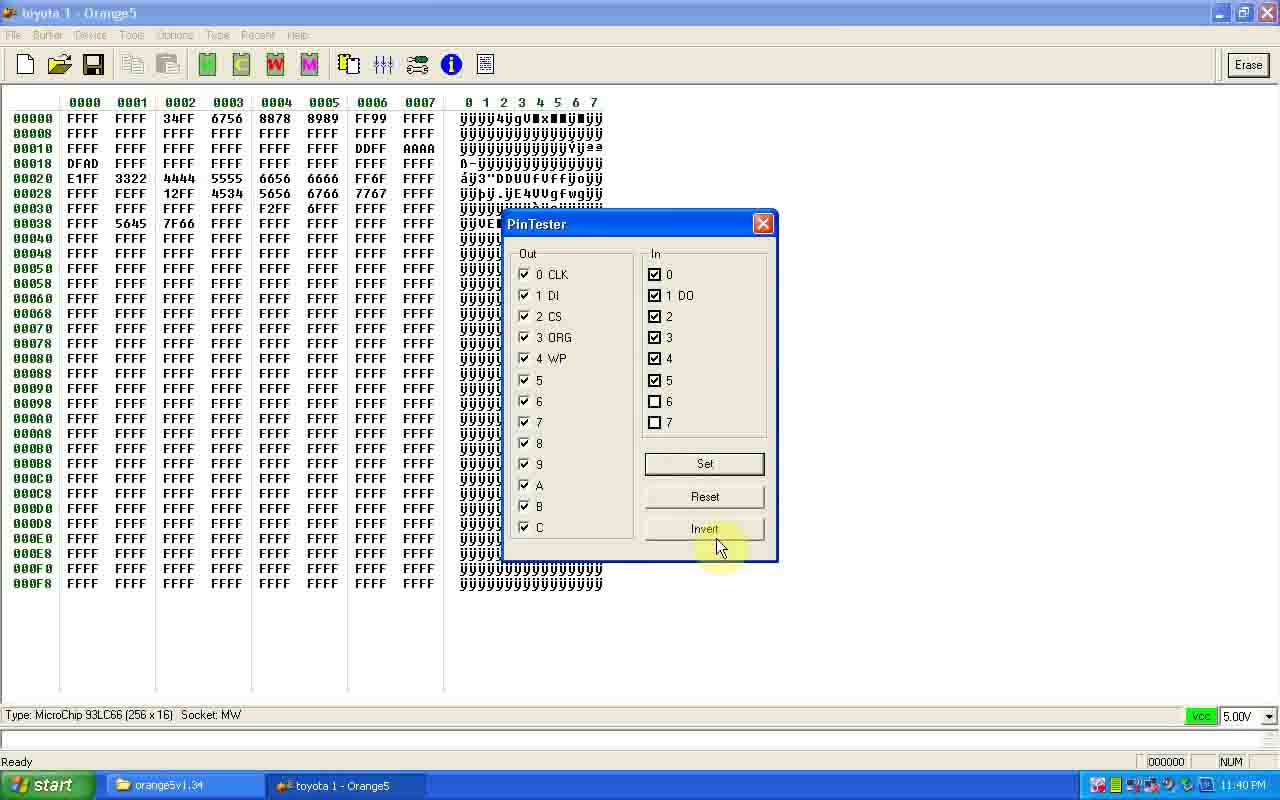
The software display: