Engines has developed I-2015 Multi-Diag Access J2534 Pass-Thru OBD2 Device,here is the instruction on how to install I-2015 Multi-Diag.
Basic info:
Latest Version: V2015.01
Operating System: Windows XP; Windows 7 32bit
Multi-languages: English/ Spanish/ German/ French/ Italian/ Portuguese/ Bulgarian/ Croatian/ Czech/ Danish/ Dutch/ Finnish/ Hebrew/ Hungarian/ Polish/ Romanian/ Russian/ Serbian/ Slovenian/ Swedish/ Turkish
Notice before operation:Disable network connections
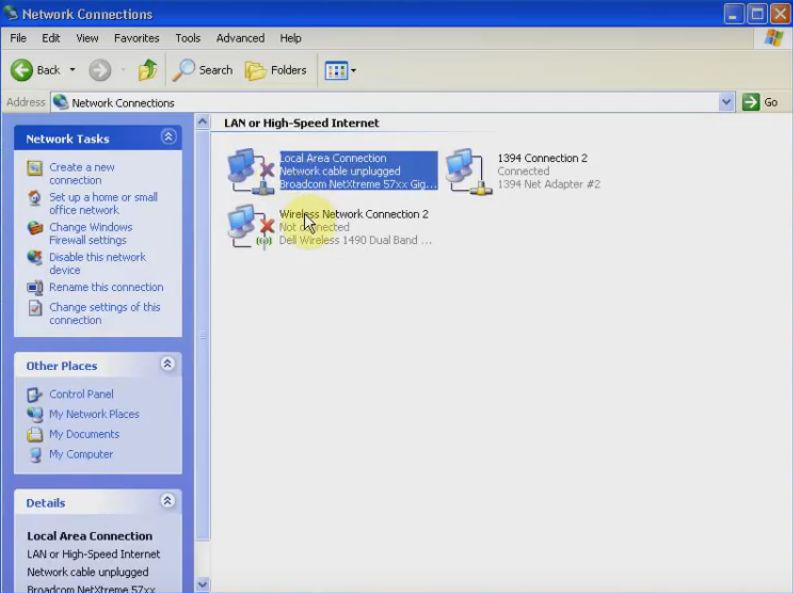
Disabled local are connection and wireless network connection to ensure not having connection networks and wifi active.
Part 1 Install NET Framework 4
Open MOD I-2015 DVD-ROM
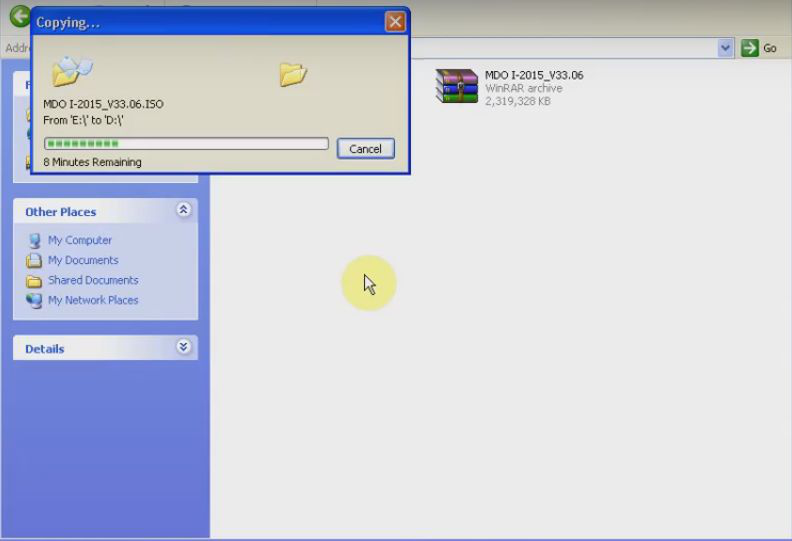
Copy folder “MOD I-2015-v33.06” to Software D
Set up Net Framework 4
Accept the license terms
Click install
Installation is complete
Run DAEMON Tools Lite
click finish
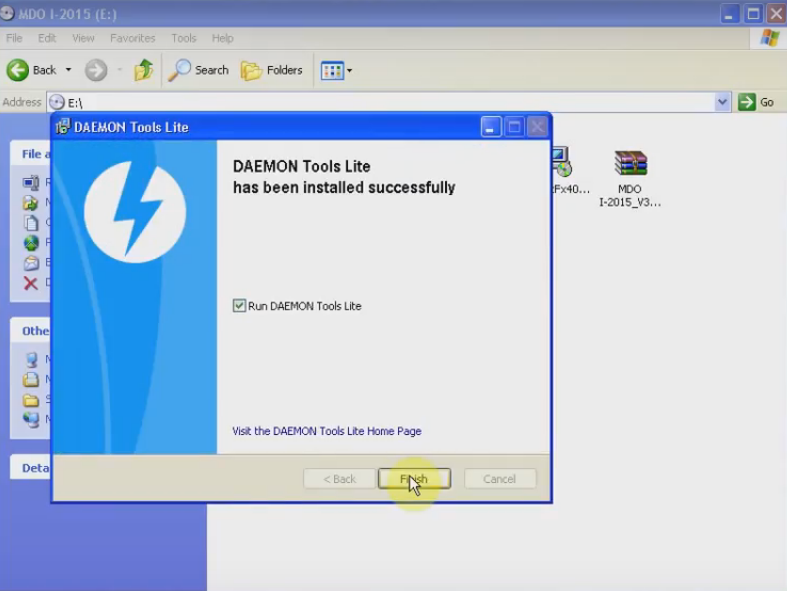
Part2 Install DAEMON Tools Lite
Choose language, click next
Choose free license, click next
Click next
Click install
Click finish
Open KeyUpdate in folder “KEY 099873”
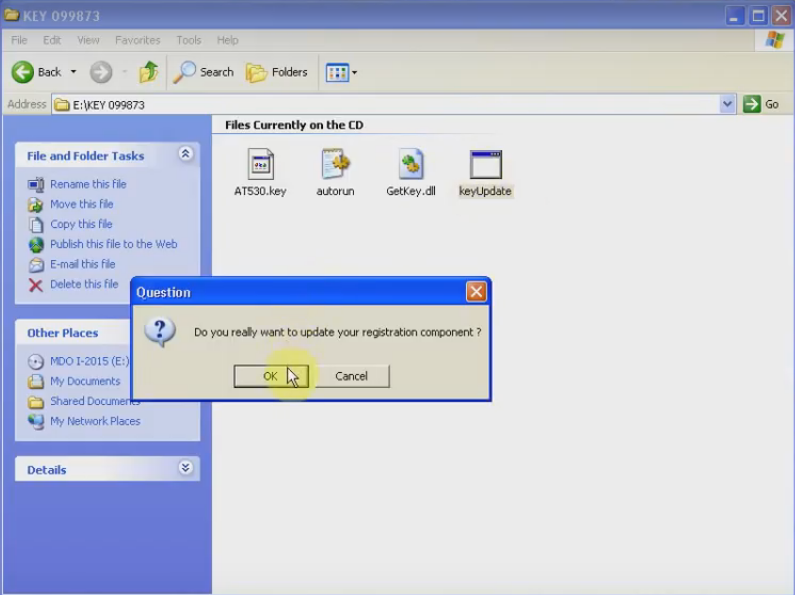
Click OK
Update successful for VCI 99873 ,click OK
Part3Activate Multi-Diag J2534
Open DAEMON Tools Lite 10.1
Choose “image”, mounting “MDO I-2015_v33.06” in Software D to “Image”
Starting installShield Wizard
Contact your supplier to obtain a activation code
Click next
Select the setup type, click next and click yes
Click next
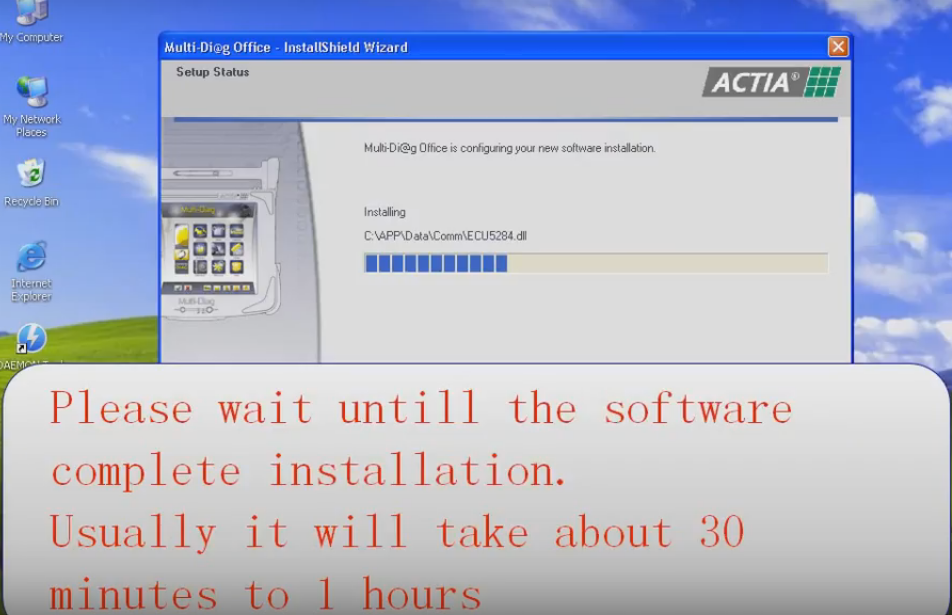
Please wait until the software complete installation. Usually it will take about 30 minutes to 1hour.
Multi-Diag is correctly installed, please choose No, I will restart my computer later.
Step4 Install I-2015-SP1-33.11
Set up “I-2015-SP1-33.11”
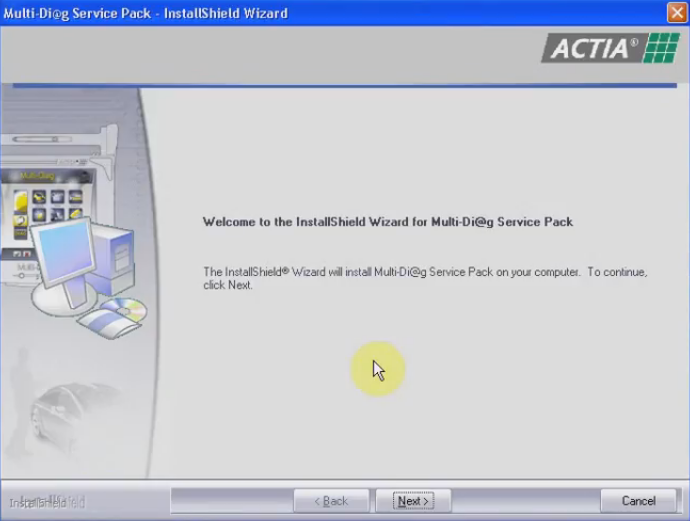
Please enter the serial number of your communication interface(VCI). The number is a 6-digit number.
Click next
Please wait until the software complete installation, and it will take about 30 minutes usually.
Click next
Multi-diag has been successfully installed,select “yes, I want to restart my computer now”
Click finish
Step 5 install I-2015_SP2_V33.21
Click setup in folder “I-2015_SP2_V33.21”
Click next
Input a 6-digit number of your computer interface
Please wait until the software complete installation. Usually it will take about 30 minutes.
Select “yes, I want to restart my computer now”
Click finish. The computer will reboot automatically, please wait.
Step6 Found New Hardware Wizard
Select install from a list or specific location(Advanced), click next
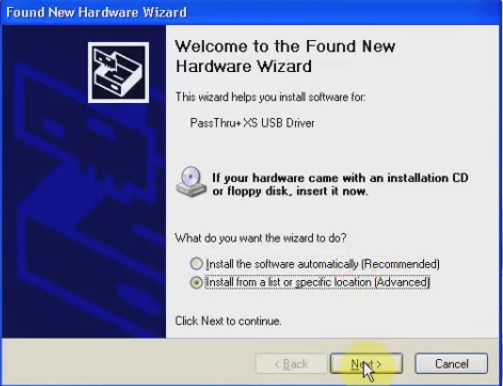
Browse folder to C:/ACTIA/Drivers VCI/PTIG, click next
The wizard has finished installing the software,click finish
Step 7 Configure Multi-Diag
Open C:/ACTIA/ Multi-Diag /AT530 folder
Open AT530cfg
Select USB in communication interface,click OK
Register VCI seria number, click ok
Click exit
Open AT530
Select a car manufacturer
Check program information
Quit the application
Step 8 Run Multi-Diag 2015.01 Software
Open Multi-Diag software on desktop
Click Multi-Diag
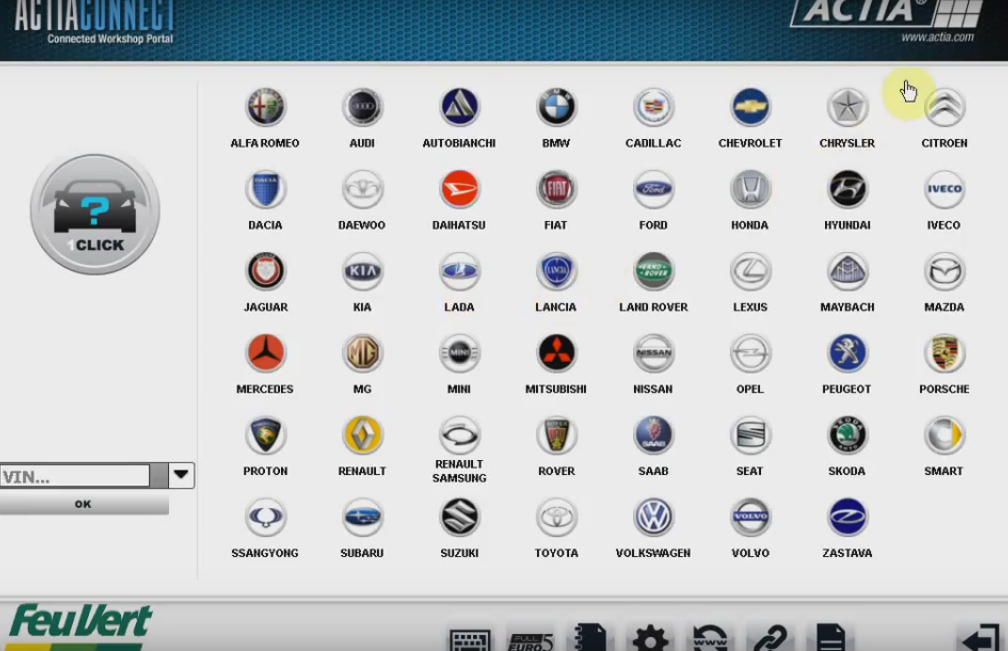
Select vehicle make, model, module and function
Your Multi-diag subscription will end within 0 days. Press Tick
Communication interface update.
Select “Install from a list or specific location (Advanced)”,click Next
Browse folder to C:/ACTIA/Drivers VCI/PTIG, click next
Hardware driver install complete. Click Finish
Select manually the onboard control unit
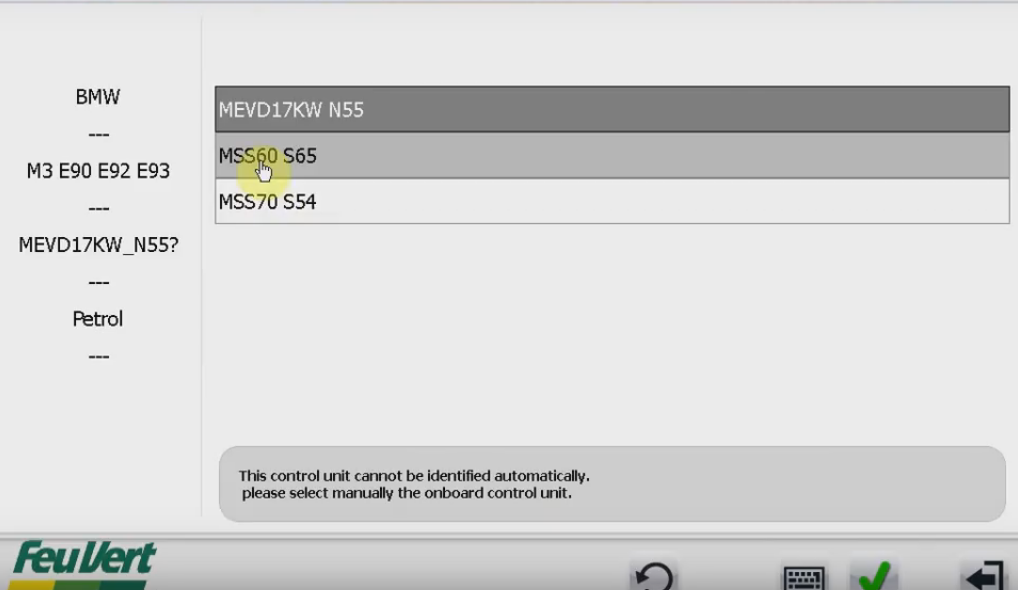
Press Tick
Select item and then validate
Then select the function to diagnose
For more functions of I-2015 Multidiag, please go to
http://www.cardiagtool.co.uk/2015-j2534-pass-thru-obd2-device.html


